

Export to Google Drive
You can send workbooks and reports to Google Drive on a set schedule or an as-needed basis. Workbooks also support sending individual elements or specific pages. Depending on what you send to Google Drive, you can export data in different file formats. For details on supported workbook file formats, see Send or schedule workbook exports.
To export directly to Google Sheets, see Export to Google Sheets.
Sigma generates exports from the document’s latest published version. Changes you make to a draft cannot be exported unless you save or publish the changes. In a workbook, this also applies to a custom view or exploration. Depending on your export destination, you can also choose to export a tagged version of the document, or, if you’re exporting a workbook, a saved view. If you are exporting workbook elements that are only on a saved view, you must open the export modal from the saved view.
For a matrix of supported workbook file formats and saved view/version tag export support, see Available export destinations and formats.
System and user requirements
The ability to export to Google Drive requires the following:
- You must be assigned an account type with the Export to Google Drive permission enabled.
- You must be a Manager, Content manager, or Contributor of the specified Google Drive folder.
- The folder you export to must be located in your personal Google Drive (My Drive). Exporting to a folder in a shared drive is not supported.
- Your organization cannot have the Restrict data in exports setting enabled.
Export to Google Drive isn’t supported from embedded content.
Google account authorization
The first time you export or schedule an export to Google Sheets or Google Drive, Sigma prompts you to authorize Sigma to export to your Google account:
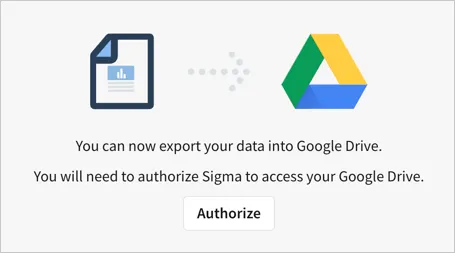
Click Authorize and follow the instructions on your screen. After you complete the authorization, you return to the Export or Schedule Exports dialog.
Export to Google Drive as needed
To export to Google Drive:
-
From the document menu (
 ), select Share and export> Export….
 -
Select Google Drive.
If this is the first time you’ve exported to a Google product, Sigma prompts you to enable the integration. See Google account authorization.
-
For Drive folder, enter a name for a new folder to contain the export. You cannot use an existing folder. Exports create a file in the destination folder with a name that matches the following structure:
<Workbook Name>_<Element Name>_<Timestamp>. -
Click Create folder. Sigma creates the folder for you and displays the URL to the folder.
-
(Optional) If you have translations added in your document, you can use one of those translations when exporting content. Turn the Translate attachment content toggle on, and select your desired Language from the dropdown.
-
In the Attachments section, choose what you want to export as an attachment. In workbooks, you can export:
- An Entire workbook and export all workbook pages.
- A specific workbook page, by navigating to the workbook page and selecting Entire page.
- An element on a specific workbook page, by navigating to the workbook page and selecting the name of the element.
Select +Add to add more attachments.
In reports, you can export:
- An Entire report and export all report pages.
- Specific report pages by selecting the names of those pages.
-
For Attachments, select the data and file formats that you want to export:
- Workbooks: For a matrix of supported workbook file formats, see Available export destinations and formats.
- Reports: Select either PDF document or PowerPoint.
-
Click Export.
Schedule an export to Google Drive
To schedule an export to Google Drive:
-
From the document menu (
), select Share and export> Schedule exports…. -
If this is the first schedule for the document, click Add schedule, otherwise click + New schedule.
-
Select Google Drive.
If this is the first time you’ve created a scheduled export to Google, Sigma prompts you to enable the integration. See Google account authorization.
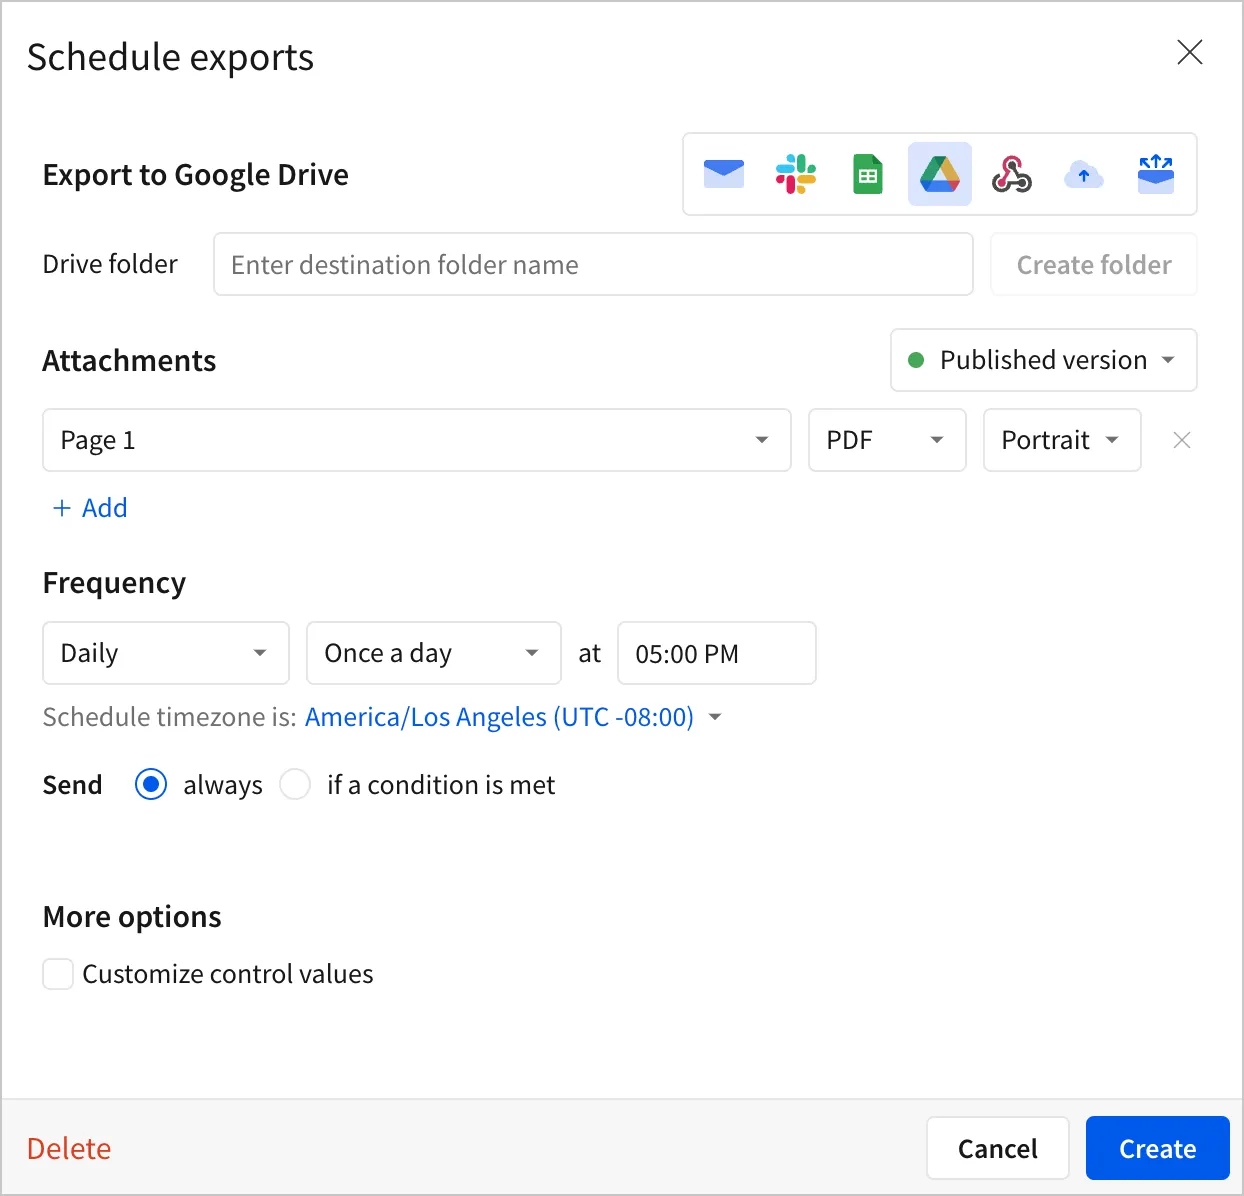
-
For Drive folder, enter a name for a new folder to contain the export. You cannot use an existing folder. Exports create a file in the destination folder with a name that matches the following structure:
<Workbook Name>_<Element Name>_<Timestamp>. -
Click Create folder. Sigma creates the folder for you and displays the URL to the folder.
-
(Optional) If you have translations added in your document, you can use one of those translations when exporting content. Turn the Translate attachment content toggle on, and select your desired Language from the dropdown.
-
In the Attachments section, choose what you want to export as an attachment. In workbooks, you can export:
- An Entire workbook and export all workbook pages.
- A specific workbook page, by navigating to the workbook page and selecting Entire page.
- An element on a specific workbook page, by navigating to the workbook page and selecting the name of the element.
Select +Add to add more attachments.
In reports, you can export:
- An Entire report and export all report pages.
- Specific report pages by selecting the names of those pages.
-
For Attachments, select the data and file formats that you want to export:
- Workbooks: For a matrix of supported workbook file formats, see Available export destinations and formats.
- Reports: Select either PDF document or PowerPoint.
-
In the Frequency section, set the delivery schedule:
-
(Optional) Select the dropdown for Daily and select Weekly, Monthly, or Custom.
-
For Daily, select Once a day or Multiple times.
-
For Weekly, select which days of the week to send an email, and choose between Once a day or Multiple times.
-
For Monthly, select which day of the month to send an email, and the time of day.
-
For Custom, specify a schedule using cron syntax. See Set up a custom delivery schedule.
If you select Multiple times, specify the frequency. For example, every 2 hours on the :15 of the hour between 9 AM and 6 PM.
If you don’t have the option to set a specific frequency, export frequency might be restricted for your organization. For more details, see Restrict export recipients and frequency.
-
-
(Optional) Adjust the default schedule time zone using the dropdown menu.
-
(Optional) Choose how often to send the export: Always or only If a condition is met. See Schedule a conditional export or alert.
- (Optional) If you choose to send an export only If a condition is met, you can turn on the switch to stop notifying after a set number of occurrences per day, week, or in total.
-
-
(Optional) Select the checkbox for Customize control values to filter the exported data according to the value of one or more document controls. See Configure additional options for exports.
-
Click Create.