Navigate a workbook
This document provides guidance on how to navigate and use a workbook. For more information on structuring your workbooks and workbook lifecycle management, see Workbooks overview.
User requirements
- Users with Can view, Can explore or Can edit permissions can view and navigate workbooks in their published state, but will see different options depending on their individual permissions.
- Users need Can edit permission to edit a workbook.
Depending on your workbook permissions, some of the options below might not be available. See Workbook modes overview for more information on individual user permissions.
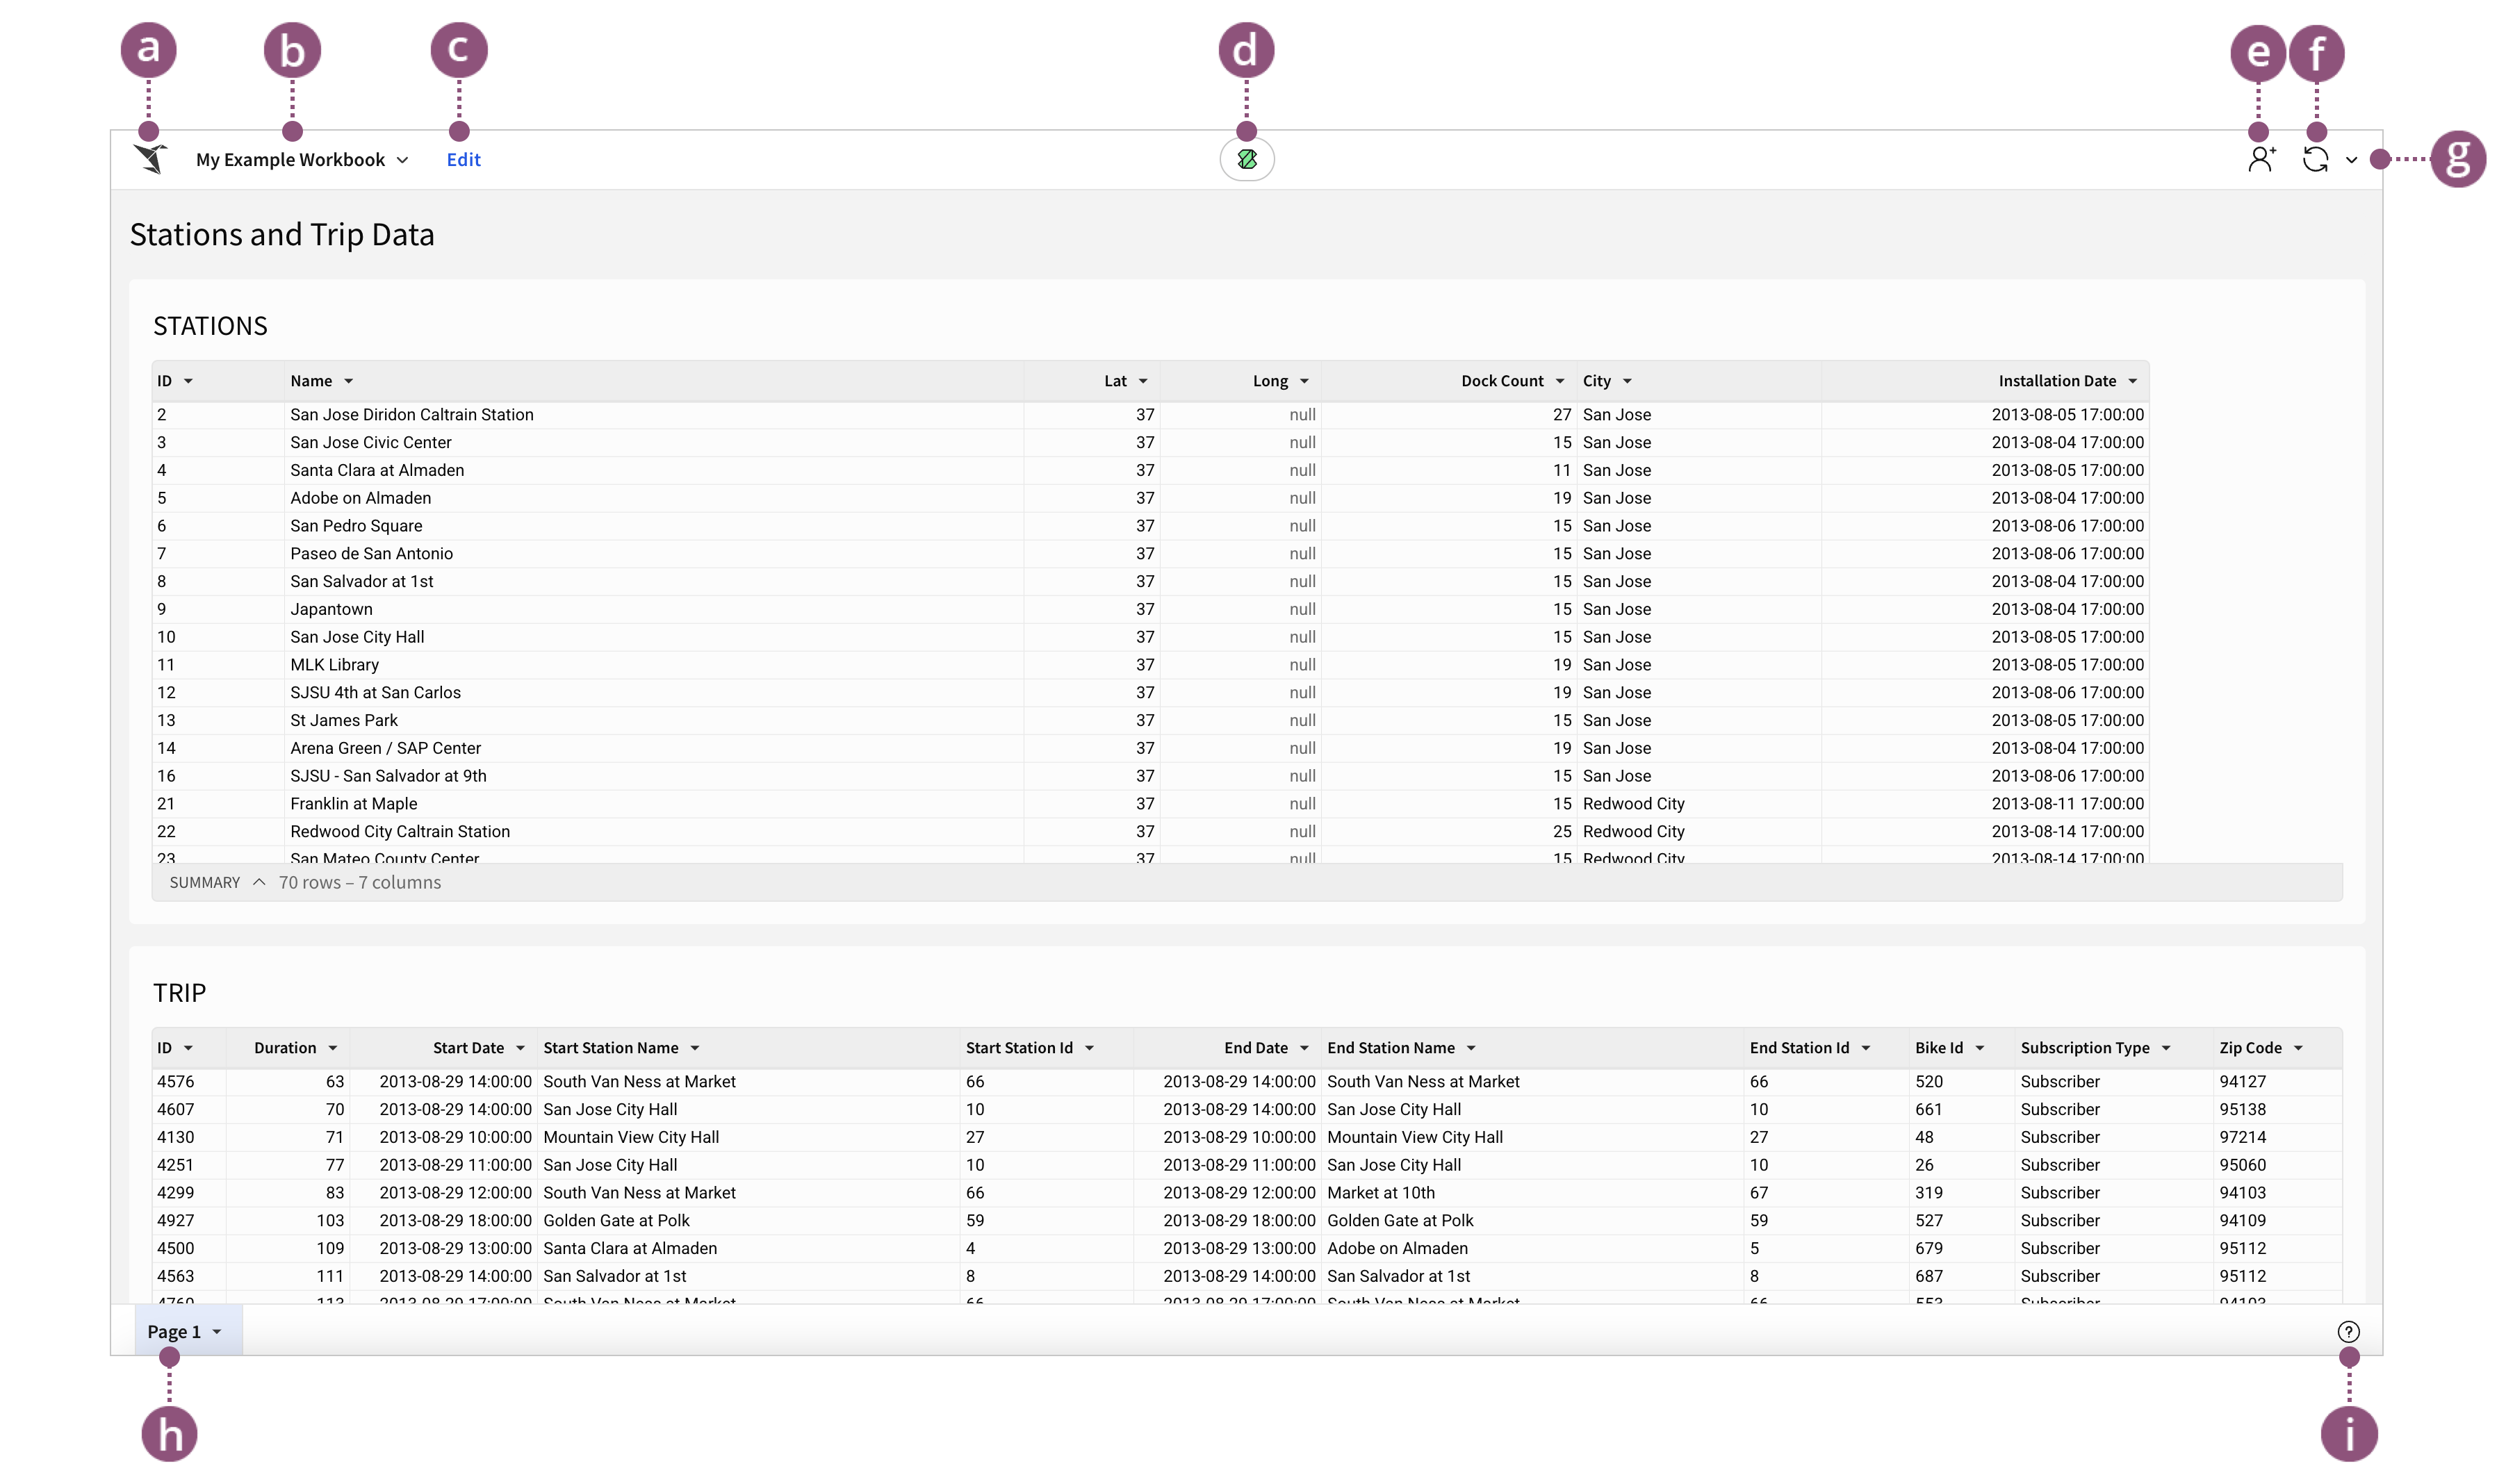
Navigate the published version of a workbook
Navigating a published workbook allows you to view existing data and insights. Depending on your individual user permissions, you may also be able to modify or add new filters, refresh data, create your own custom and saved views.
The following UI elements are available in a published workbook. Some may be unavailable depending on your permissions.
a | Home | Go to Home to view other documents in your organization, access the Administration portal, your user profile and more. View Get around in Sigma for more information on navigating the home page. |
b | Document menu | A consolidated menu to perform key workbook actions like creating or managing saved views, adding version tags, sharing your workbook, adding comments, scheduling exports, and more. |
c | Edit button | (Only visible to users with Can edit access) Select to make changes to your workbook. |
d | Customize this view button | (Only visible to users with Full explore permission and/or Can edit access) Create your own view of a workbook by interacting with elements and making changes, without affecting the published version of the workbook. See Create and interact with custom views. |
e | Share button | (Only visible to users with Can edit access) Share your workbook with other members or teams. See Share a workbook. |
f | Refresh data button | Refresh all the data sources in your workbook. See Manage workbook refresh options for more advanced options. |
g | More options button | Select to reveal options like pausing queries, accessing query history, and changing data refresh settings. See Examine workbook queries and Manage workbook refresh options. |
h | Page tabs | Navigate between all the pages in your workbook. Access copy and export options from the caret on each page tab. See Copy workbook pages. |
i | Help menu | Access help resources like our support live chat, documentation, community posts, QuickStarts, function index, and more. |
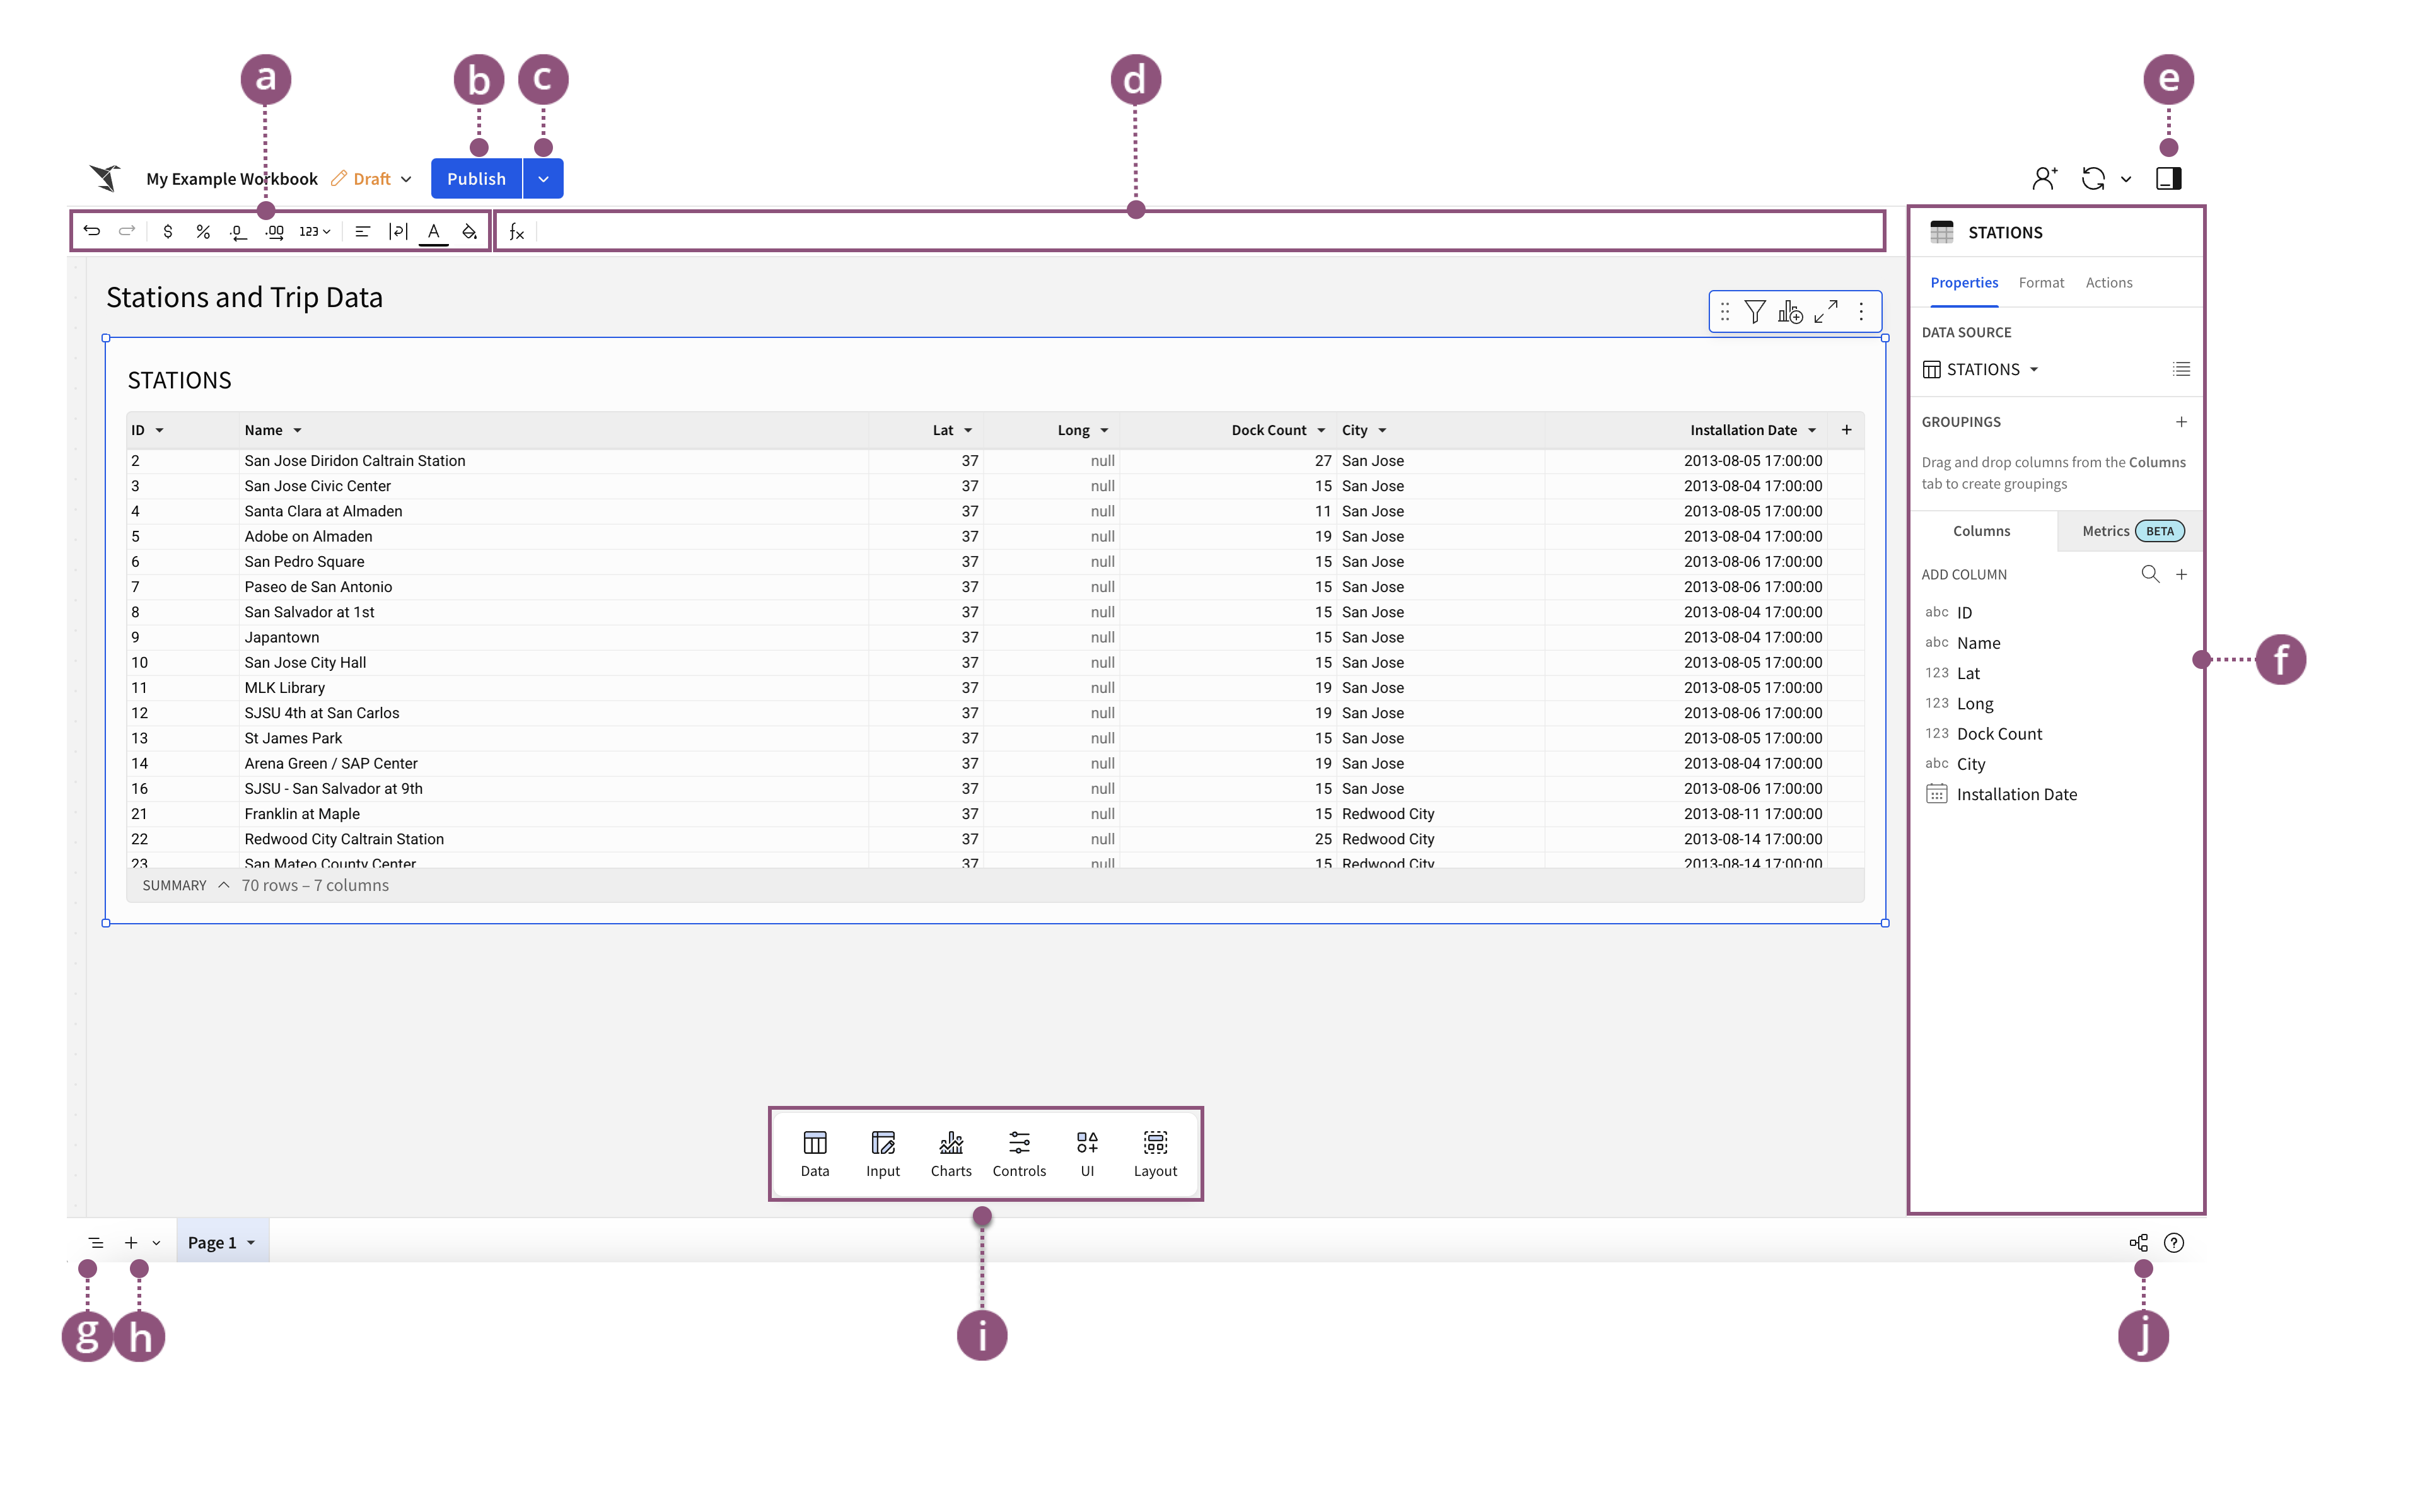
Navigate a workbook while editing
To build new workbooks, change existing ones or publish your changes, you need to edit a workbook. Users need Can edit permission to edit a workbook.
When editing a workbook, all the options available to you in the published version remain, but additional options are available:
a | Toolbar | Access number and text formatting options. Depending on the element you select, different options are displayed. |
b | Publish button | Publish your changes. |
c | Publish menu | Preview your workbook with different access levels, switch between mobile and desktop previews of your workbook. |
d | Formula bar | Type in a formula to perform your desired calculations for a column. See the function index for supported functions. |
e | Show/Hide panels button | Show or hide the side panels, like the editor or version history panel, for a clearer view of your workbook. |
f | Side panels | Depending on what you are doing on the workbook page, different tabs are available to you:
|
g | Page overview button | View all pages in your workbook, and navigate to a specific workbook element by selecting its name. |
h | Add page button | Select to add a new page to your workbook. |
i | Lineage button | Select to view the ancestry and relationships between all the data elements in your workbook. For more information, see View workbook data lineage. |
Updated 2 days ago