Connect to Starburst
Sigma supports using Starburst Galaxy, a SaaS distribution of Trino, to connect to a Snowflake, Databricks, BigQuery, or PostgreSQL data warehouse.
This document explains how to connect your Sigma organization to your Starburst Galaxy cluster.
For information about Sigma feature compatibility with Starburst connections, see Region, warehouse, and feature support.
Requirements
- You must be assigned the Admin account type.
- You need the credentials for a Starburst Galaxy service account with
Select from tableprivilege for all tables that Sigma needs to access and theUse clusterprivilege on the cluster.
Create a Starburst connection
-
Click the user icon at the top right of your screen. The user icon is usually composed of your initials.
-
In the drop-down menu, select Add connection.
-
The Add new connection page appears.
-
In the Connection details, specify the following:
Name Enter a Name for the new connection. Sigma displays this name in the connection list. Type Select Starburst. -
In the Connection Credentials section, complete the fields:
| Host | The address of your Starburst Galaxy cluster as a URL or an IP address. |
| Port | The port through which Sigma can connect to your Starburst Galaxy cluster. |
| User | The username of the service account set up by your Starburst administrator. |
| Password | The password for the service account set up by your Starburst administrator. |
-
(Optional) In the Connection features section, adjust the defaults if needed.
Connection timeout The time before timeout (or cancellation), in seconds, that Sigma waits for the query to return results.
The default is 120, or 2 minutes.
The maximum is 600, or 10 minutes.Use friendly names This setting, which is on by default, makes column names from the data source more readable.
For example, a database column ORDER_NUMBER appears as Order Number. -
After you specify all the parameters of the connection, click Create. Sigma displays a connection summary on the screen.

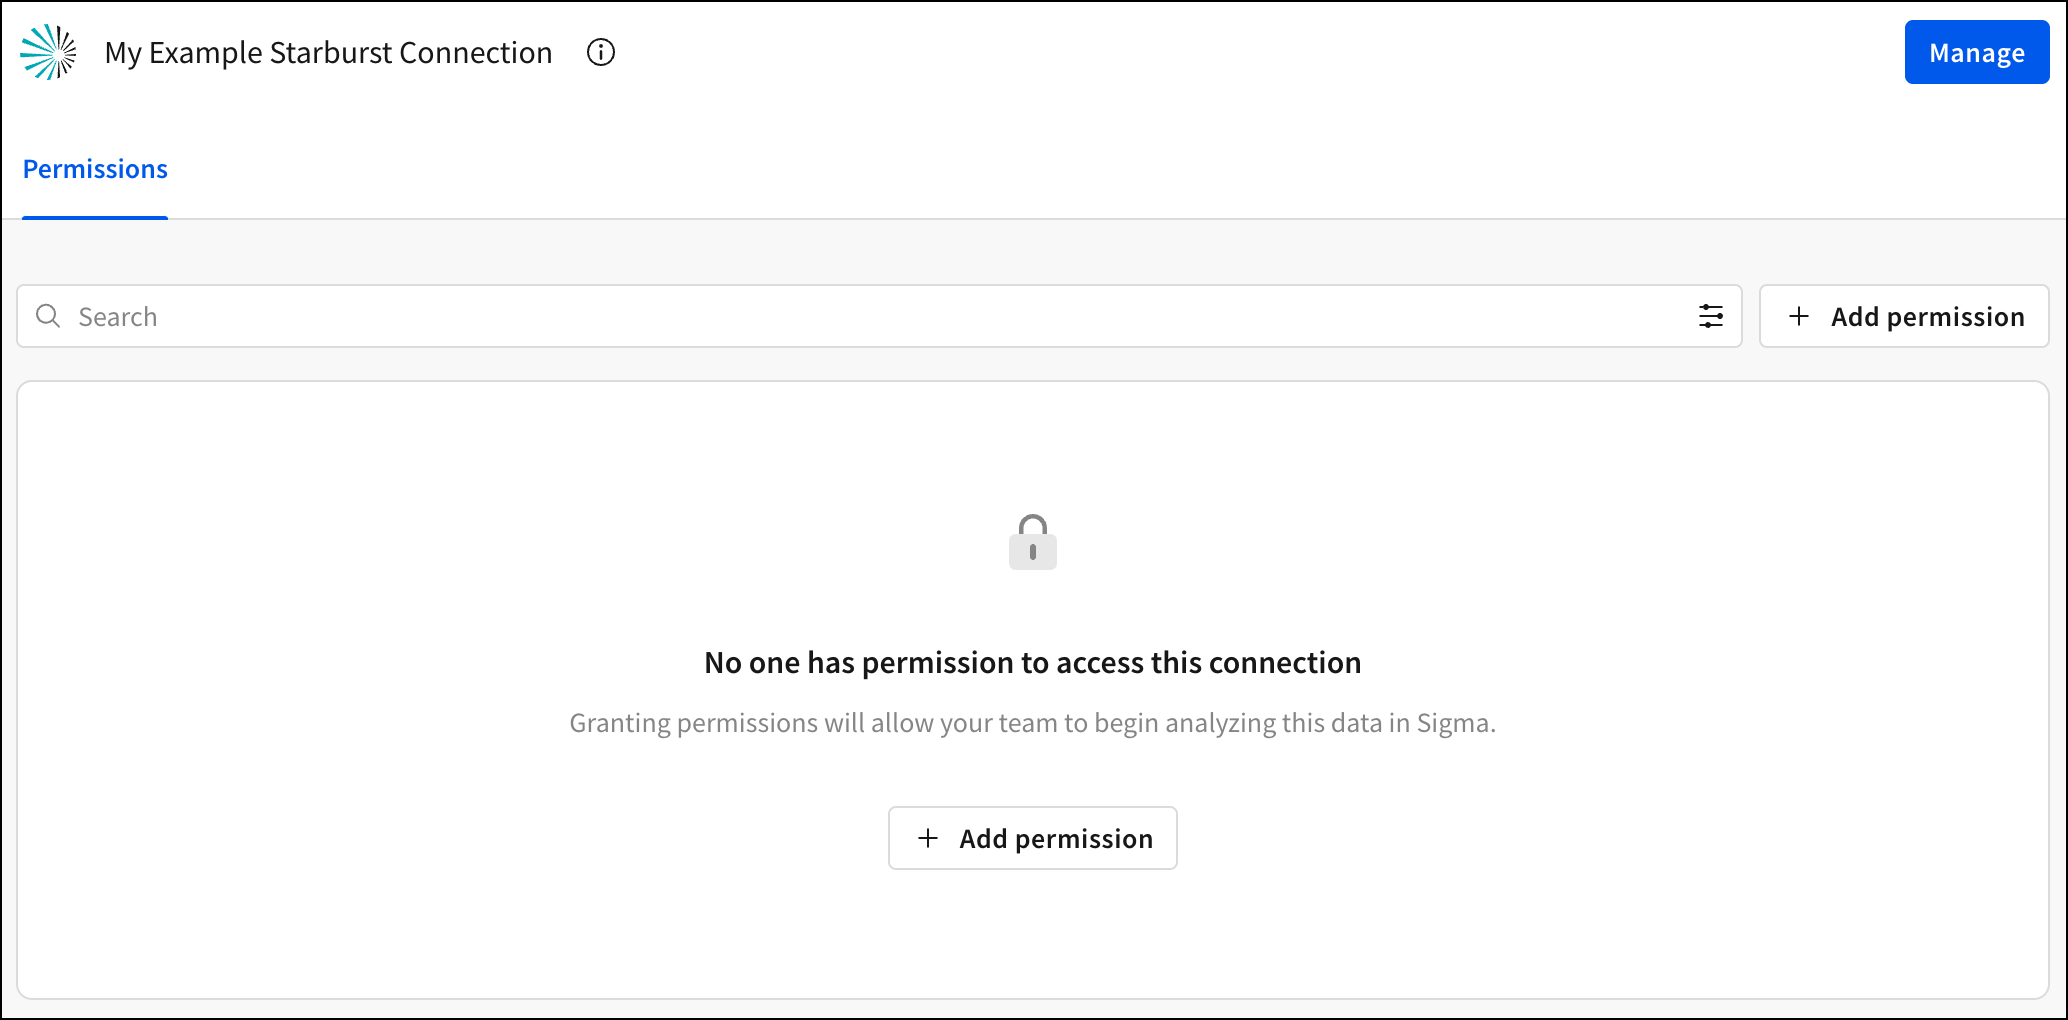
- Click Browse Connection, then click Add permission to grant data access for users in your organization.

- Use the navigation in the left panel to explore the databases and tables in your connection.

- The new connection also appears in the list of connections you have in your account.
Updated 14 days ago
