Export to webhook
This feature does not currently support export to authenticated endpoints.
Sigma webhook exports let you send data to your own webhook endpoints, or to other applications such as Marketo, Segment, or Airtable, using a webhook. You can export your workbook data on an as-needed basis or create one or more schedules for recurring exports. Each schedule can support multiple endpoints and send conditions.
Sigma generates exports from the workbook’s latest published version. Changes you make to a workbook draft, custom view, or exploration cannot be exported unless you save or publish the changes. Depending on your export destination, you can also choose to export a saved view or tagged version of the workbook. If you are exporting elements that are only on a saved view, you must open the export modal from the saved view.
For a matrix of supported file formats and saved view/version tag export support, see Available export destinations and formats.
User requirements
The ability to export to webhooks requires the following:
- You must be assigned an account type with the Export to webhook permission enabled.
If your organization restricts traffic from certain IP addresses, add the Sigma IP addresses to your allowlist. For more details, see Add Sigma IPs to the allowlist.
Supported formats
Individual elements can be exported to webhook as the following file types:
- CSV
- JSON
- PNG
Export limit
Webhooks have an export limit of 1 million rows. See Download, export, and upload limitations.
Send an ad hoc webhook export
-
From the workbook menu (
 ), select Share and export> Export.
The Export modal opens. -
Select Webhook.
-
For Endpoint, enter one or more target webhook endpoints.
- Separate multiple endpoints with commas.
- Endpoint URLs must start with
https://.
-
If the workbook has tagged versions, select which one you want to export elements from.
-
In the Attachments section, select a workbook element to export.
-
For the attachment, select a supported file format.
-
Click Export.
The export contains published workbook content only. Draft changes aren’t reflected.
Schedule a recurring export
-
From the workbook menu (
), select Share and export> Schedule exports…. -
If this is the first schedule for the workbook, click Add schedule, otherwise click + New schedule.
-
Select Webhook.
-
For Endpoint, enter one or more target webhook endpoints.
- Separate multiple endpoints with commas.
- Endpoint URLs must start with
https://.
-
If the workbook has tagged versions, select which one you want to export elements from.
-
In the Attachments section, select a workbook element to export.
-
For the attachment, select a supported file format.
-
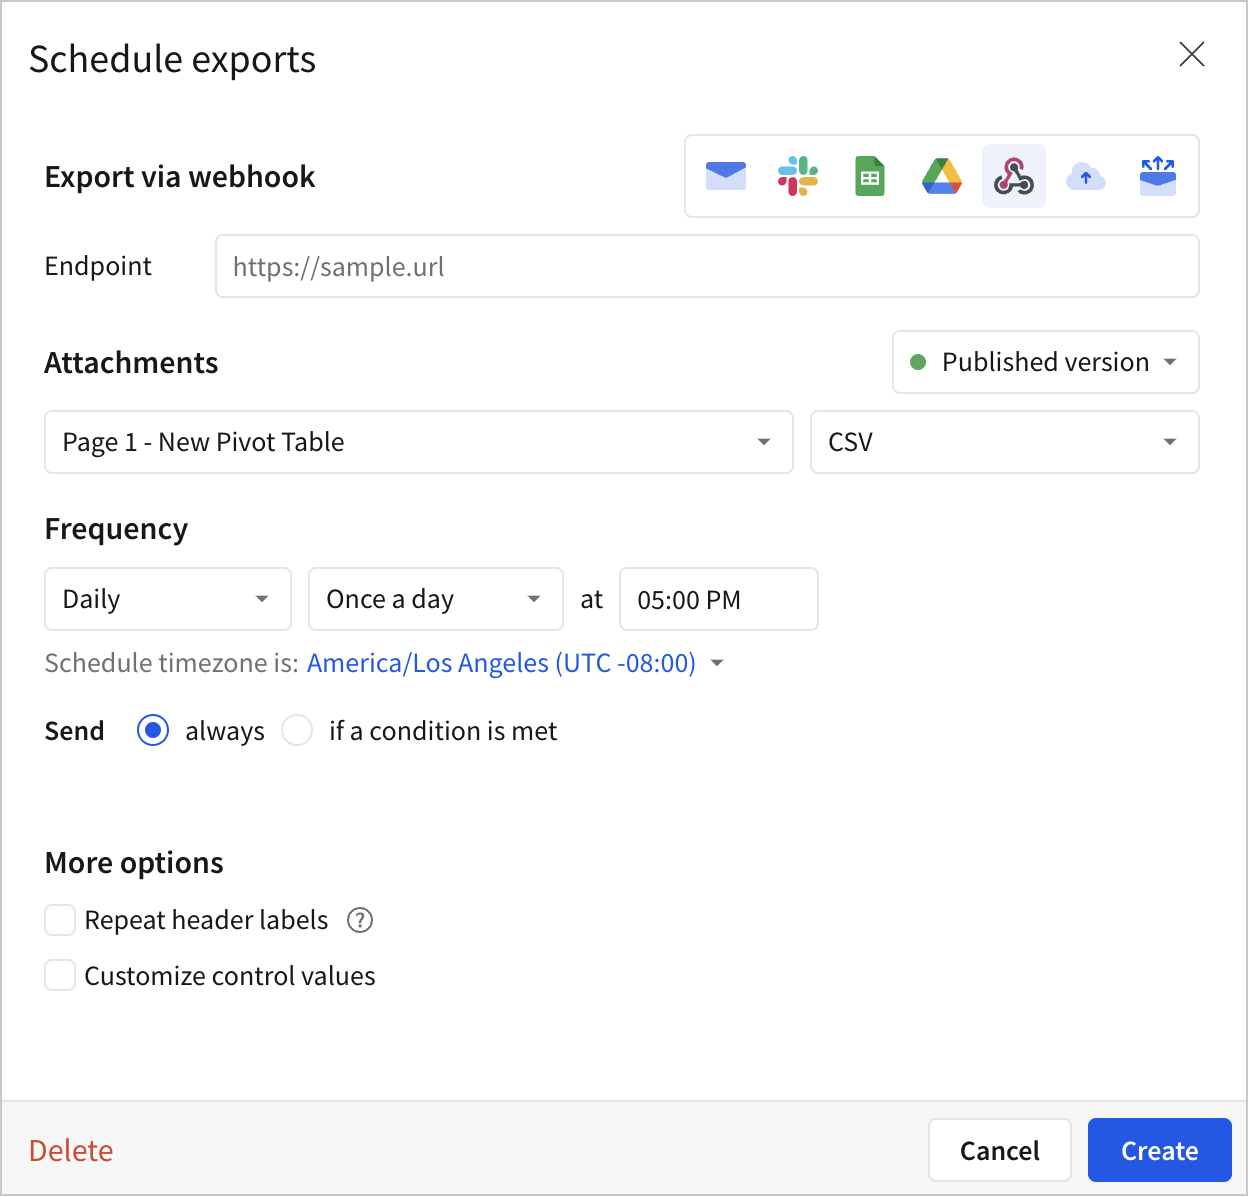
In the Frequency section, set the delivery schedule:
-
(Optional) Select the dropdown for Daily and select Weekly, Monthly, or Custom.
-
For Daily, select Once a day or Multiple times.
-
For Weekly, select which days of the week to send an email, and choose between Once a day or Multiple times.
-
For Monthly, select which day of the month to send an email, and the time of day.
-
For Custom, specify a schedule using cron syntax. See Set up a custom delivery schedule.
If you select Multiple times, specify the frequency. For example, every 2 hours on the :15 of the hour between 9 AM and 6 PM.
If you don’t have the option to set a specific frequency, export frequency might be restricted for your organization. For more details, see Restrict export recipients and frequency.
-
-
(Optional) Adjust the default schedule time zone using the dropdown menu.
-
(Optional) Choose how often to send the export: Always or only If a condition is met. See Schedule a conditional export or alert.
- (Optional) If you choose to send an export only If a condition is met, you can turn on the switch to stop notifying after a set number of occurrences per day, week, or in total.
-
-
(Optional) Select the checkbox for Customize control values to filter the exported data according to the value of one or more workbook controls. See Configure additional options for exports.
-
Click Create.