Drill down control
Requirements
- To create a drill control, your account must have Can Edit access to the workbook.
- The activities described on this page are only available in Edit mode. To begin editing, click Edit in the top right corner of the page. For more information see Workbook Lifecycle.
Create a drill control
-
In the editor panel, click +ADD NEW . The ADD NEW panel opens.
-
In the CONTROL ELEMENTS section, select Drill Down.
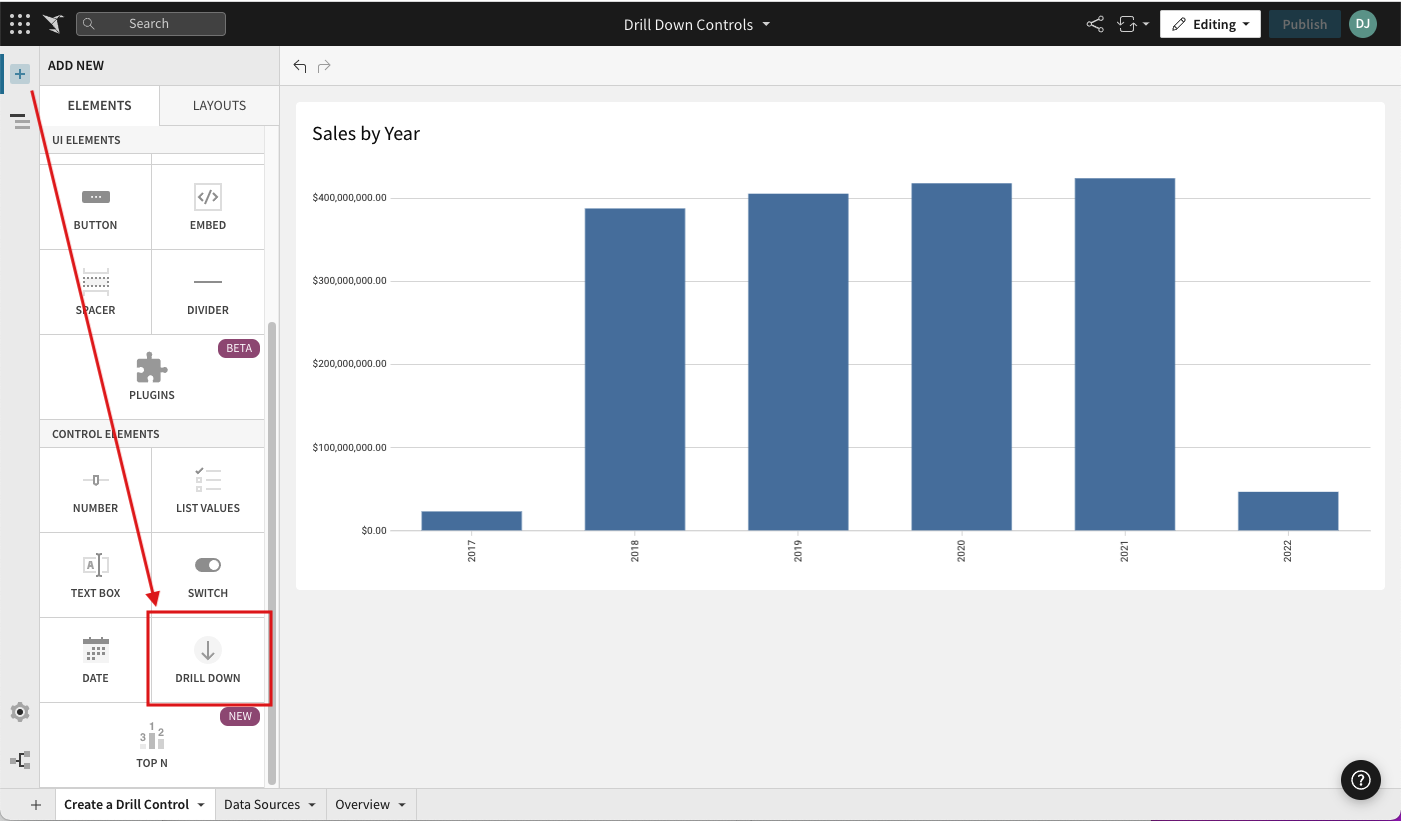
The new drill down element appears on the page.
-
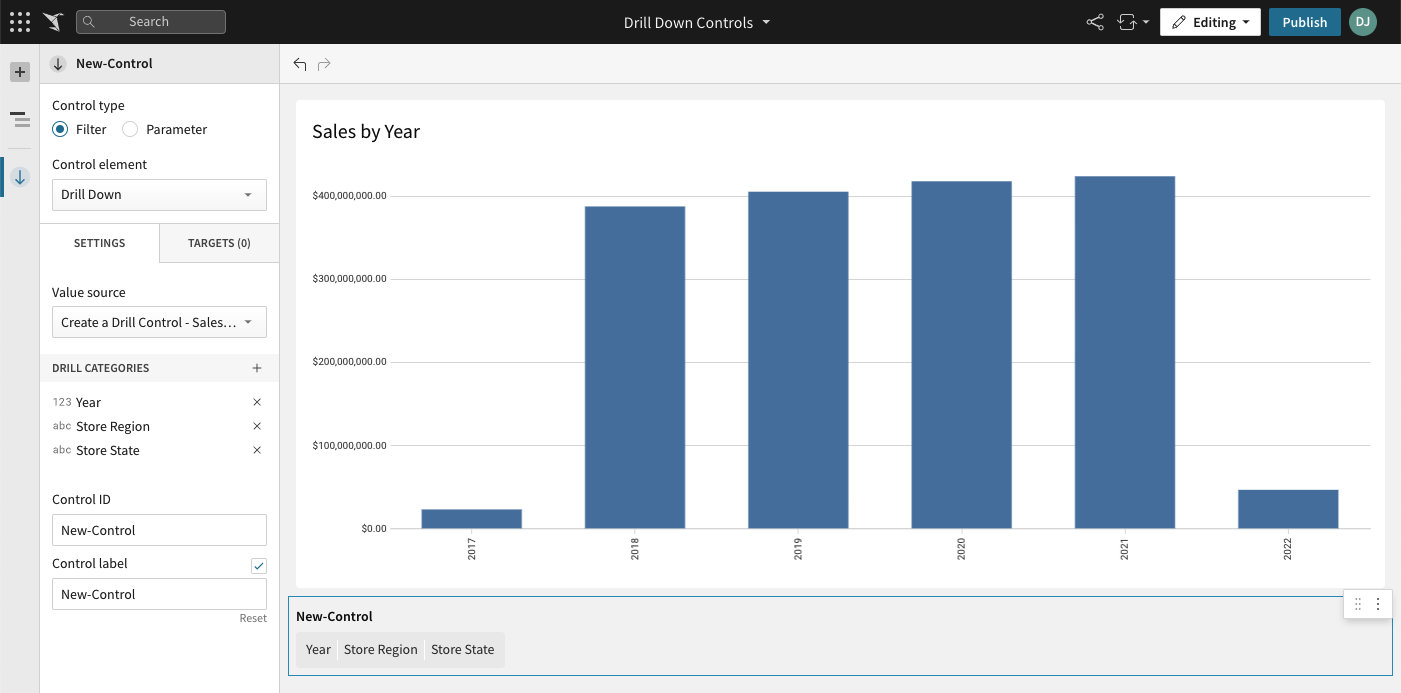
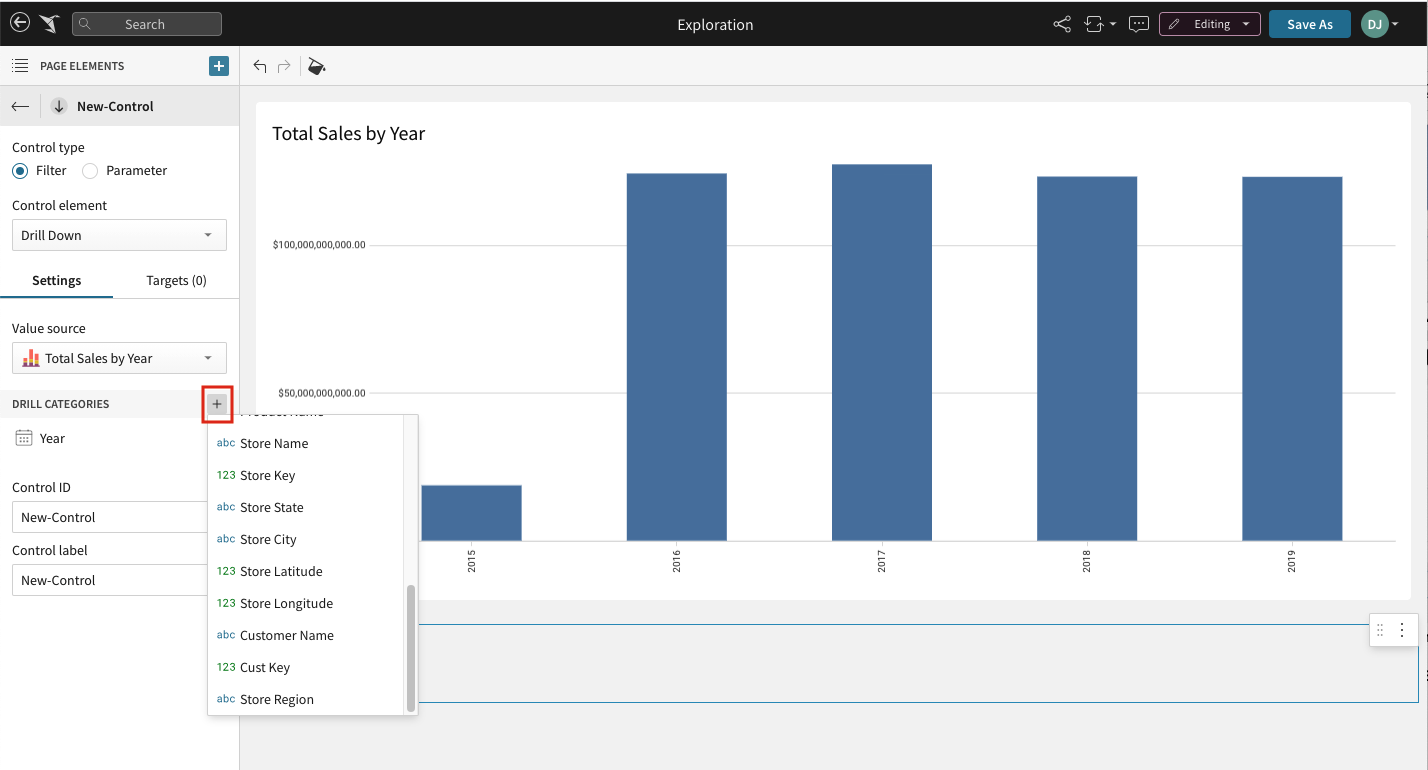
In the editor panel SETTINGS > Value source section, use the dropdown list to select a data element containing the columns that you intend to use in the drill path.
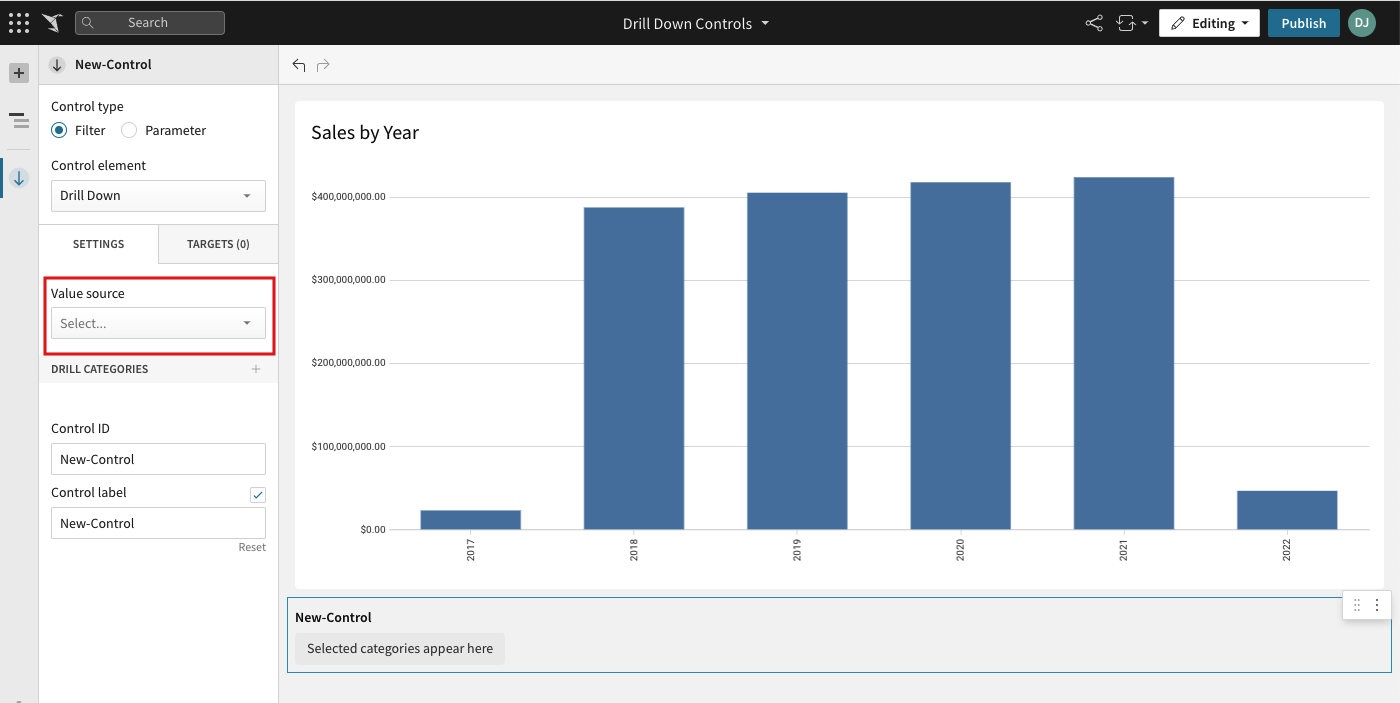
If the selected data element supports drill downs, Sigma adds a column under DRILL CATEGORIES. You can keep this, change it, or add more.
-
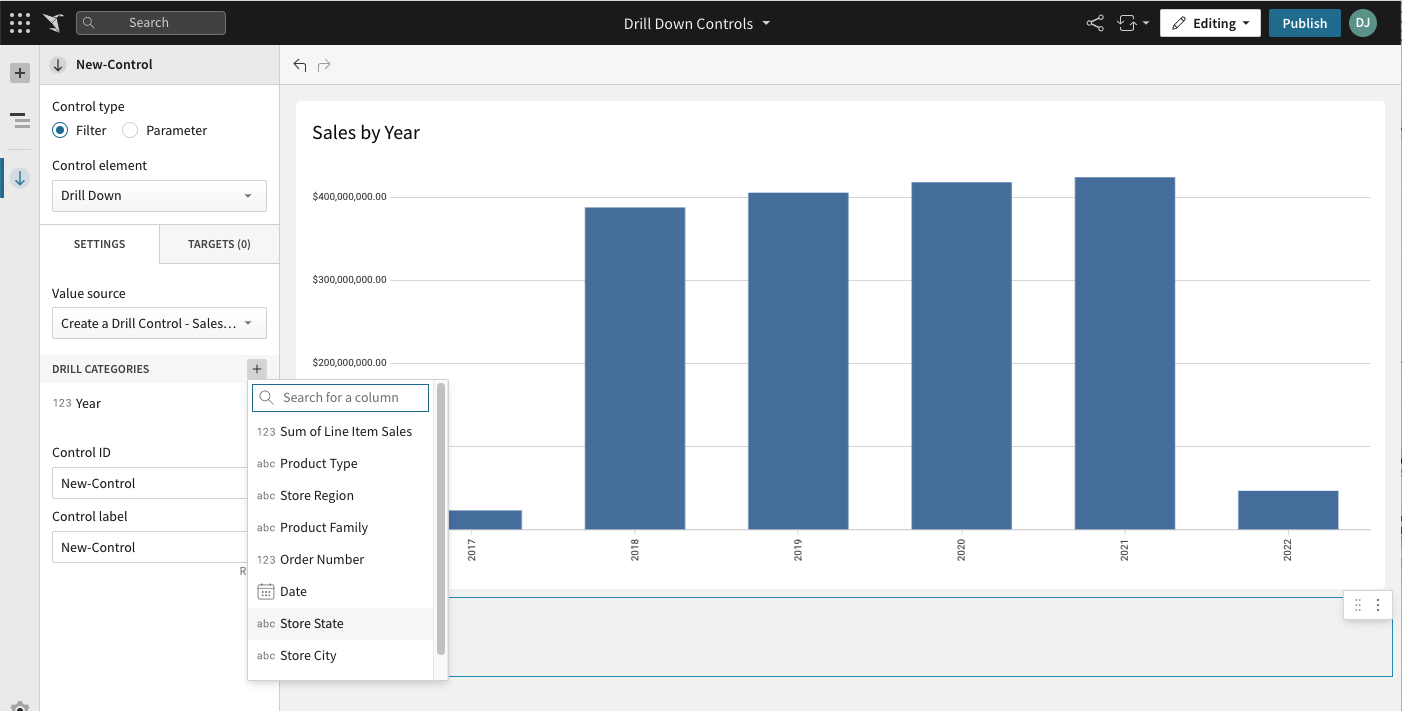
Next to the DRILL CATEGORIES section, click +Add drill category .
-
Select a column from the list.
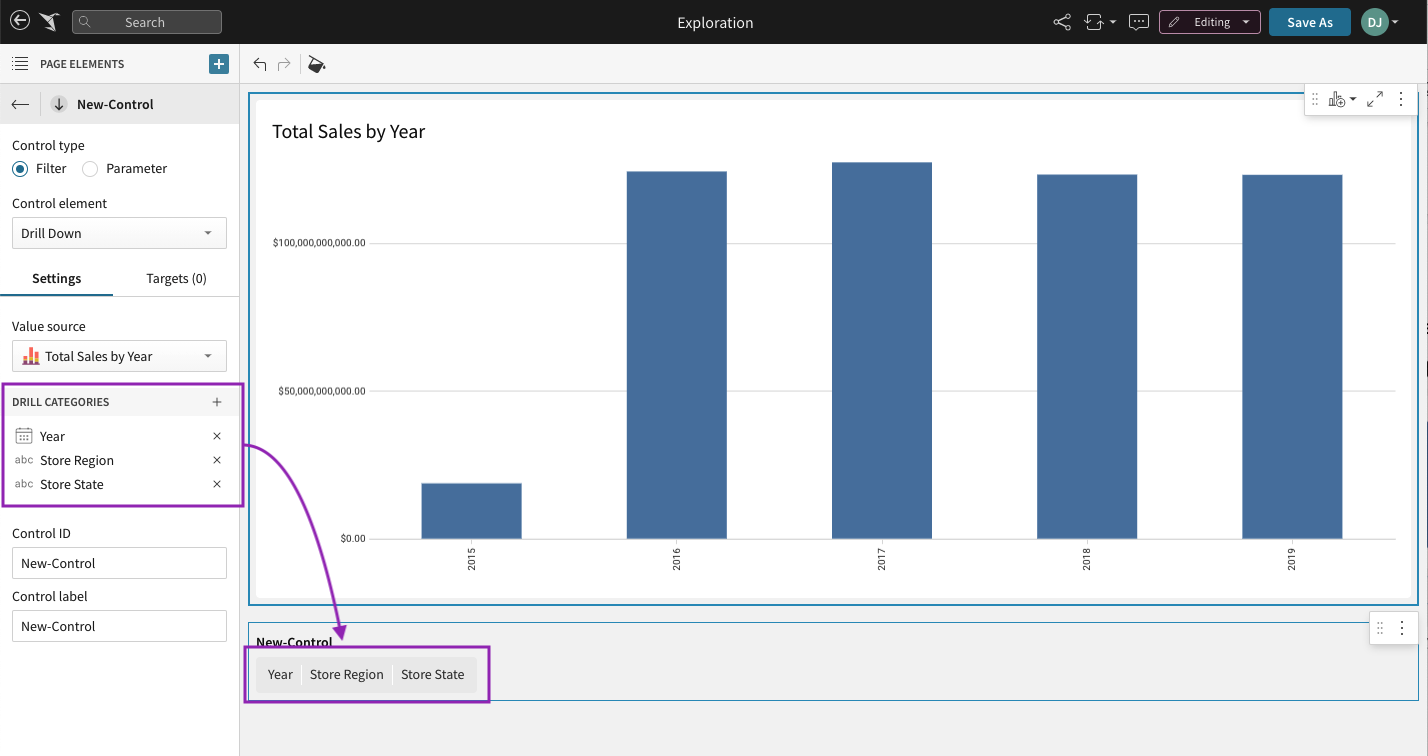
-
(Optional) Repeat the step above to add any additional columns to your drill path. The element displays the path.
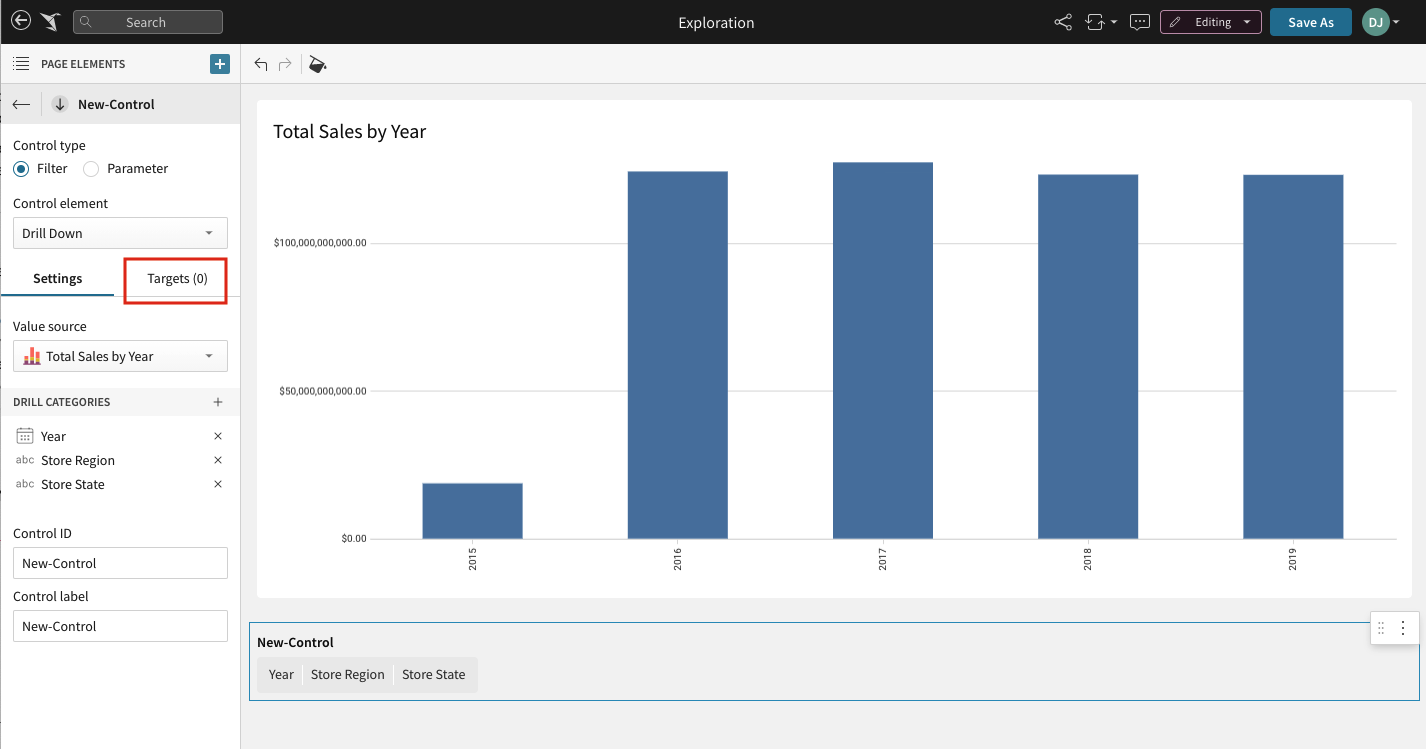
-
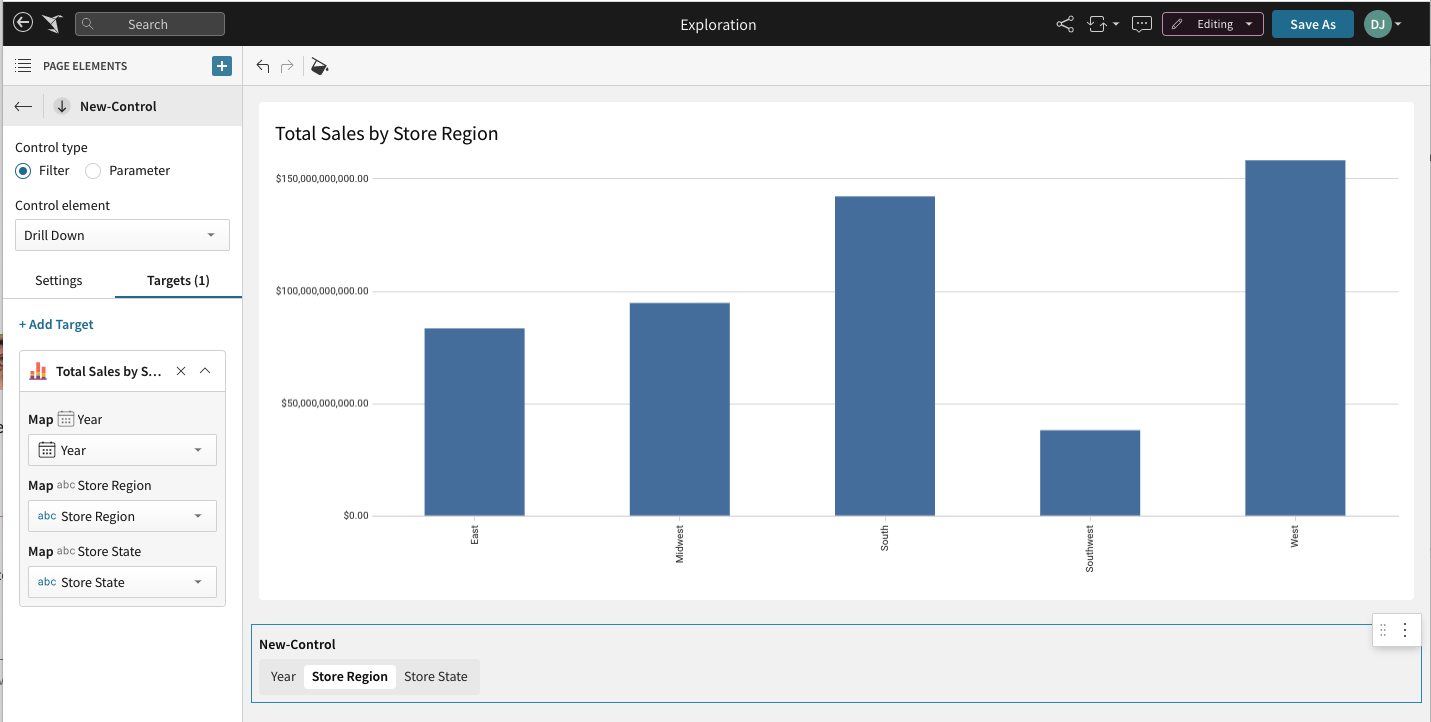
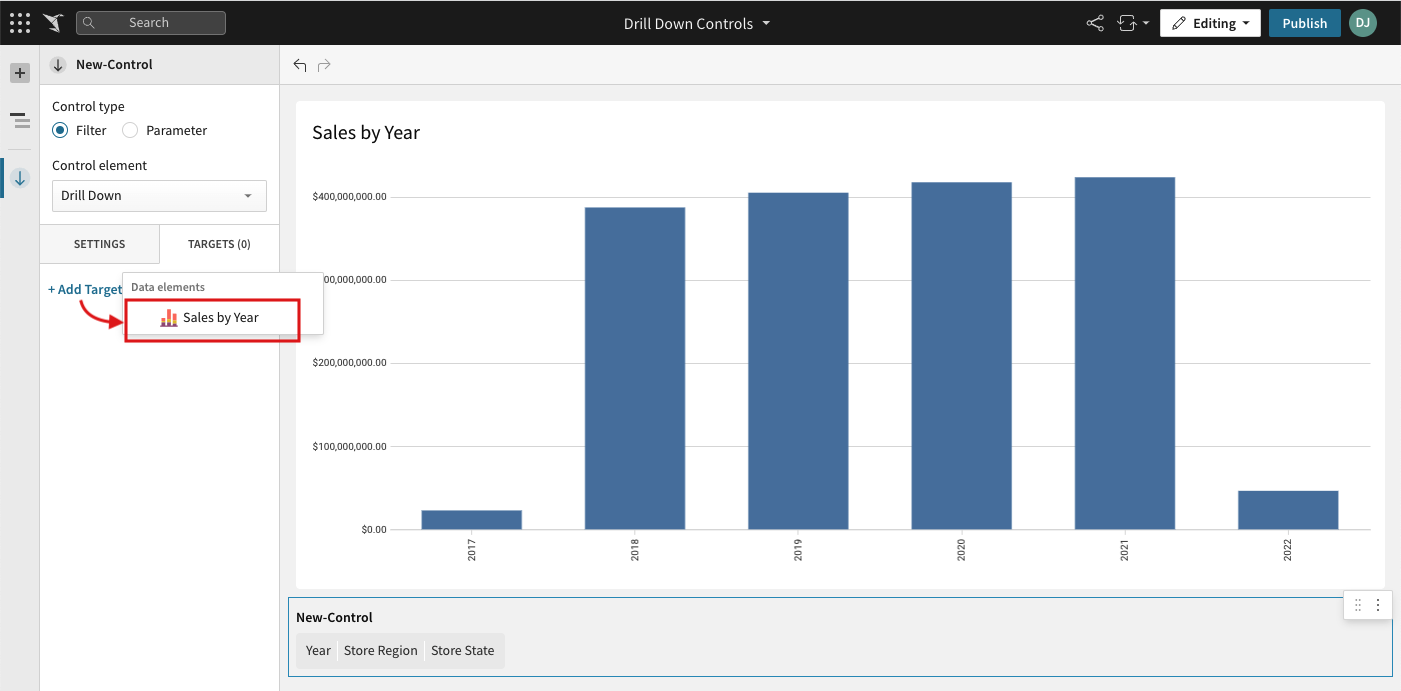
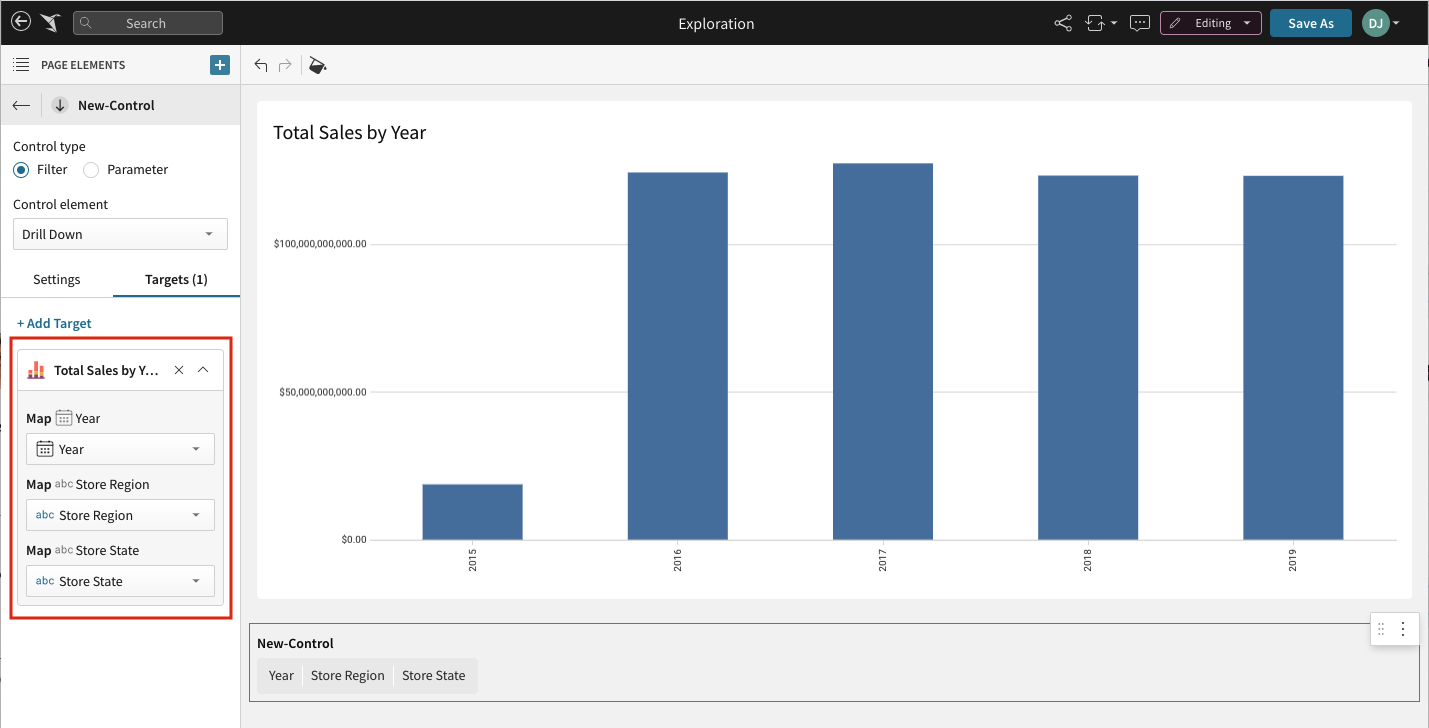
Add one or more targets to your control. Targets are the data elements that a control manipulates. In the editor panel, click the TARGETS tab.
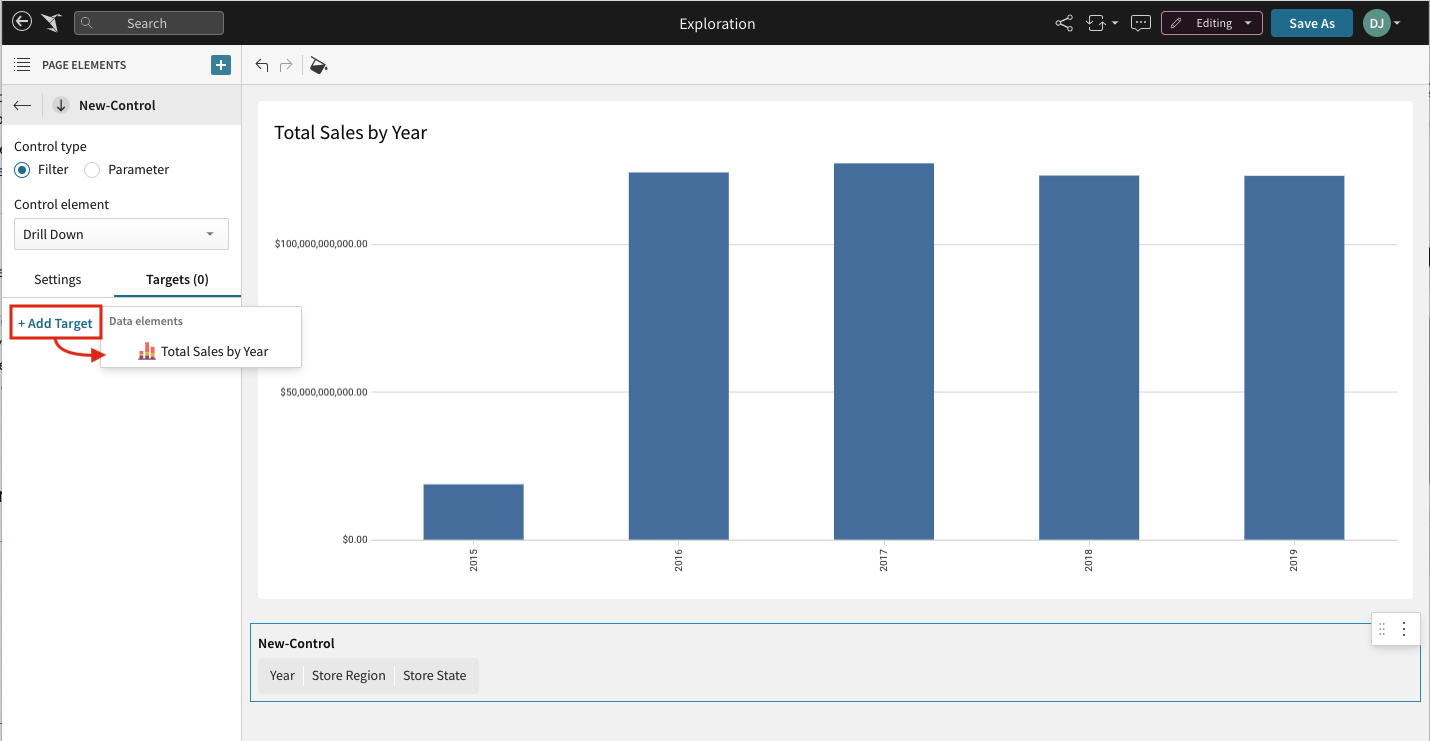
-
Click +Add Target .
-
Select a target data element from the list.
-
The Map with columns in target section appears. Use the dropdown menu to map the drill path column to the corresponding column in the target data element.
-
The SETTINGS tab shows all the drill categories. You can change the ID and/or the label of the control.
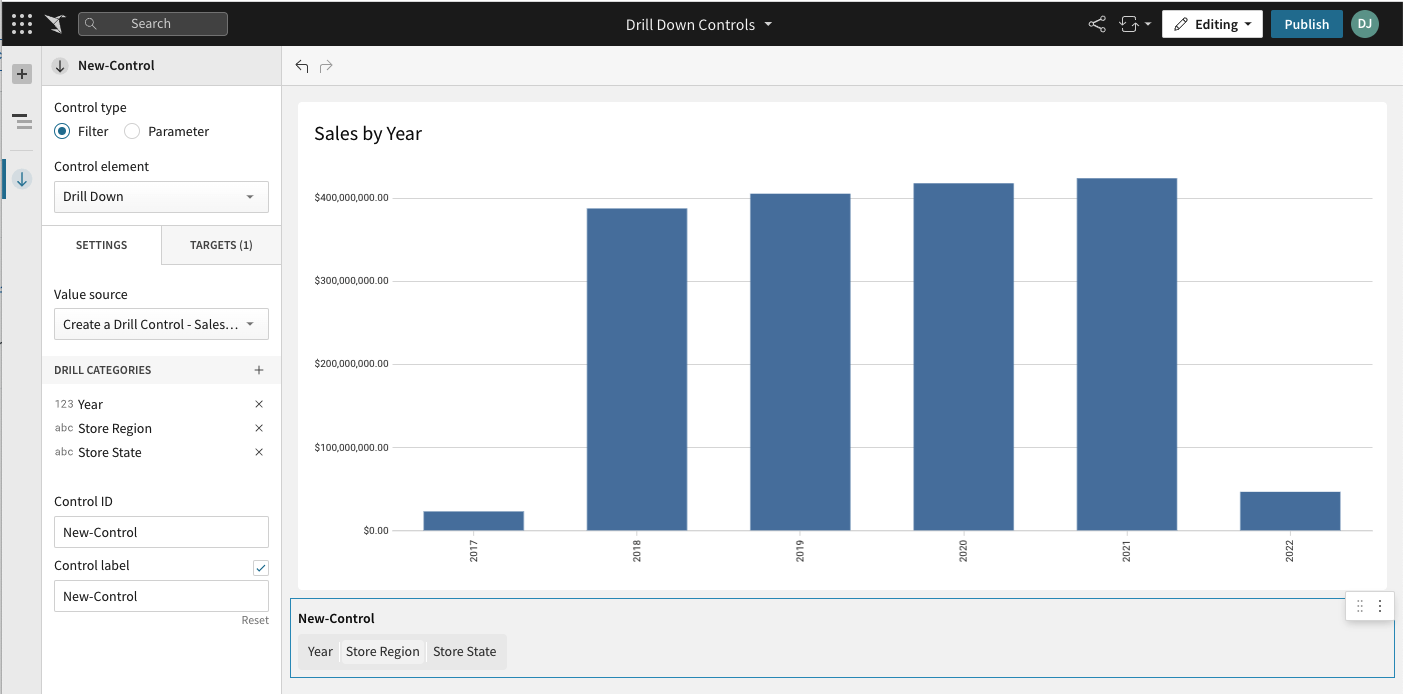
-
Repeat steps 8-10 to add additional targets.
-
To test it, click a category name in the drill control element’s drill path and drill into that category. The target data element updates accordingly.
Create a drill control from an existing drill path
-
Right click a value in the data element visualization to open its menu.
-
Select Drill up > Create drill control.
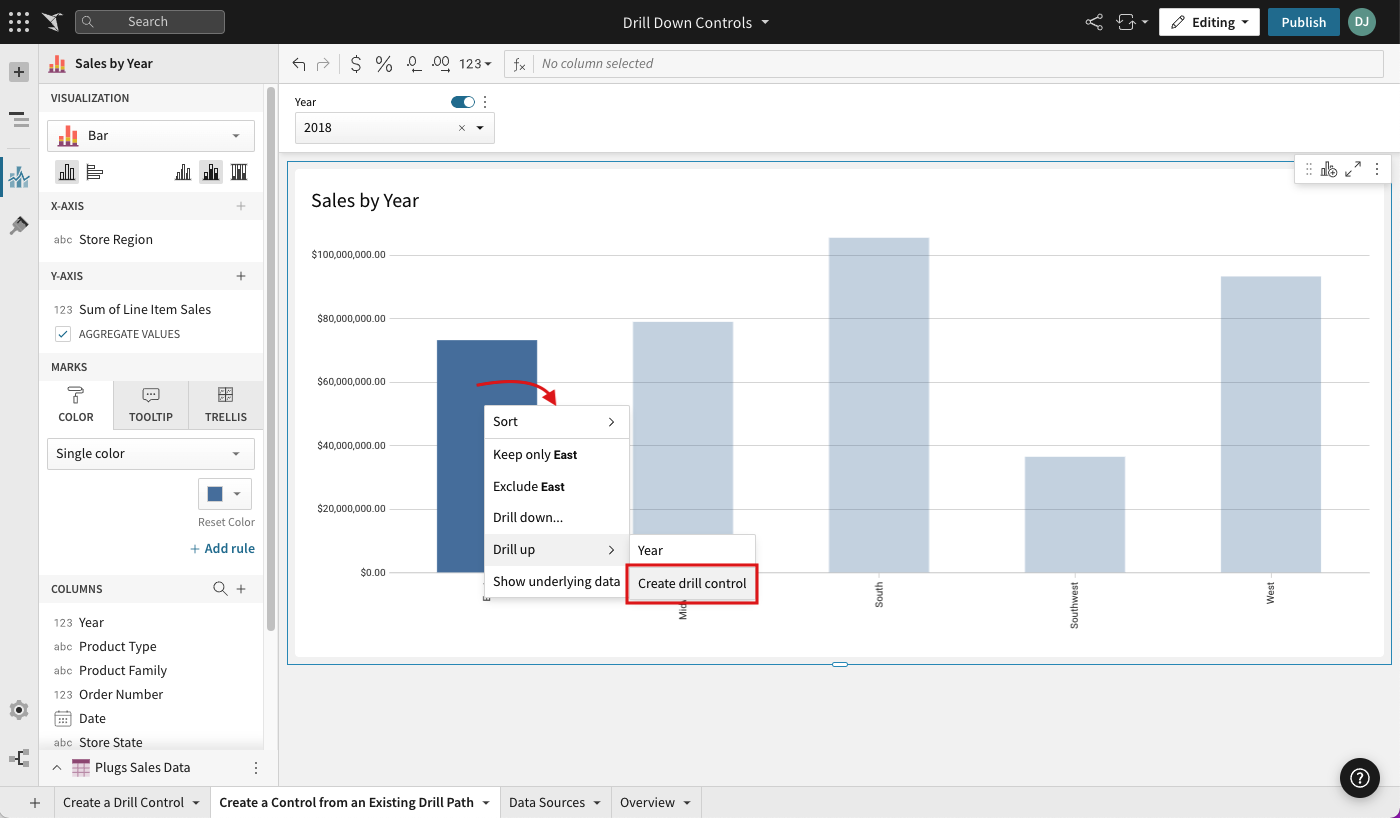
Sigma adds the control and you can edit it further, if needed.
Add categories to an existing drill control
-
Select the existing drill down control.
-
In the editor panel SETTINGS section, click DRILL CATEGORIES > +Add drill category.
Note: The +Add drill category button will only be enabled if a Value source is selected above. -
Select a column from the list.
-
Repeat the step above to add any additional columns to your drill path. Sigma displays each drill category in the drill control’s drill path.
Add targets to an existing drill control
-
Select the existing drill down control.
-
In the editor panel, click the TARGETS tab.
-
Click +Add Target .
-
Select a target element from the list.
A box representing your target element appear.
-
Use the drop down menus to map your drill path drill categories to the corresponding columns in the target element.
-
Repeat steps 3-5 to add additional targets.
-
To test it, click a category name in the control element’s drill path to drill into that category. Your new target element updates accordingly.