Create and edit unions
Sigma supports creating unions in workbooks, data models, and datasets. Unions allow you to combine tables with the same record definitions, columns, and data types by stacking them vertically. This contrasts with joins, which expand individual records (rows) by adding new fields (columns) to each record, creating a wider set of data. Unions append the records from one table to the other, creating a longer set of data.
Some use cases for unions include combining similar data from different time periods (such as quarterly revenue metrics), or merging data that comes from different sources (such as online and in-store sales transactions tables).
For information on if using a union is the right method of combining data for you, see Choosing a method of combining data. See also Create and edit joins in data models and workbooks.
This document covers:
- Considerations and limitations when creating unions in Sigma.
- How to create and edit unions in workbooks and data models.
- An example of using unions to combine sales data between months.
User requirements
- To create unions in a workbook: You must be the workbook owner or be granted Can explore or Can edit access to the workbook.
- To create unions in a data model: You must be the data model owner or be granted Can edit access to the data model.
Considerations and limitations
-
Sigma defaults to
UNION ALL, notUNION(orUNION DISTINCT), meaning that all records are included in your union output. Duplicates are not removed by default. -
You cannot union tables across connections. For example, if you have an input table created on the Sigma sample connection, you will not be able to union this to a table on another connection. You must ensure the tables you want to use are available on the same connection.
-
Swapping data sources for a union through the public API is not supported.
-
You cannot initiate a union from the element menu on a direct CSV upload. If you want to create a join using the element menu on a CSV file, you first have to create a child element of the CSV table (select
 Create child element).
Create a union
Workbooks and data models both use the same union interface. You can access the union interface in multiple ways:
-
From the Add element bar:
- In a workbook: If you want to create a union on a table or pivot table, select Data > Table/Pivot Table > Union. If you want to use a union as a source for a chart, select Charts > your desired chart type > Union.
- In a data model: Select Data > Table > Union.
-
From element menu: From the table you want to create a join with, select
 More > Element source > Union.
If you are performing a join on a child element, using the element menu to create the join results in the parent table being used for the join. If you want to create the join on the child element itself, you should initiate the join using the Add element bar.
After navigating to the union interface, select your sources and configure your union:
-
In the Select source modal, select and configure the first table you want to use in your union:
- Search for and select the table you want to use.
- Select the columns you want represented in your table. All columns are selected by default. A preview of the resulting table is shown.
- Once you are done configuring your table, click Select.
-
In Sources, select Add source. In the Select source modal, select and configure the second table you want to use in your union, then click Select.
-
In Sources, under the names of your tables, ensure your columns are correctly matched across tables. Sigma suggests matches across columns based on their data type and column name, but these can be changed using the column name dropdown. Search for and select the name of your desired columns.
The columns must be of the same data type (e.g. text, number, date), or an error is shown. To resolve this error, ensure the columns are of matching data type.
-
In Union Output, you can configure the columns you want in your union output:
- To remove a column from the output table, select
 Remove column.
 - To add a removed column back into your output, under Dropped column, select Add column to add a specific column. To add all columns back into your output, select Add all.
- To remove a column from the output table, select
-
To see a preview of what your union will look like, open the Output preview section at the bottom of the screen by selecting
 Open preview.
 -
Select Done.
Edit an existing union
To edit an existing union:
-
From the union element, select
More, then Element source, then Edit union. -
After configuring your changes, select Done.
Example: Union sales data from different months
For example, you might have two tables of sales transactions data, one for sales in the month of April, and another for May.
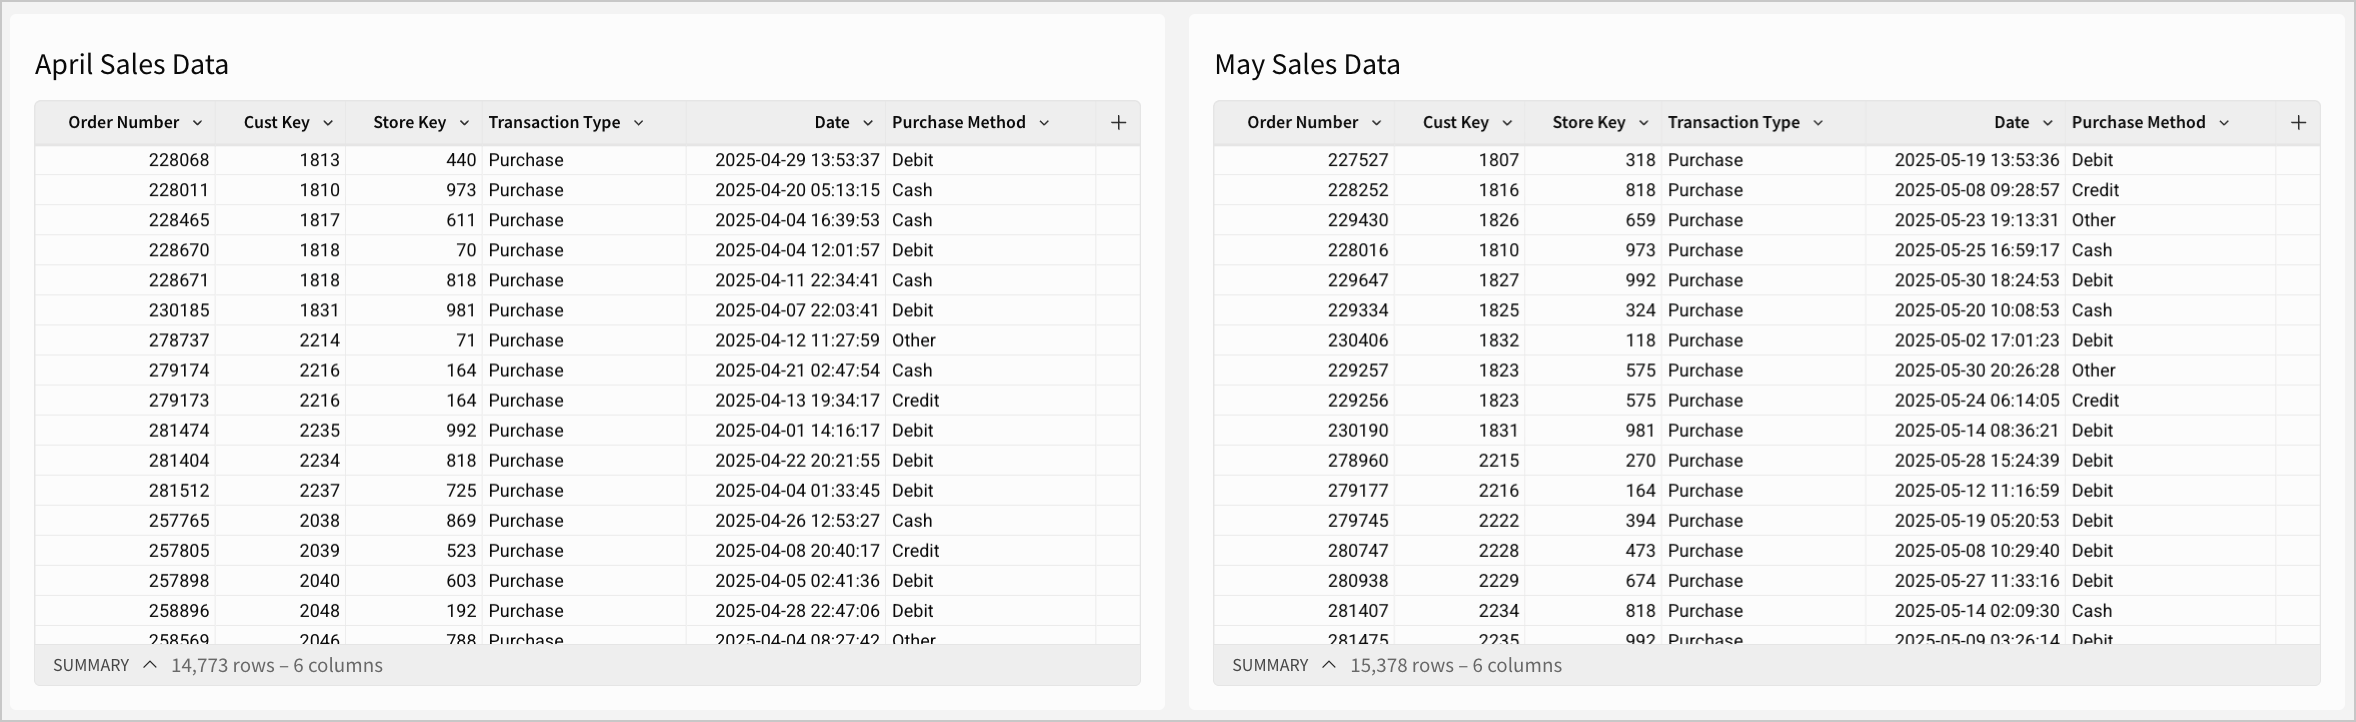
To get a more holistic view of sales trends from month to month, you might want to combine these tables together. This can be done using a union:
-
From the Add element bar, select Data > Table > Union.
-
In the Select Source modal, search for and select the April Sales Data table. Click Select.
-
In the union interface, select + Add source, then search for and select the May Sales Data table.
-
Under the names of the tables, ensure that your columns are correctly matched across tables. The data types of the columns and what they represent should be the same.

-
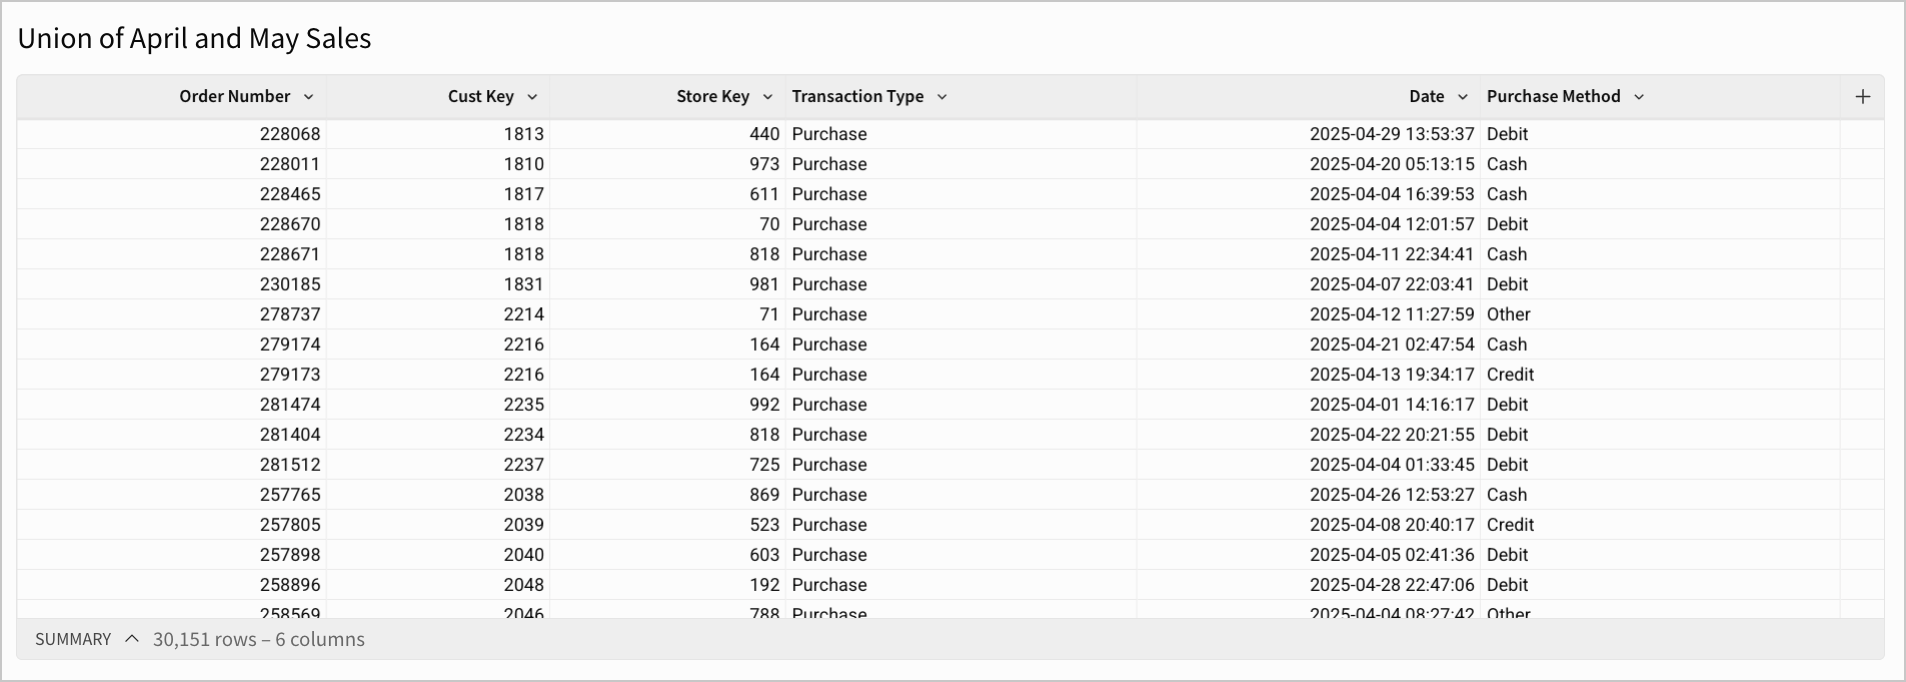
Select
Open preview to see what your union will look like. -
Select Done. Your new table element appears, and might look something like:
For another example on using unions in Sigma, see Lesson Eight: Input tables and combining data in the Sigma Fundamentals for Builders tutorial.