

Use drawers to manage complex workflows
Use drawers to open side panels that overlay the page temporarily, allowing you to display new content and information at specific points in a workflow. For example, in a shopping application, a drawer can open from the side of the page to show the user’s cart and offer checkout options without navigating away.
An open drawer overlays part of a workbook page without obscuring it entirely like a modal. The partial overlay lets you present form fields, provide details on specific records, or offer new navigation options without navigating away from the page.
Drawers are a layout element, allowing you to guide users and create focused interfaces as you build AI apps in Sigma.
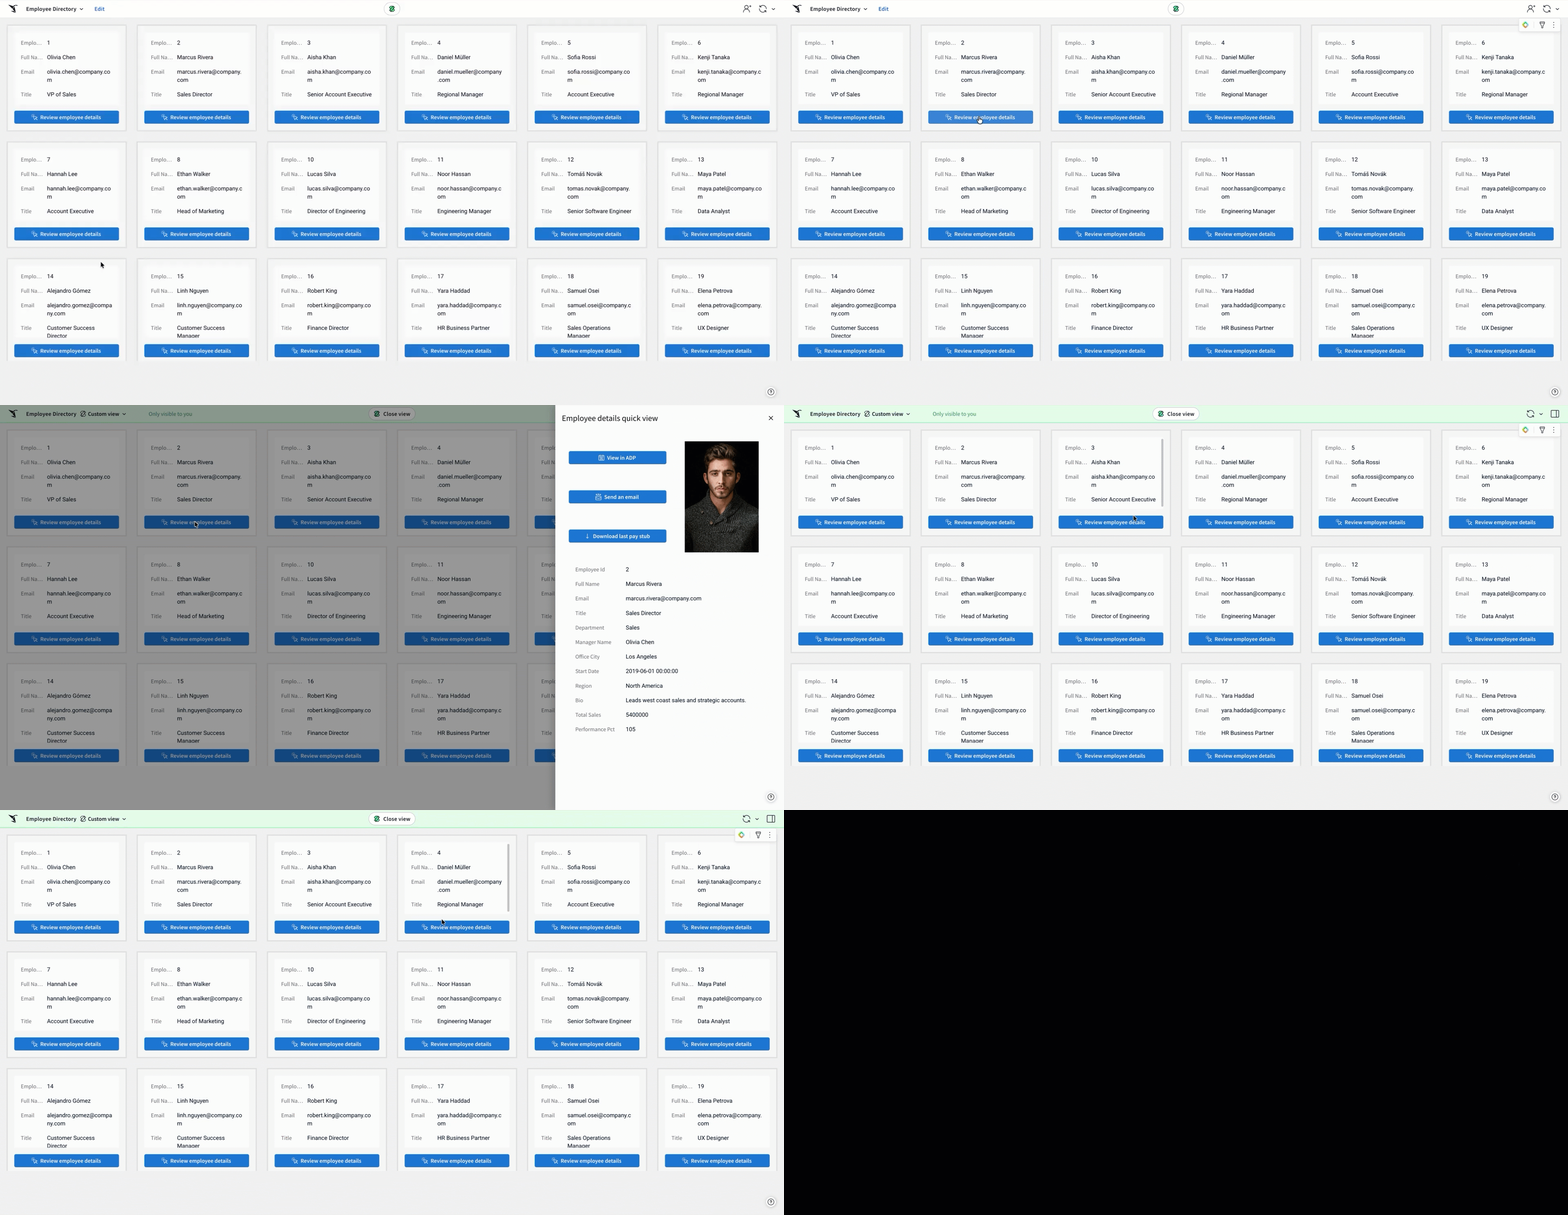
Use drawers when you want to:
- Add context to a page without navigating away entirely.
- Open multiple side panels on the same page.
- Implement a step in a workflow that can appear on multiple pages.
This document explains how to create and customize drawers. To incorporate a drawer into an app, you must configure an Open modal/drawer action. For more information about opening a drawer with an action, see Create actions that control modals, drawers, and tabbed containers.
User requirements
The ability to create and modify drawers requires the following:
- To use this feature, you must have Can edit or Can explore access to the individual workbook.
- You must be in Edit or Explore mode for the workbook. See workbook modes overview.
Add a drawer to a workbook
There are multiple ways to add a drawer to a workbook:
Add a drawer from the Add element bar
To add a drawer from the Add element bar:
- Open a workbook for editing.
- In the Add element bar, select Layout and then select Drawer.
A button labeled Open drawer appears on the workbook canvas, and the drawer opens for viewing. To begin editing the drawer and adding contents, select Edit drawer.
Add a drawer from the workbook footer
To add a drawer from the workbook footer:
- Open a workbook for editing.
- In the workbook footer, select the caret (
 ) for More options, then select Add drawer.
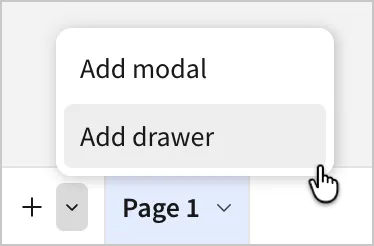
A tab for the new drawer appears in the workbook footer, and the drawer opens for editing. You can add elements to the drawer, set format options, and more.
Customize a drawer
Customize drawers for the use case. For example, a drawer that displays a single row container with additional details on a product or user might not need to support interactivity, but a drawer that applies filters to tables on the workbook page might benefit from dynamic text in the title.
By default, a drawer includes a header with a title and a close icon. You can customize the drawer by removing these defaults, adding elements, and configuring actions.
To customize the appearance and feature of a drawer, see the following sections:
Customize the header of a drawer
By default, a drawer includes a header with a default title, New drawer, and a close icon. To hide or modify the header contents for the drawer:
- Select the drawer on the workbook page.
- In the editor panel, select Format.
- Open the Header section.
- (Optional) Turn the Show title toggle off to hide the title. Show title is enabled by default.
- If the title is shown, use the text box to add or update the title. Enter an equals sign (=) to use a dynamic text formula. See Add dynamic text based on your data.
- (Optional) To change the title text’s formatting, use the formatting tools to add bold, change the text color, or change the text size.
- (Optional) To hide the close icon, turn the Show close icon toggle off. Show close icon is enabled by default.
Hiding both the title and the close icon hides the header.
Customize drawer appearance
You can customize the appearance of a drawer and its elements, including spacing, padding, width, background color, and how it interacts with the workbook page.
To customize the appearance of the drawer, including elements added to it:
- Select the drawer on the workbook page.
- In the editor panel, select Format.
- Select Drawer style to expand the section and view the style options:
Configure actions for a drawer
To configure workflows based on the state of the drawer:
- Select the drawer on the workbook page.
- In the editor panel, select Actions.
- Configure one or more action sequences with an On close trigger.
When the drawer is closed, the action sequences trigger.
Delete a drawer
To delete a drawer, select the caret () in the tab to open the menu, then select Delete.
Deleting a drawer deletes all elements inside the drawer.