
Connect to Databricks
Sigma supports secure connections to Databricks.
This document explains how to connect your organization to a Databricks warehouse.
For information about Sigma feature compatibility with Databricks connections, see Region, warehouse, and feature support.
Requirements
In your Sigma organization:
- You must be assigned the Admin account type.
In Databricks:
- You must have access to a Databricks workspace with Databricks SQL access enabled. See Manage entitlements in the Databricks documentation.
- You must have access to a Databricks SQL warehouse or have the ability to create one by either being an Admin or having the
Allow unrestricted cluster creationuser entitlement. See Requirements in the Databricks documentation. - You must be able to either use your own personal access token (PAT) or one attached to a user or service principal who has permissions. See Monitor and manage access to personal access tokens in the Databricks documentation.
Configure Databricks
Complete the following steps in Databricks before you add a Databricks connection to Sigma.
-
Create a Databricks SQL warehouse if one doesn't already exist. See Create a SQL warehouse in the Databricks documentation.
-
Confirm that the user or service principal you plan to use to connect to this SQL warehouse has
Can useorCan managepermissions for the compute resource, and that all workspace users haveCan usepermissions. -
Configure your Auto stop setting. For information on this setting, see Configure SQL warehouse settings in the Databricks documentation.
- If you are running a Serverless SQL warehouse, Sigma recommends that you enable Auto stop and setting it to 10 or 15 minutes.
- If you are running a Pro or Classic SQL warehouse, disable Auto stop on your Databricks endpoint so that your first query does not time out or run slowly when the SQL endpoint is in a suspended state.
-
Configure data access to the SQL warehouse. In order to query data using the Databricks SQL warehouse, the user, group, or service principal that you use to connect Databricks to Sigma needs underlying access to the data. For instructions on how to set these permissions in Unity Catalog, see Manage privileges in Unity Catalog in the Databricks documentation.
-
At the catalog level, grant all account users
USE CATALOGandUSE SCHEMAprivileges. -
At the schema level, grant all account users
BROWSE,EXECUTE,READ VOLUME, andSELECTprivileges. -
If you plan to enable write-access features on this connection, also grant all account users
MODIFYandCREATE TABLEprivileges at the schema level on the dedicated catalogs and schemas you plan to define for write access.For details on the privileges required for write access, see Unity Catalog privileges and securable objects in the Databricks documentation.
If you are using the legacy Hive metastore to manage permissions, the permissions model is different. To set up equivalent privileges with the legacy Hive metastore, see Hive metastore privileges and securable objects (legacy) in the Databricks documentation. If you want to sync data from your
hive_metastorecatalog, the tables in that catalog requireREAD_METADATAprivileges. -
-
Obtain the Server hostname and HTTP path from your SQL warehouse’s Connection details screen. You need these values in the next step when you configure the Databricks connection in Sigma.
-
Create an access token for the user or service principal to use to connect to this SQL warehouse. The type of token you create depends on the authentication method you use when configuring the Databricks connection in Sigma. For token creation instructions, see Authentication for Databricks tools and APIs in the Databricks documentation.
Create a Databricks connection in Sigma
To create a Databricks connection, perform the following steps in Sigma:
- Add a connection and specify connection details
- Specify your connection credentials
- Configure write access
- Configure connection features
Add a connection and specify connection details
-
Click the user icon at the top right of your screen. The user icon is usually composed of your initials.
-
In the drop-down menu, select Add connection. The Add new connection page appears.
-
In the Connection Details section, specify the following:
Name Enter a Name for the new connection. Sigma displays this name in the connection list. Type Select Databricks.
Specify your connection credentials
In the Connection Credentials section, fill out the required fields:
-
In the Host field, enter the value of the Server hostname field in the Connection details screen of your SQL warehouse.
-
In the HTTP path field, enter the value of the HTTP path field in the Connection details screen of your SQL warehouse.
-
Click the caret (
 ) next to Authentication, then choose your authentication method.
- If you want to authenticate your connection with OAuth, select OAuth.
- Otherwise, select Basic Auth, then generate a token in Databricks to authenticate the Sigma connection. For instructions, see Databricks personal access tokens for service principals in the Databricks documentation.
Next, see Configure OAuth features if you are using OAuth to authenticate your connection. If you are not using OAuth, skip to Configure write access and Configure connection features for additional options. Or, if you are finished configuring your connection, click Create at the top right to create your connection.
Configure OAuth features
If you selected OAuth as your authentication method for the connection, complete these steps.
-
(Optional) If you are using OAuth to authenticate users to your Sigma organization with Databricks Authorization Server, and your organization does not have multiple identity providers (IdPs) enabled, you have the option to re-use that OAuth configuration for this connection. To do so, turn on the Use organization-level OAuth configuration toggle, then go to step 3.
If you do not use OAuth as your authentication method for your Sigma organization, or have multiple identity providers enabled for your organization, the toggle is not present. If you use an external IdP (Okta, Microsoft Entra ID, Auth0, or PingIdentity), do not turn on this toggle because Databricks does not support authenticating using an external IdP.
-
If you do not have an organization-level OAuth configuration, do not want to reuse the organization-level OAuth configuration, or if you have multiple identity providers enabled for your organization, set up a unique OAuth configuration for this connection.
Configuring a unique OAuth application to authenticate users to a connection (connection-level OAuth) is a public beta feature and is subject to limitations.
For more details about connection-level OAuth, see Use different OAuth configurations for authenticating users to your connections than you use for your Sigma organization.
Complete the procedure in Configure a custom OAuth application for Sigma in Databricks Authorization Server before filling out the fields in the OAuth features section:
-
[optional] Enter any additional Scopes to further specify the access of the OAuth token. The default scopes
openid,profile,email, andall-apisare required. The default scopeoffline_accessis not required. -
In the Metadata URI field, enter the OAuth metadata URI. For instructions on how to obtain this value, see Determine your metadata URI for your Databricks Authorization Server.
-
In the Redirect URI field, use the
 icon to copy the redirect URI to your clipboard, to use when configuring your OAuth configuration in your IdP.
 -
In the Client ID field, enter the client ID from your OAuth application. For instructions on how to obtain this value, see Configure a custom OAuth application for Sigma in Databricks Authorization Server.
-
In the Client Secret field, enter the client secret from your OAuth application. For instructions on how to obtain this value, see Configure a custom OAuth application for Sigma in Databricks Authorization Server.
After you enter and save this value, Sigma does not display it.
-
-
Determine whether you need a Service account. There are three reasons to configure a service account:
- If you use the public embedding features in Sigma, a service account is required. Service account credentials are used to run queries on publicly embedded dashboards.
- If you want admins to be able to configure individual workbooks to run using a service account rather than each individual’s OAuth credentials, a service account is required. See Run a workbook with service account credentials.
-
If you need a service account, turn on the Service Account toggle and enter an Access token for that service account. For instructions, see Databricks personal access tokens for service principals in the Databricks documentation.
Next, if you are using OAuth to authenticate your connection, see Configure OAuth features. If you are not using OAuth, go to Configure write access and Configure connection features for additional options. Or, if you are finished configuring your connection, click Create at the top right to create your connection.
Configure write access
Write access is necessary for the following features:
- CSV upload
- Materialization
- Input tables
- Warehouse views
- Write Python code
- Usage dashboard for Sigma Assistant
The steps to configure write access differ depending on whether you are using OAuth or basic authentication for the connection. Follow the instructions that match your authentication option:
- Configure write access on a connection with basic authentication
- Configure write access on a connection with OAuth
When you designate a schema as the write access destination, Sigma reserves it for internal write-back objects and doesn’t expose it as a data source in the connection explorer (data catalog). To avoid restricting user access to analytical data, use a dedicated write-back database or schema that doesn’t store data used for analysis and reports.
Configure write access on a connection with basic authentication
Configuring write access requires you to set up dedicated catalogs and schemas in Databricks that Sigma can use to write data and grant MODIFY and CREATE TABLE privileges on those schemas to the service account.
-
Turn on the Enable write access toggle.
-
Configure the following fields:
- In the Write catalog field, enter the name of the catalog where Sigma must store write-back data.
- In the Write schema field, enter the schema where Sigma must store write-back data.
Configure write access on a connection with OAuth
Configuring write access requires setting up dedicated catalogs and schemas in Databricks granting the necessary permissions. For information about how write access works for OAuth connections, see See About OAuth with write access.
- Turn on the Enable write access toggle.
- For Write destinations, provide at least one path in the format
CATALOG.SCHEMAwhere Databricks must store write-back data from Sigma objects, including input tables, input table edit logs, warehouse views, materializations, CSV uploads, and usage data from Sigma Assistant. - (Optional) Enter additional destinations as needed, depending on how you want to partition the data that Sigma writes back to your data warehouse. For example, you might create separate destinations for different teams and set up your team and schema permissions to ensure that each team has access to write to their designated destinations.
Configure connection features
In the Connection features section, specify the following:
-
In the Connection timeout field, specify the amount of time, in seconds, that Sigma should wait for the query to return results before timing out. The default in 120 seconds. The maximum is 600 seconds (10 minutes).
-
[optional] If you do not want Sigma to automatically make column names from the data source more readable, turn off the Use friendly names switch. For example, with Use friendly names turned on, a catalog column ORDER_NUMBER or OrderNumber appears as Order Number.
-
[optional] If you want to see and use your
hive_metastorecatalog in Sigma, turn on the Enable Hive metastore switch . Turned off by default.
Enable Python
To enable Python on your Databricks connection, follow the steps to Set up a Databricks connection for Python, including the Databricks configuration steps.
Finish creating your connection
After you specify all the parameters of the connection, click Create.
-
Click Create at the top right of the screen to create your connection. Sigma displays a connection summary on the screen.
-
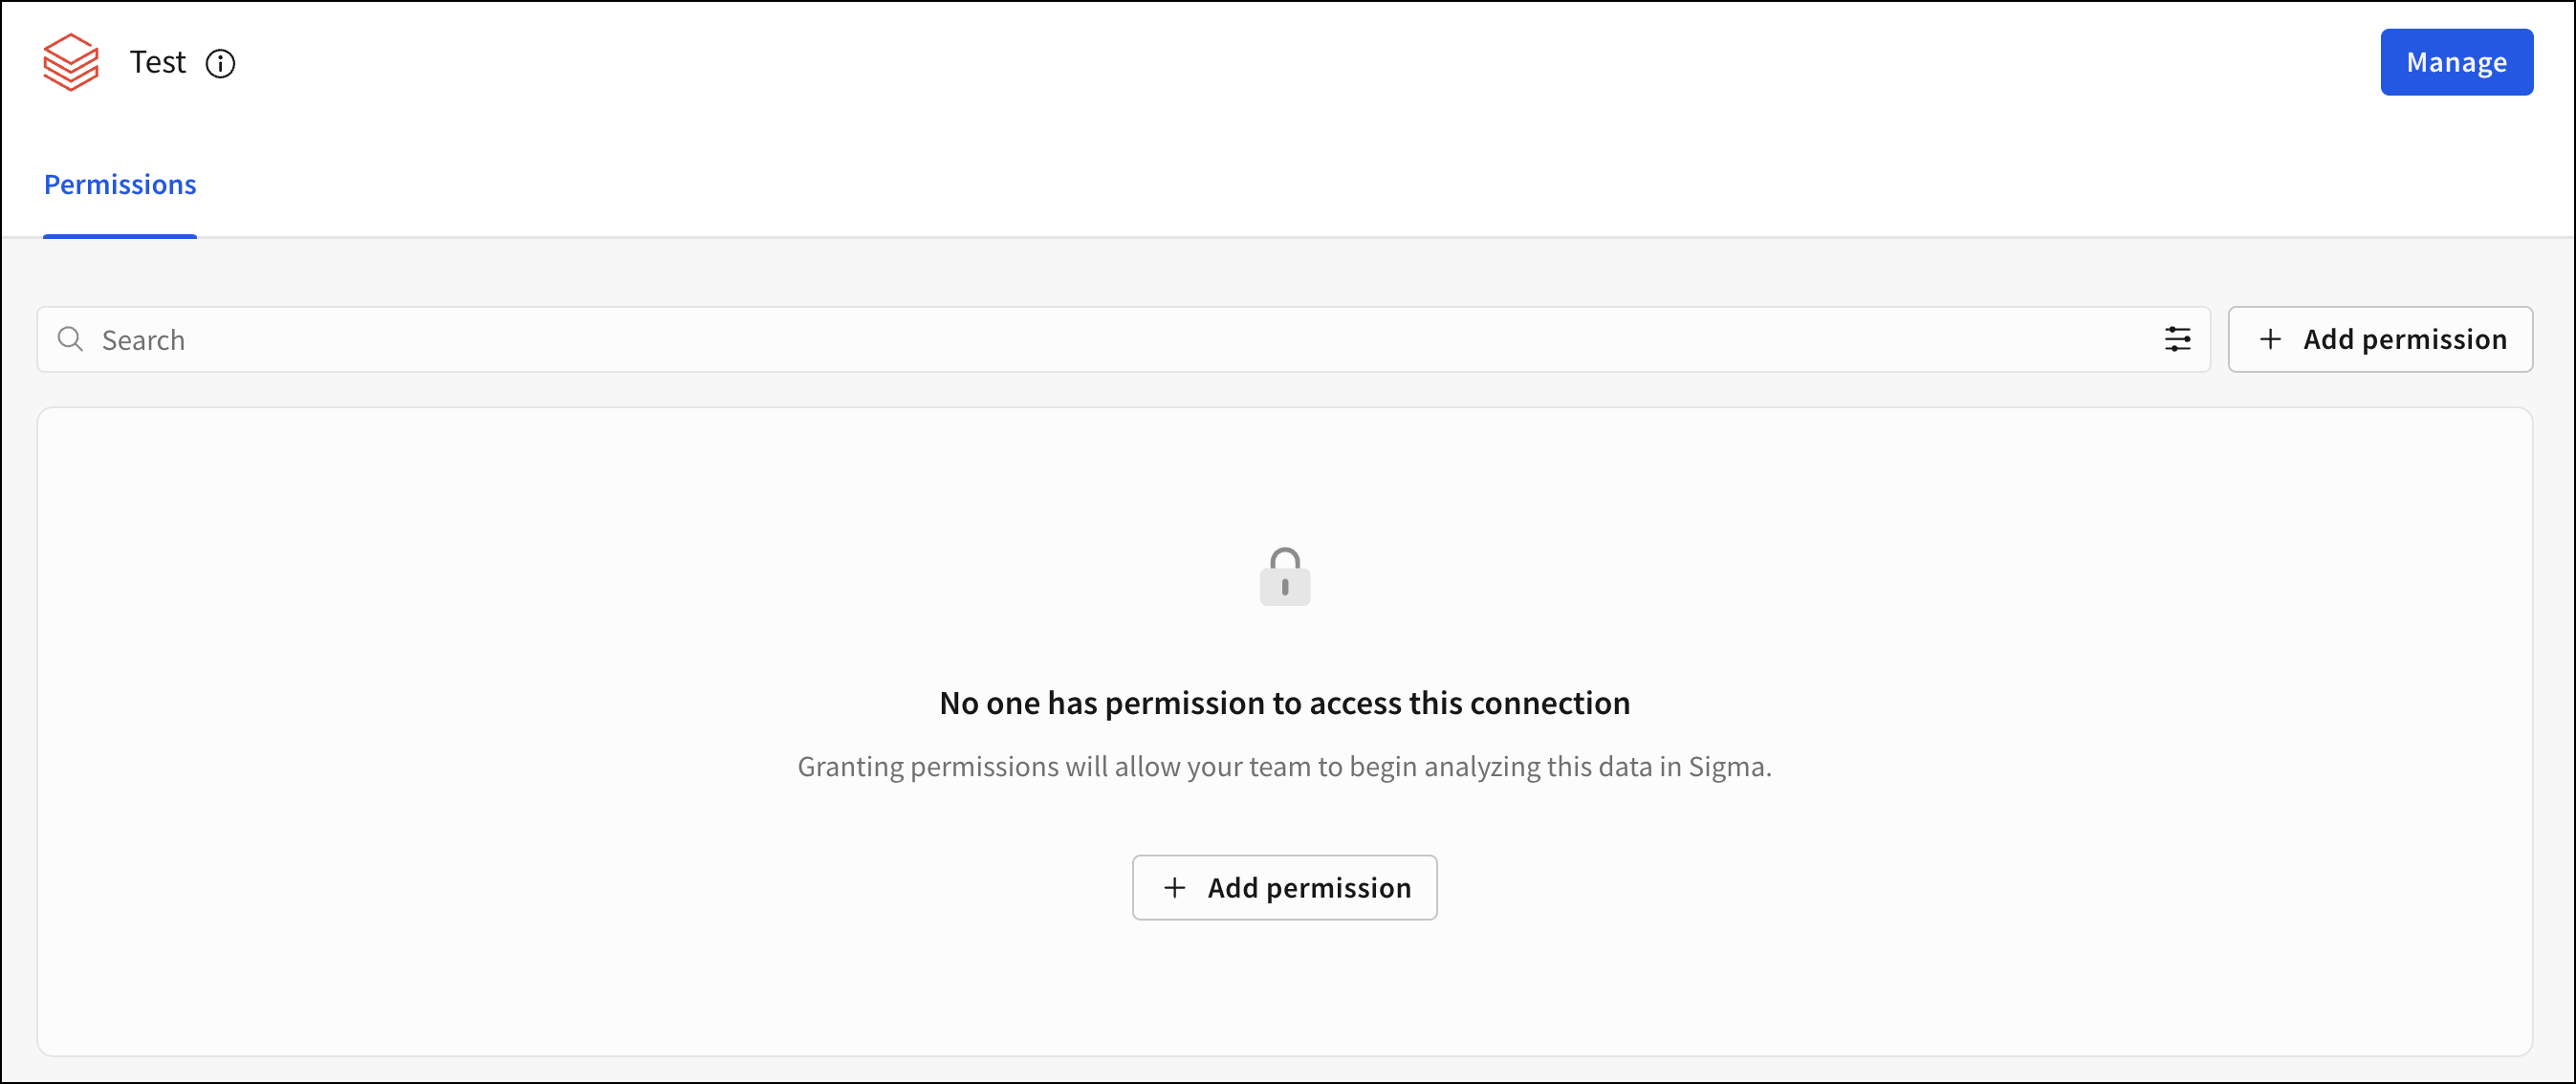
Click Browse connection, then click Add permission to grant connection access for users in your organization. See Data access overview.
-
Use the navigation in the left panel to explore the schemas and tables in your connection.

Databricks Partner Connect
Databricks is one of Sigma's partners, so you can quickly establish a connection through the interface. See What is Databricks Partner Connect? in the Databricks documentation.
Updated 3 days ago