Use containers to organize workbook layouts
Add a container to your workbook page to organize elements on the canvas and visually group elements together. With containers, you can more easily manage layouts and style elements as a group.
Containers are a layout element, allowing you to guide users and create focused interfaces as you build AI apps in Sigma.

Use containers when you want to:
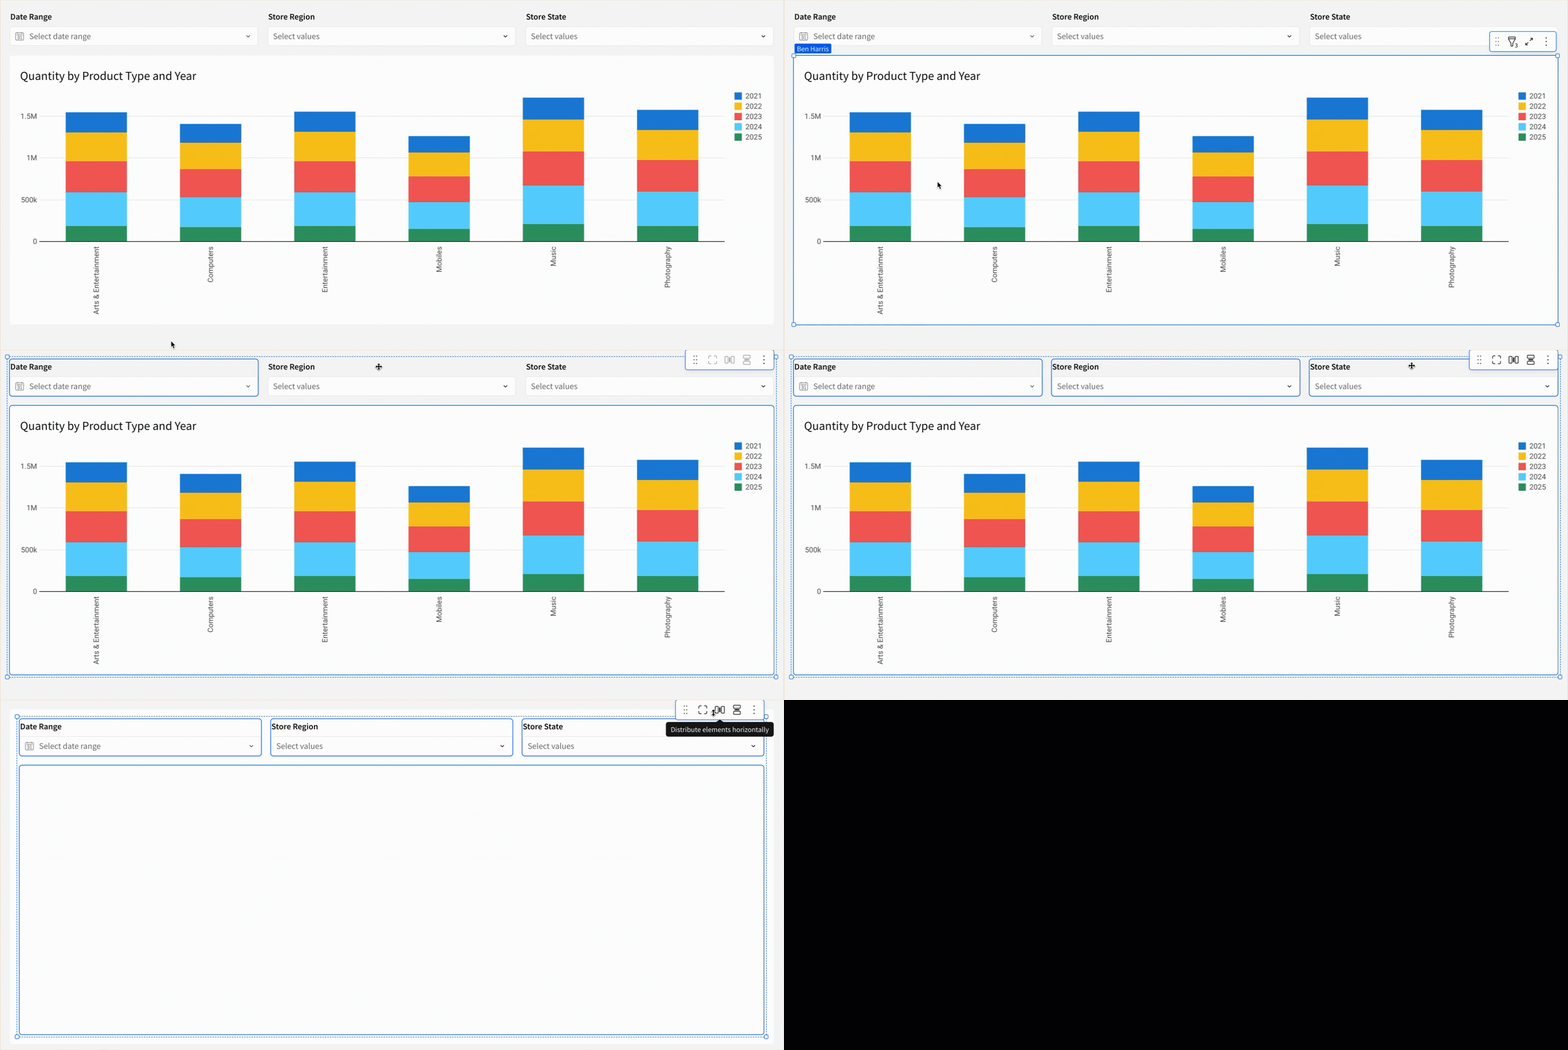
- Create an obvious visual connection between a chart and its filters/controls.
- Separate one group of elements from another on the same page.
- Move multiple elements at the same time.
Prerequisites
- You must be the owner or have Can edit or Can explore permissions on the workbook.
Add a container to a workbook
You can add an empty container or add a container around existing elements:
Add an empty container
- In the Add element bar, select Layout then Container.
- Select any element from the Add element bar, then drag it into the container.
Add a container around existing elements
There are multiple ways to add a container around existing elements:
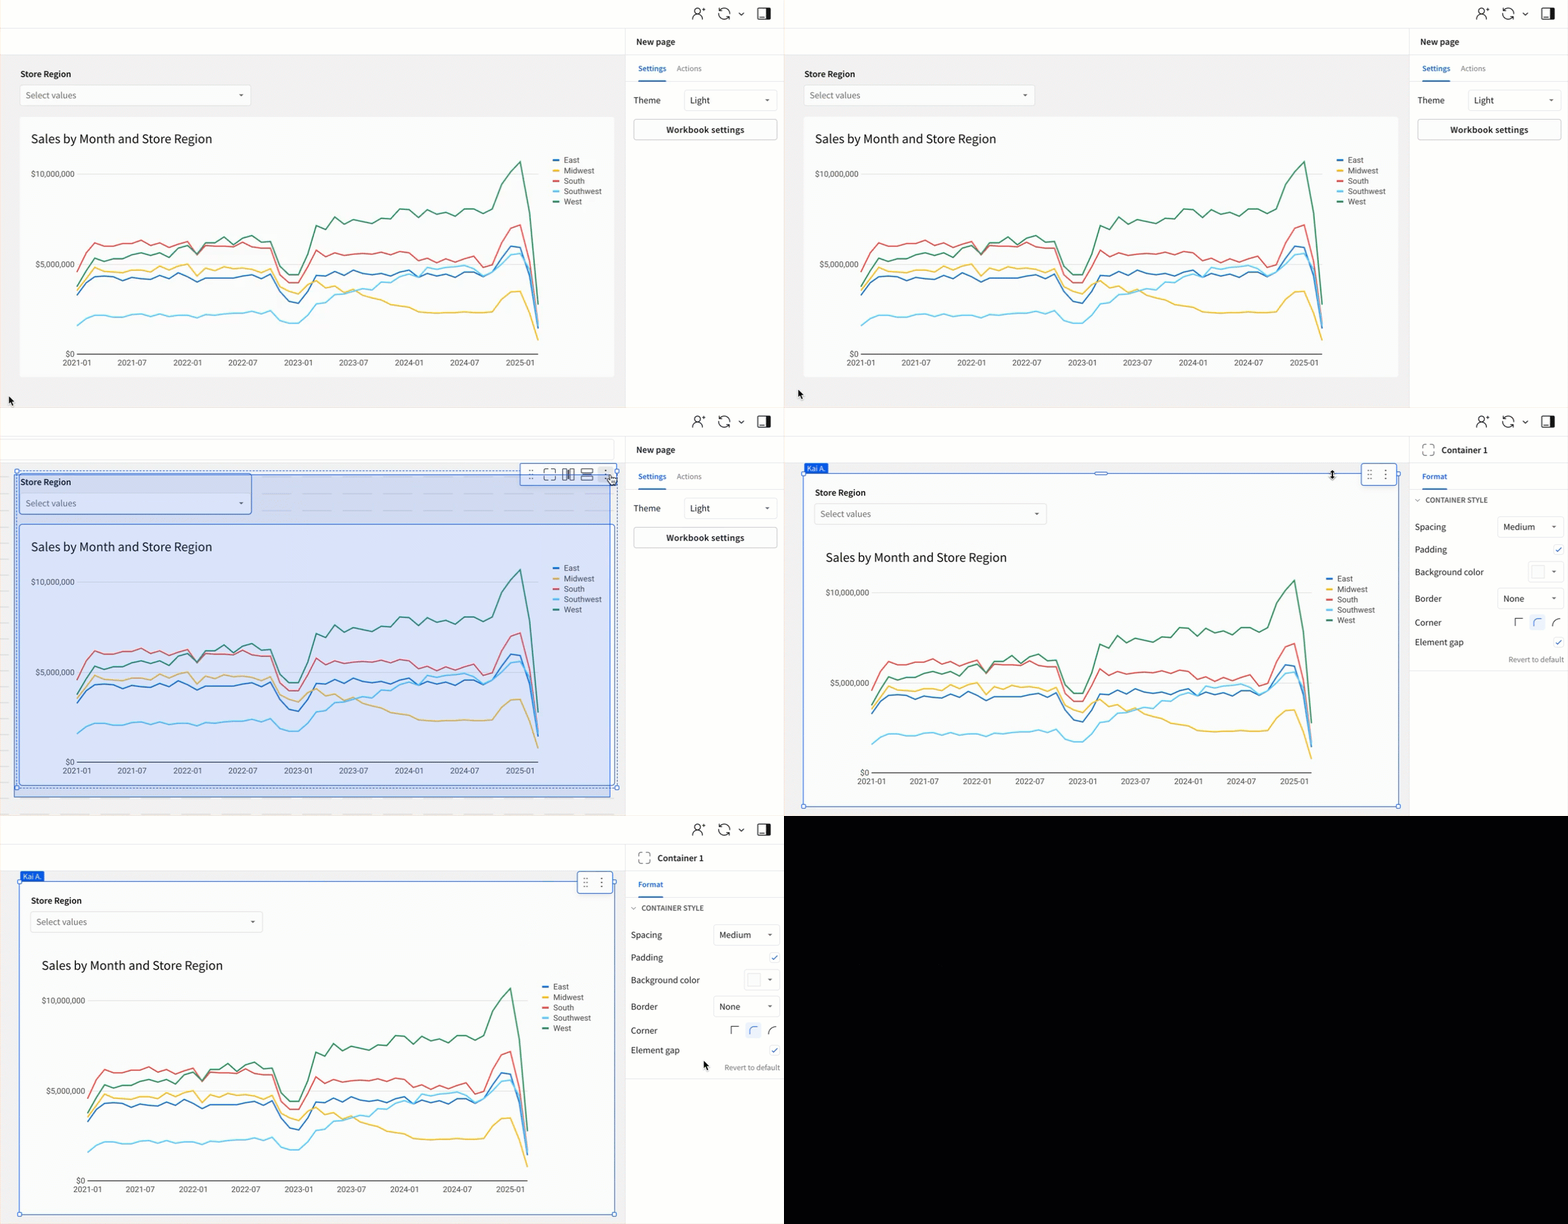
- Drag to select multiple elements, then click Create container (
) or press ctrl/cmd+g.
- Cmd/ctrl+click to select multiple elements, then click Create container (
) or press ctrl/cmd+g.
The container is created on the canvas and selected by default.

When you nest containers or tabbed containers, you can only nest four levels deep. If you attempt to place a container inside another layout element that is already nested within three surrounding container or tabbed container elements, Sigma shows a "Cannot nest more than 4 levels of layouts" error.
Customize a container
To customize the location, size, and style of a container, see the following sections:
Move a container
To change the location of a container and its elements, select the edge of the container to select the container, then drag the container to the new location.
Resize a container
By default, a container has a grid width of 12, which you can resize as needed. Drag the edges of a container to resize it.
- You cannot resize a container smaller than the elements inside of it.
- When you resize a container horizontally, the width of the grid spaces inside the container change and the elements inside the container are resized horizontally to fit.
- When you resize a container vertically, the number of vertical grid spaces inside the container changes but elements do not resize automatically.
Change the layout grid density of a container
A container has its own grid, similar to the grid on the canvas. By default, a container's grid has 12 horizontal grid spaces, or 12 "columns", which expand and contract to fit the container size. You can change this density in the Properties tab of the editor panel using the Layout grid density setting.
High density means more (and narrower) columns, which allows more elements to fit side by side with finer control over their widths. Low density means fewer (and wider) columns, which prevents overcrowding and ensures visibility of element content when the browser window width is reduced.
- A container with Low column density has 6 grid columns.
- A container with Medium column density has 12 grid columns. This is the default density.
- A container with High column density has 24 grid columns. When dragged to the full width of the canvas, the grid within a container with high column density aligns with the full canvas grid.
Containers created from a group of selected elements have a Medium density by default if the selected elements cover 12 or fewer columns of the workbook layout. If the selected elements cover more than 12 columns, the container defaults to High density.
Style a container
In the editor panel, select Format to style your container.
In the Layout style section, configure the following:
| Style | Details |
|---|---|
| Spacing | Specify the amount of space to include between elements in the container. If padding is turned on, the spacing setting also determines the amount of padding. |
| Padding | Adds padding to the container. On by default. Turn the toggle off to remove padding between elements and the container. |
| Background color | Select a background color for the container. To configure a conditional background color, select Add rule, then configure a Formatting rule and resulting Style. |
| Border | Specify a border for the container. Defaults to none, but can be set to 1, 2, or 3 pixels. You can also choose a color for the border. |
| Corner | Choose a corner shape for the container. Choose between square, round, and pill. Defaults to round. |
| Element gap | Adds padding between elements in the container. On by default. Turn the toggle off to remove padding between elements. |
You can configure multiple conditional rules for the Background color. The rules are evaluated in order, and the first rule that evaluates to true is applied.
For example, you can configure a container with the following two Formatting rules:
- Formatting rule:
IsNotNull([text-area-control-1])- Style:
#71B965.
- Style:
- Formatting rule:
IsNotNull([text-area-control-2])- Style:
#E15658.
- Style:
If both controls are not Null, then both formatting rules are true. However, only the first rule is applied and the background color is set to #71B965.
In the Background image section, configure the following:
-
Set the toggle to Upload or URL to set the source of the background image.
- For Upload, select Upload image and select an image file from the file browser.
- For URL, enter the URL in the Image URL field. Alternatively, press
=on the keyboard to open the formula bar and enter a formula to configure a dynamic URL.
-
Select a Sizing option for the image:
| Sizing option | Description |
|---|---|
| Shrink to fit | Downsize the image to keep it entirely visible within the element. |
| Scale to fit | Expand the image to the maximum size, keeping it entirely visible within the element. |
| Cover | Expand the image so that the entire element is covered, even if it requires cropping. |
| Default | Maintain the original image dimensions regardless of the size of the element. |
- (Optional) Turn on the Tile toggle to repeat the image across the container until it covers the entire area.
- Configure the alignment of the background image:
- Horizontal: Select the horizontal alignment of the background image within the element, by choosing one of Left align, Center align, or Right align.
- Vertical: Select the vertical alignment of the background image within the element, by choosing one of Top align, Center align, or Bottom align.
Remove or delete a container
To remove a container around elements, select the enclosing container, then select More > Remove container. The container is removed and any elements inside the container are placed on the canvas. Elements keep the same formatting.
You can also delete a container and all elements inside the container. To do so, select the enclosing container, then select More > Delete container. The container and all elements inside are deleted.
Updated 15 days ago
