Create and manage action sequences
An action sequence is an automated workflow that executes a series of actions in response to a specific user interaction (trigger). You can create multiple sequences on the same element and control the order in which actions execute within each sequence. Optionally, you can also add a condition that defines criteria that must be met for a sequence to run, add a custom alert that displays after a sequence runs successfully, and temporarily pause sequences to debug and test actions.
A sequence defines the order in which actions are executed within that sequence. Actions in different sequences can run concurrently and don't necessarily complete in the order the sequences are arranged in the Actions panel.
This document explains how to create a sequence, configure workflow options, and efficiently manage entire sequences and individual actions.
User requirements
The following requirements apply to users who configure actions. Users who access and interact with a workbook can typically trigger all existing actions within it. Any restrictions are noted in this document.
The ability to configure actions requires the following:
-
You must be assigned an account type with the Full explore or Create, edit, and publish workbooks permission enabled.
-
You must be the workbook owner or be granted Can explore1 or Can edit access to the workbook.
1If you’re granted Can explore access to the workbook, you can configure actions in custom, saved, and shared views. Actions saved to views do not apply to the workbook’s published version.
Limitation
The Trigger plugin action is not guaranteed to execute sequentially. If you create a sequence containing an action that sets or clears a control value, and that action is followed by a Trigger plugin action intended to read the updated control value, the plugin may execute out of order and read the control value before it has been set or cleared by the previous action.
Create a sequence
Create a sequence to configure a series of actions that execute in sequential order. You can repeat the following workflow to add multiple sequences to a single element.
-
Select the element on which you want to configure the sequence. This element is referred to as the trigger element.
-
In the editor panel, open the Actions tab.
-
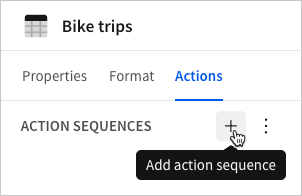
If this is the first sequence you're configuring on the element, configure the empty default sequence. Otherwise, click
Add action sequence to add a new sequence.
-
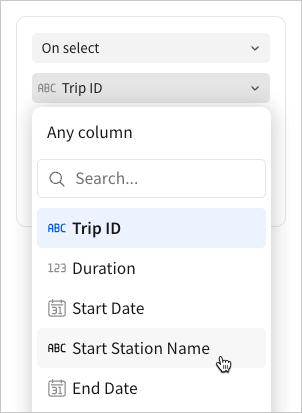
If the element supports multiple trigger event types (see Action triggers), select an option in the trigger event dropdown. For example, you can choose On select or Cell context menu for tables, pivot tables, and input tables.
- When configuring an On select trigger event on a table, pivot table, input table, or chart, specify the individual trigger column. If the sequence must be triggered when a user interacts with any cell in any column on the table, select Any column.
- When configuring a Cell context menu or Chart context menu trigger event on a table, pivot table, input table, or chart, specify the custom context menu that must trigger the sequence.
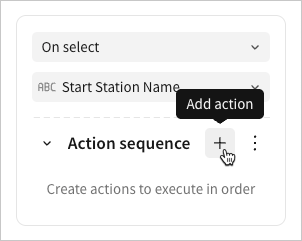
- Select the default action, or click
Add action to add a new action to the sequence.
-
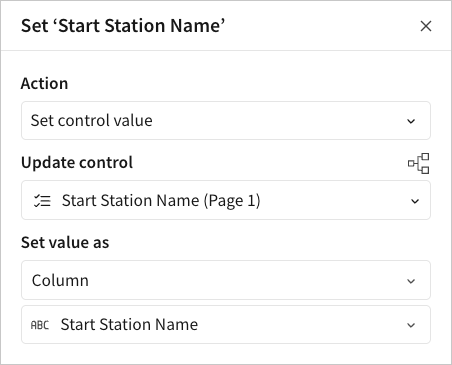
In the action configuration popover, select an action type and configure the effect. For a list of action types and detailed information about how to configure them, see Action effects.
The action configuration popover opens when you select an existing action or create a new one. You can also access the configurations from an individual action’s menu. Click
More next to the action name, then select Edit.
-
(optional) Repeat steps 5 and 6 above to add more actions to the sequence. When adding a new action, Sigma duplicates the last action in the sequence and allows you to edit it.
-
(optional) Drag and drop actions to define the order of execution. The sequence will execute the actions in the order listed.
Additional workflow options
Additional workflow options provide more comprehensive control over the execution of sequences. The following sections enable you to define how a sequence can be triggered, when it runs, and what happens after it completes.
- Allow keyboard to trigger actions
- Add a condition
- Add or edit a success alert
- Pause or resume sequences
Allow keyboard to trigger actions
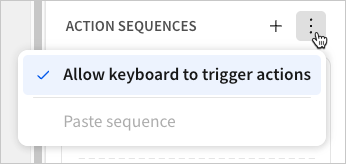
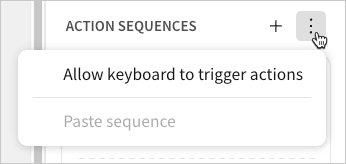
When the trigger element is a table, pivot table, or input table, you can control whether keyboard navigation can trigger sequences to execute actions. At the top of the Actions panel, click More, then select Allow keyboard to trigger actions.
This setting applies to all sequences configured on the specific element.
-
When the option is highlighted and displays a checkmark (default), keyboard navigation and pointer events (e.g., mouse clicks) can trigger sequences configured on the element.
-
When the option doesn't display a checkmark, only pointer events can trigger the sequences.
Keyboard navigation as a trigger interaction can disrupt the user experience. For example, if an element's sequences include actions that open links or other workbooks, a user can be unintentionally navigated away from their current task. This can be particularly disruptive if the sequence can be triggered by selecting a cell in any column.
Consider allowing keyboard navigation to trigger actions only when it facilitates the configured sequences and is unlikely to interfere with usability.
Allow whitespace to trigger actions
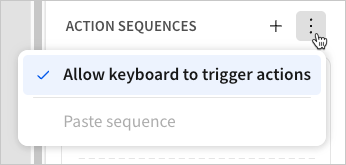
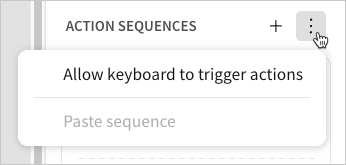
When the trigger element is a chart, you can control whether clicking empty space in the element triggers sequences to execute actions. At the top of the Actions panel, click More, then select Allow whitespace to trigger actions.
This setting applies to all sequences configured on the specific element.
-
When the option is highlighted and displays a checkmark (default), sequences can be triggered when a user clicks on empty space.
-
When the option doesn't display a checkmark, sequences are not triggered when a user clicks on empty space.
Add a condition
Add a condition to a sequence if a series of actions must only execute when a specific requirement or rule is satisfied. A condition is expressed by a custom formula or value-based criteria that determines when the sequence runs. If the condition is not met when the trigger event is detected, the sequence does not run.
-
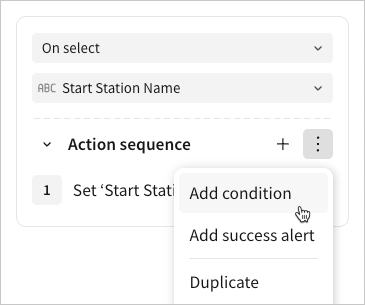
Next to the sequence name, click
More and select Add condition.
-
In the Condition popover, select one of the following condition options from the dropdown (available options depend on the element type), then define the criteria that must be met for the sequence to run.
-
Custom formula: Enter a formula that must return
true. -
Selection matches criteria: Select a column and specify the required column value.
-
Selected values contain: (available with multi-select List values controls only) Specify a single value that must be one of the selected control values.
-
Control value is equal to: Specify the required control value.
For examples on how to use action conditions, see Define an action condition.
-
Add or edit a success alert
Add a custom success alert that displays after a sequence runs successfully. The alert appears temporarily at the bottom of the window and can include a static or dynamic message.
-
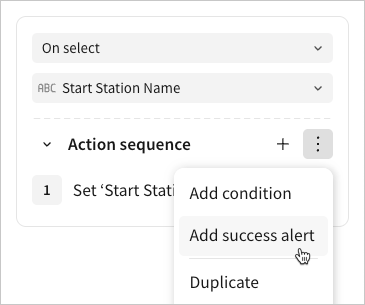
Next to the sequence name, click
More and select Add success alert or Edit a success alert.
-
In the Success alert popover, complete the fields to define the message.
-
Title: Enter a concise heading or summary.
-
Description (optional): Turn on the Description toggle, then enter additional details or supporting context.
Press
=to include a dynamic value defined by a formula expression.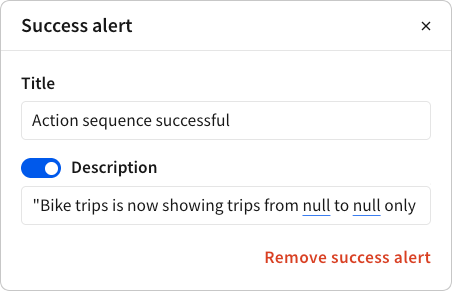
If the title or description exceeds the display area, the alert truncates the message. To view the full message, a user can hover over the title or description.

-
Pause or resume sequences
Pause or resume sequences to debug and test actions. You can control the pause/resume state of individual sequences or globally change the state of all sequences in the workbook.
To prevent stale paused states and avoid workflow disruptions, paused sequences automatically resume when the workbook is refreshed.
-
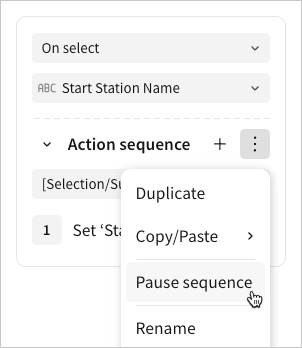
To pause or resume an individual sequence, click
More next to the sequence name, then select Pause sequence or Resume sequence.
-
To pause or resume all sequences in the workbook, click
More options in the document header, then select Pause all action sequences or Resume all action sequences.
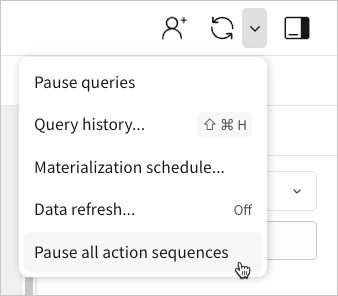
When a sequence is paused, Sigma displays an Action sequence paused icon () in the following locations:
-
Next to the sequence name in the element’s Actions panel.
-
Next to the element’s sequence count in the page level Actions panel.
- All newly added sequences inherit the workbook-level pause/resume setting.
- When you pause or resume an individual sequence, the change overrides the workbook-level setting.
- Subsequent changes to the workbook-level pause/resume setting apply to all sequences, regardless of their individual sequence-level setting.
Sequence and action management
Organize and modify sequences and actions to efficiently manage workflows.
- Move and reorder actions
- Duplicate a sequence or action
- Copy and paste a sequence or action
- Rename a sequence or action
- Delete a sequence or action
Move and reorder actions
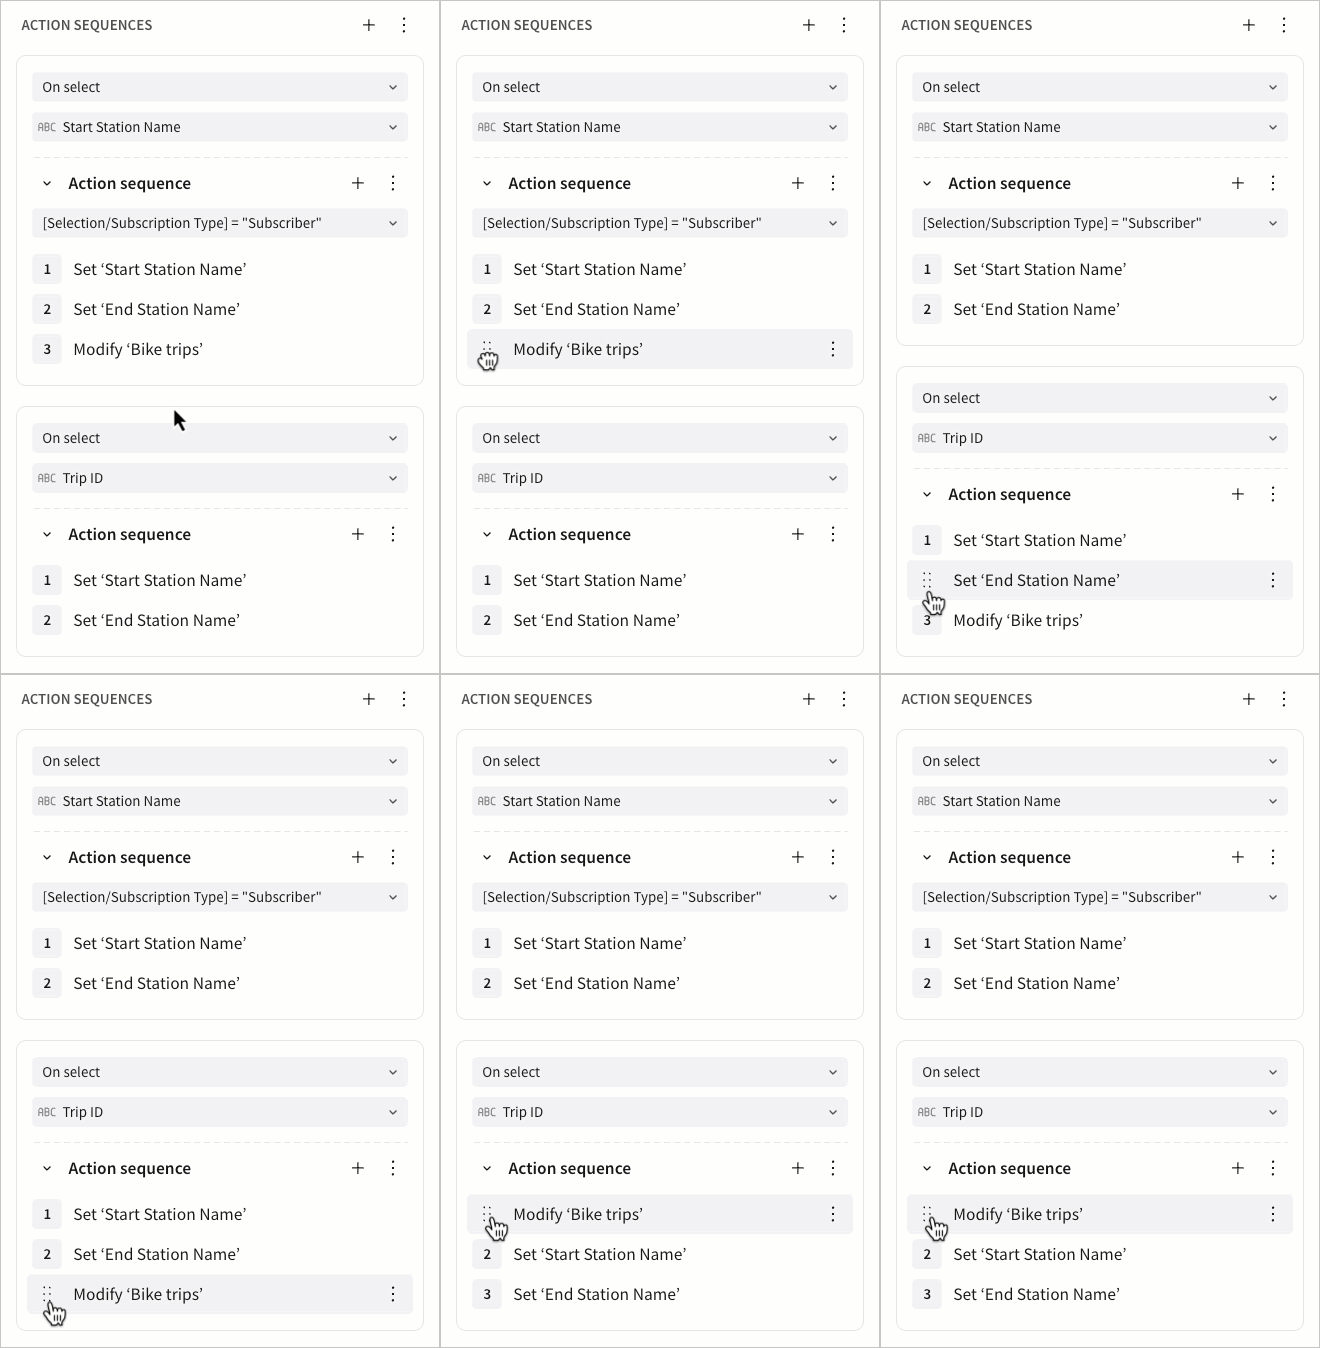
Drag and drop actions to move them between sequences or reorder them within an individual sequence.
When you move an action from one sequence to another, the action drops into the last position of the destination sequence. You can then drag and drop the action to reposition it within the order of actions in the sequence.
Duplicate a sequence or action
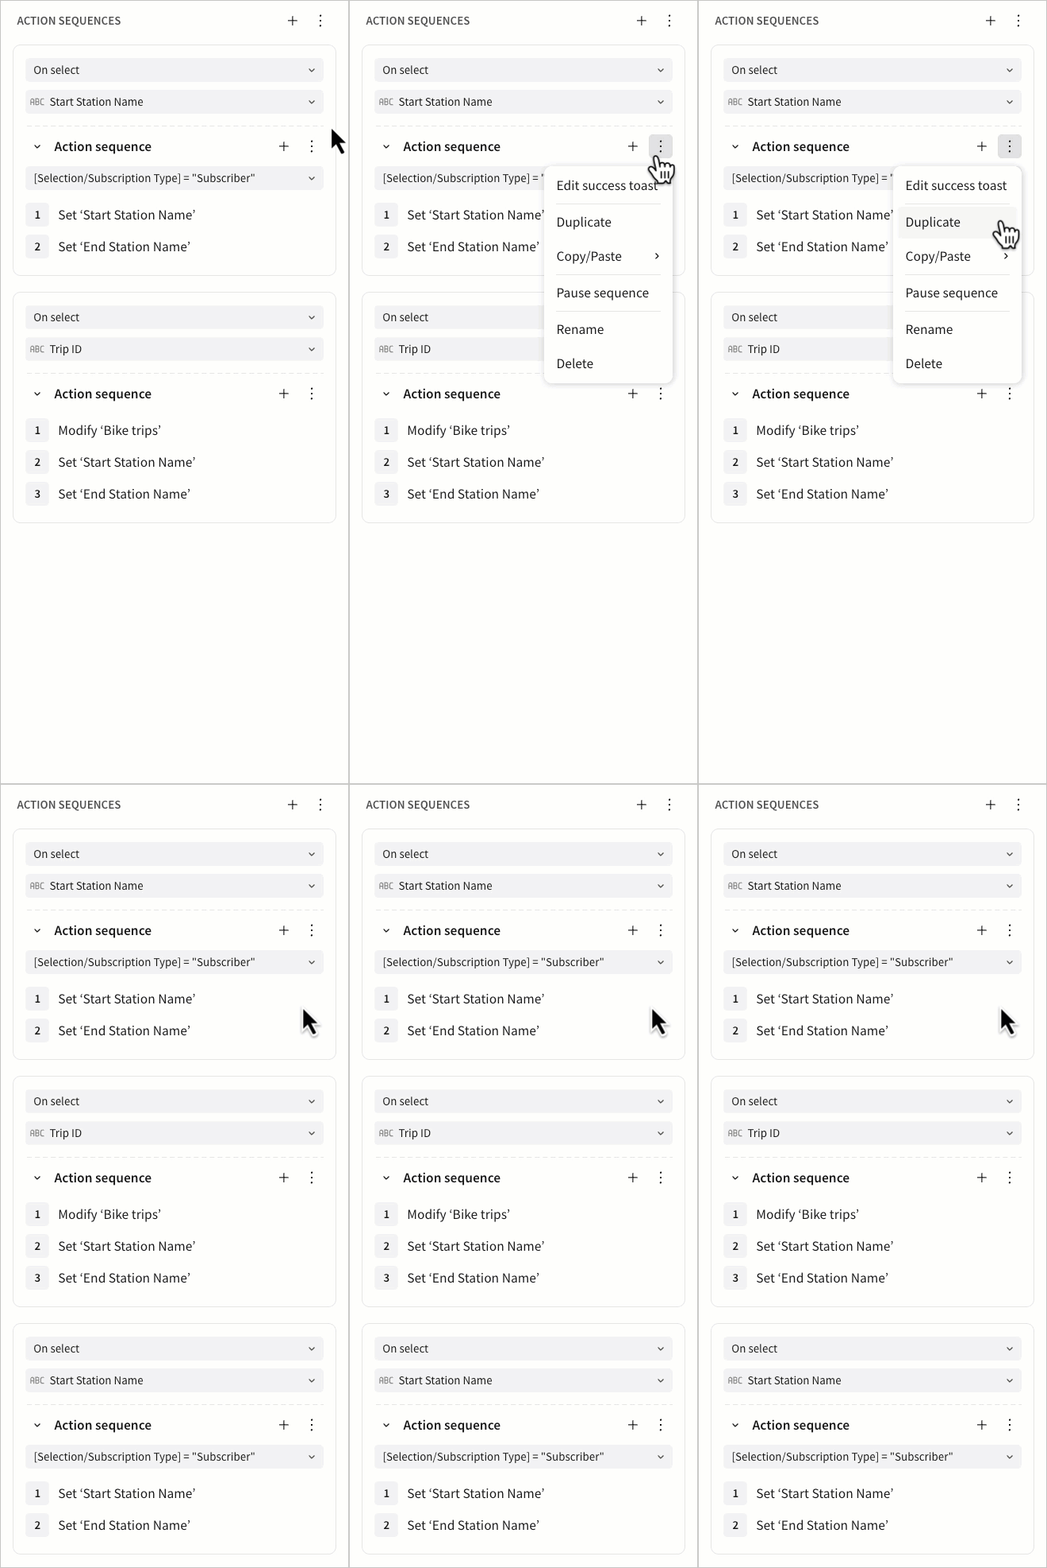
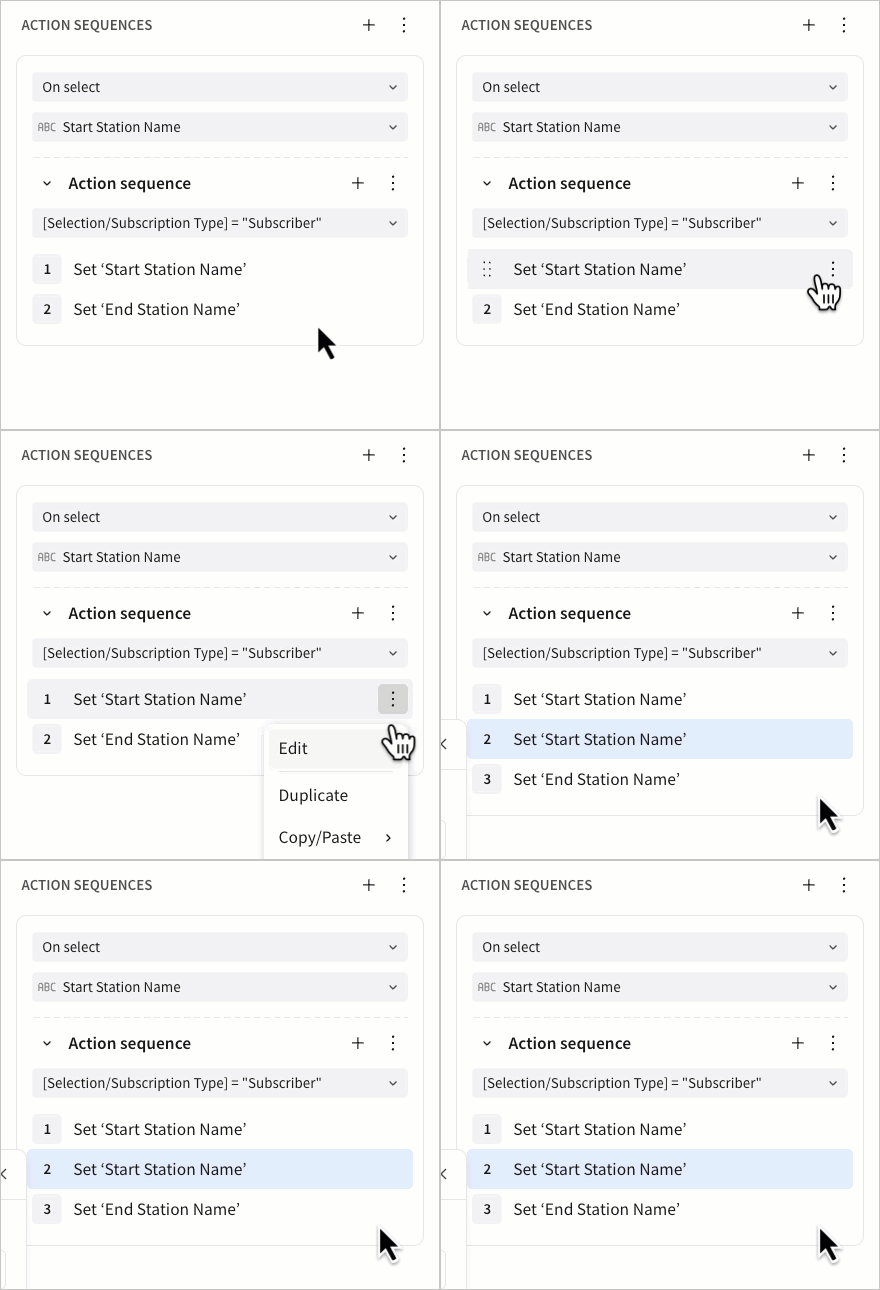
Duplicate an existing sequence or action to instantly create a copy in the same location as the original. Click More next to the sequence or action name, then select Duplicate.
-
When you duplicate a sequence, Sigma adds a copy to the same element below the last existing sequence.
-
When you duplicate an action, Sigma adds a copy within the same sequence, directly below the original action.
Copy and paste a sequence or action
Copy a sequence or action and paste it anywhere actions are supported within the same organization (e.g., other elements in the same or a different workbook).
To copy and paste a sequence:
-
Click
More next to the name of the sequence you want to copy, then select Copy/Paste > Copy sequence. You can also right-click the sequence block and select Copy sequence from the shortcut menu.
-
In the editor panel of the destination element, open the Actions tab.
-
Use one of the following methods to paste the copied sequence:
-
At the top of the Actions panel, click
More, then select Paste sequence.
-
Click
More next to the name of a sequence, then select Copy/Paste > Paste sequence.
-
Right-click anywhere in the Actions panel and select Paste sequence from the shortcut menu.
Sigma pastes the copy following the last sequence configured on the element.
-
To copy and paste an action:
-
Click
More next to the name of the action you want to copy, then select Copy/Paste > Copy action.
-
In the editor panel of the destination element, open the Actions tab.
-
Use one of the following methods to paste the copied action:
-
Click
More next to the name of a sequence, then select Copy/Paste > Paste action within. You can also right-click anywhere in the sequence block and select Paste action within from the shortcut menu.
Sigma pastes the copy following the last action in the selected sequence.
-
Click
More next to the name of an action, then select Copy/Paste > Paste action below. You can also right-click the action and select Paste action below from the shortcut menu.
Sigma pastes the copy directly following the selected action.
-
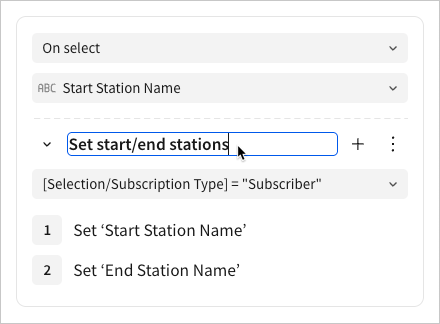
Rename a sequence or action
Customize the name of a sequence or individual action. Using descriptive names can help you and other users quickly locate relevant sequences and actions and identify what they accomplish.
-
Double-click the sequence or action name, or click
More next to the name and select Rename.
-
In the editable field, enter a new name.
-
Press
Enteror click anywhere outside the field to apply the change.
Delete a sequence or action
Delete a sequence or action to remove unwanted logic and interactivity. Click More next to the sequence or action name, then select Delete.
If you unintentionally delete a sequence or action, you can click Undo or press
⌘ + Z (Mac) or ctrl + Z (Windows) to restore it.
Updated 14 days ago
