
BinRange
Assigns the input value to a bin based on the provided cutoffs. The cutoffs define the lower bound of each bin. The function returns the bin number of the last cutoff before a cutoff that is greater than the input value.
Syntax
BinRange(input value, cutoff1, ... )input value (required) The value to place into the defined bins. Input values can be a number, date or string.
cutoff 1 (required) The lower bounds to compare the value against. Cutoff values must be of the same type as the input value. The first cutoff entered indicates the lower bounds of bin 2. Any value lower than cutoff 1 is placed in bin 1. Cutoffs are inclusive.
cutoff 2+ (optional) Additional cutoffs create additional bins. The total number of bins is one more than the number of cutoffs.
Notes
- Because cutoffs define the lower bounds of each bin, Sigma recommends listing them in ascending order. When cutoffs are not listed in ascending order, BinRange returns the bin number of the last cutoff before the cutoff is greater than the input value. This can result in unexpected bin assignments.
- For example, the formula
BinRange(32, 10, 20, 30, 40)returns4because30is the last cutoff that is less than32. But the formulaBinRange(32, 10, 20, 40, 30)returns3because40is greater than32.
- For example, the formula
Examples
BinRange(25, 50)Evaluates which bin to place 25 in. Bins are defined by the cutoff value 50. All numbers lower than 50 are placed in bin 1 and all numbers 50 and greater are placed in bin 2. Returns 1.
BinRange([Income], 100000, 500000)Evaluates all values in the [Income] column and categorizes them based on the cutoffs 100000 and 500000. Incomes less than 100000 are placed in the first bin; incomes between 100000 and 500000 are placed in the second bin; incomes greater than 500000 are placed in the third bin.
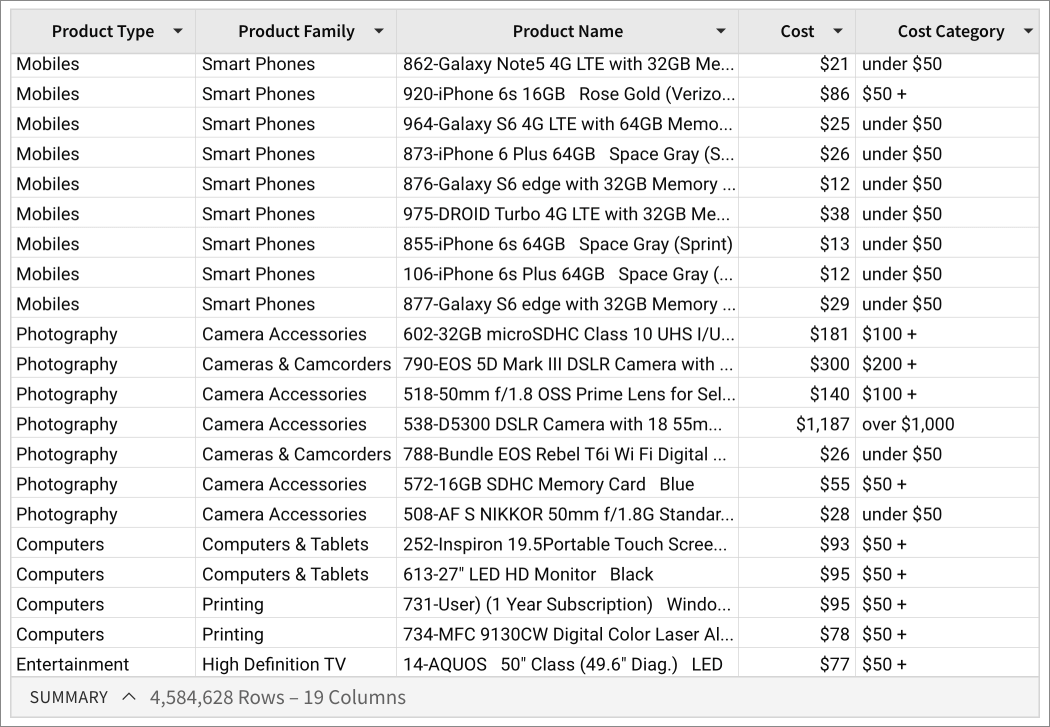
Choose(BinRange([Cost], 50, 100, 200, 500, 1000),
  "under $50", "$50 +", "$100 +", "$200 +", "$500 +", "over $1,000")
The BinFunction divides the Category column values into 6 bins, while the wrapping Choose function names the bins.
Updated 4 months ago