
Scheduled exports dashboard
The Scheduled Events Dashboard provides a log of sent notifications for Scheduled Exports. You can use this dashboard to audit scheduled export notifications to verify they were sent and determine whether they were delivered successfully.
Requirements
You must be an organization admin or assigned a custom account type that grants View Usage Dashboard permissions. See User account types.
Access the Scheduled Exports Dashboard
Follow the steps below to access the Scheduled Exports Dashboard:
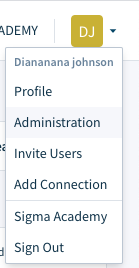
- Open your Admin Portal by selecting Administration in the user menu at the top right of your screen.
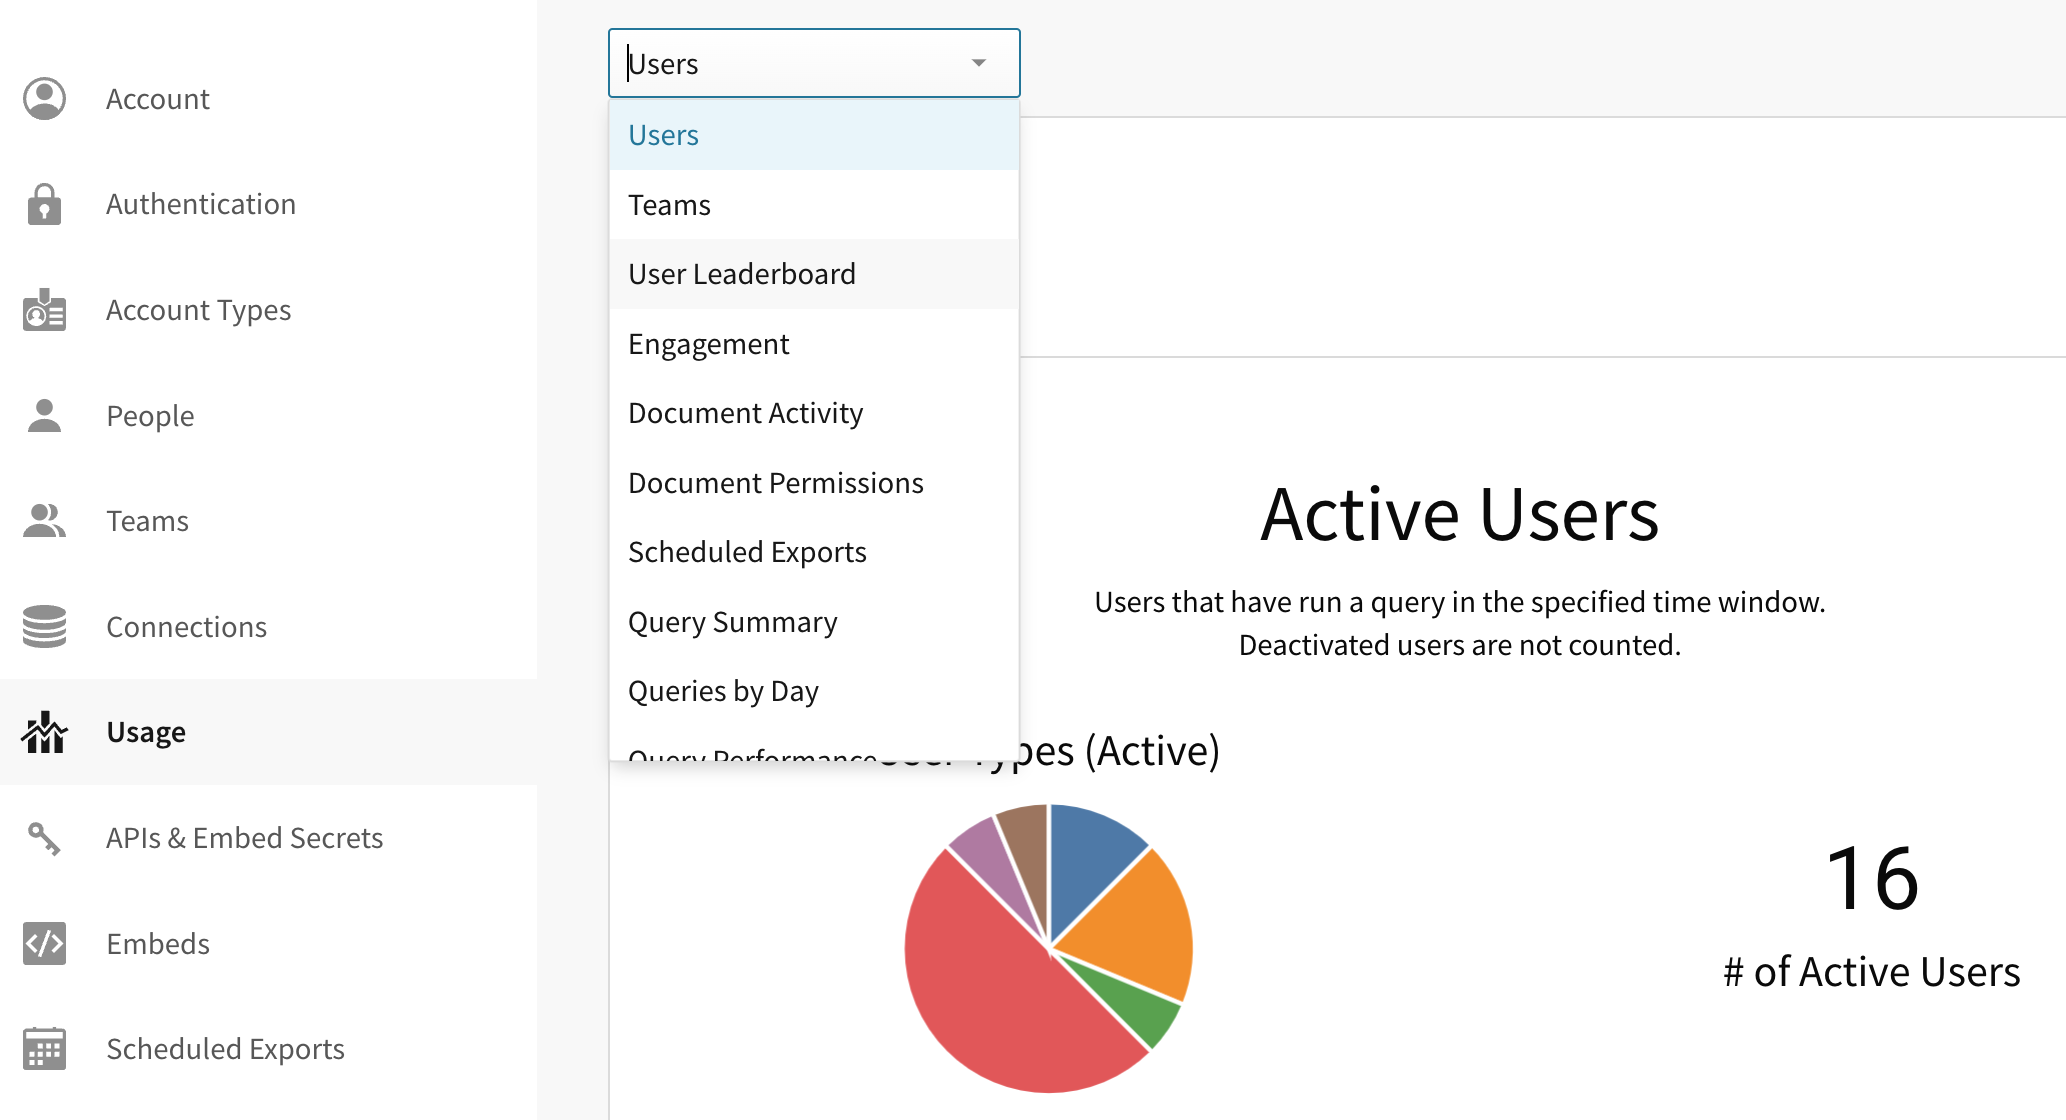
- Select the Usage tab from the left-hand panel.
- Select Scheduled Exports from the dropdown in the upper left.
Use the Scheduled Exports Dashboard
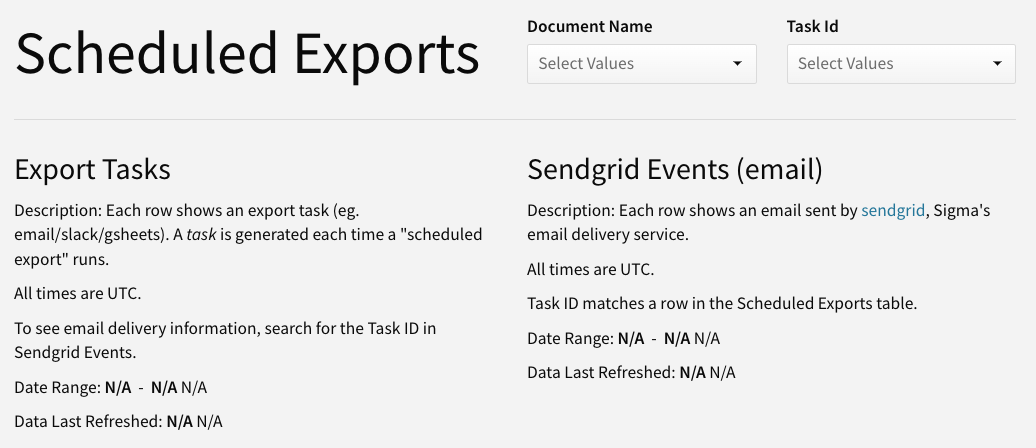
This report allows orgs to audit and verify if Export Tasks successfully sent. Export Tasks can be email, slack, or google sheets and a task is generated when a scheduled report executes.
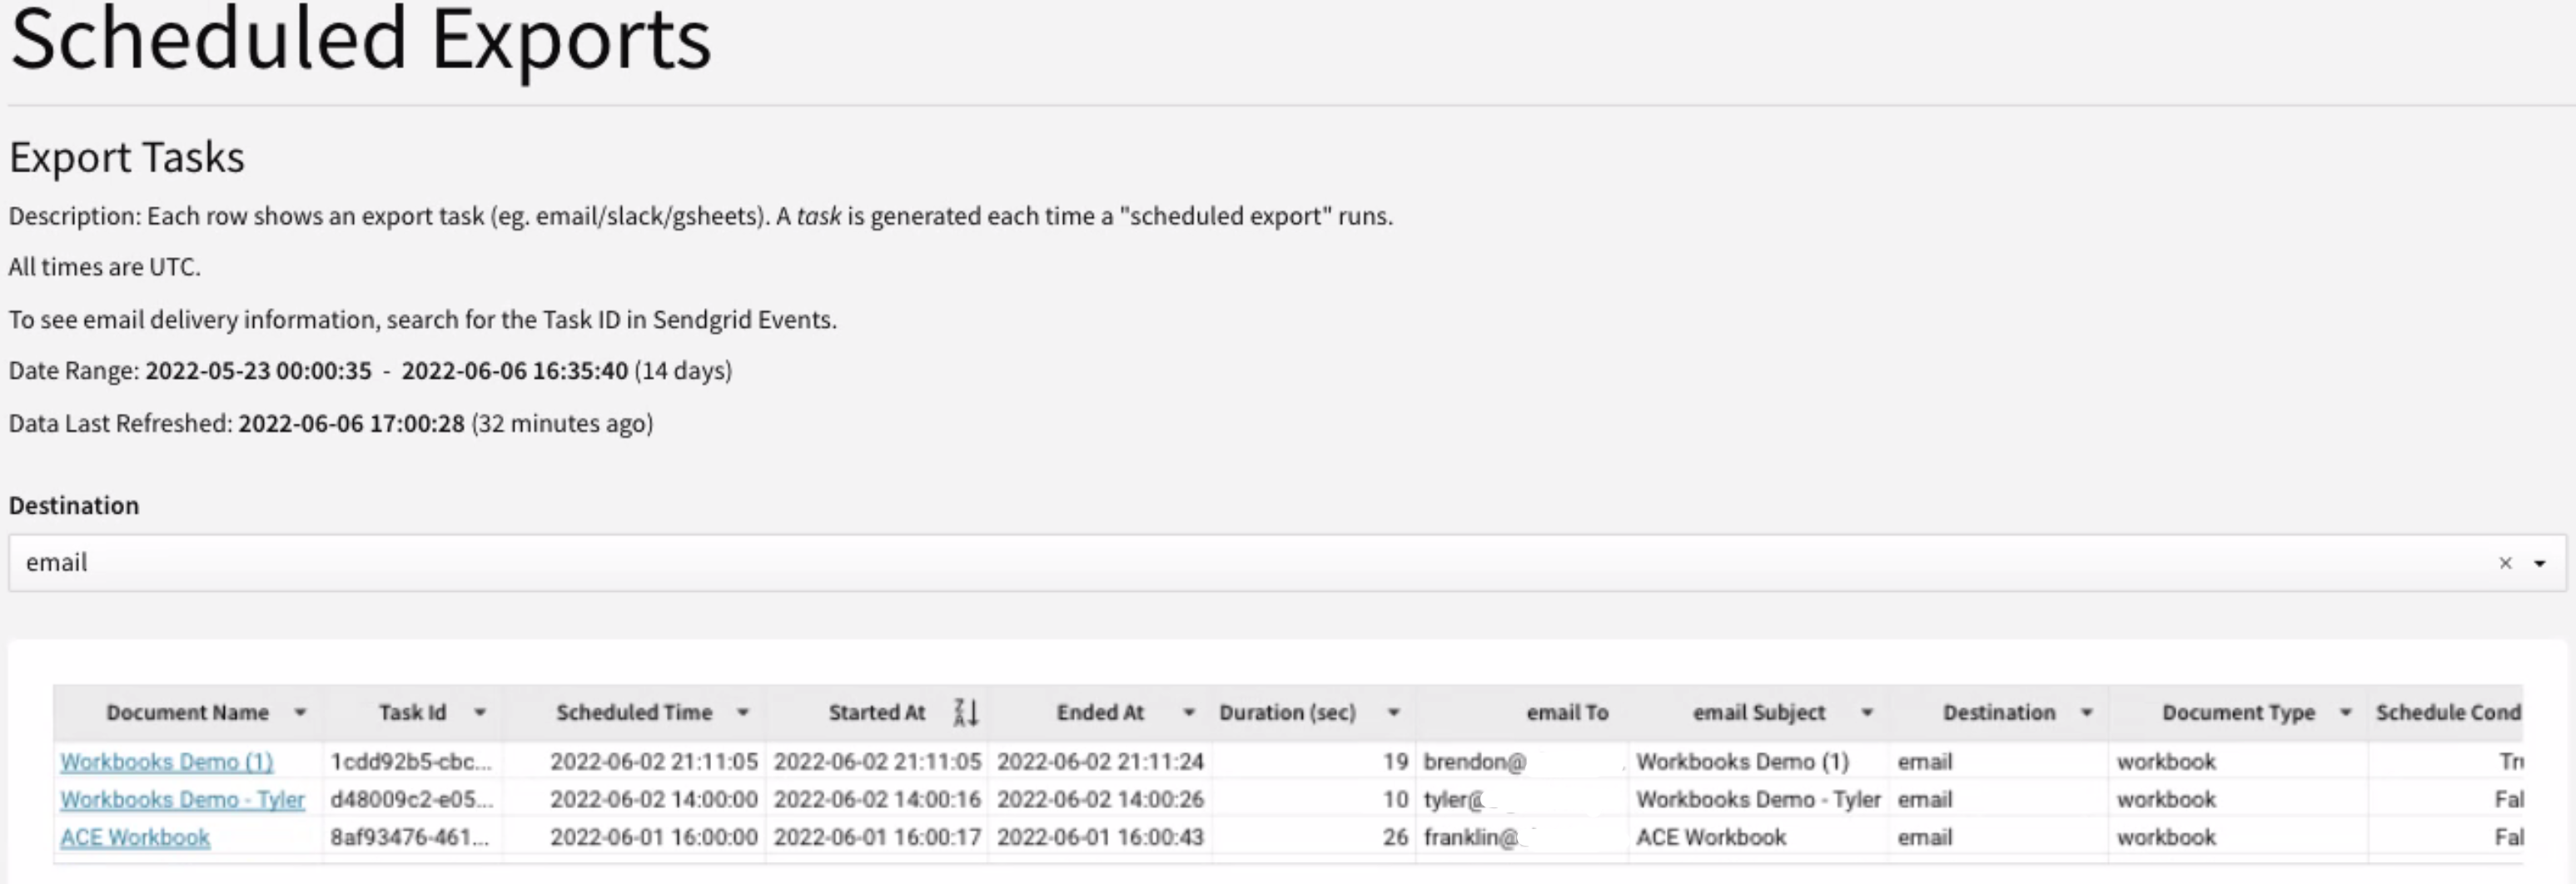
Scheduled Exports Table
This table displays a list of all the scheduled tasks in your org. It provides you important information such as:
- Document name
- Task ID, which is used to locate email records in Sendgrid
- Destination/recipient
- Were defined conditions met
- If it failed, an error message is provided
- Type of document
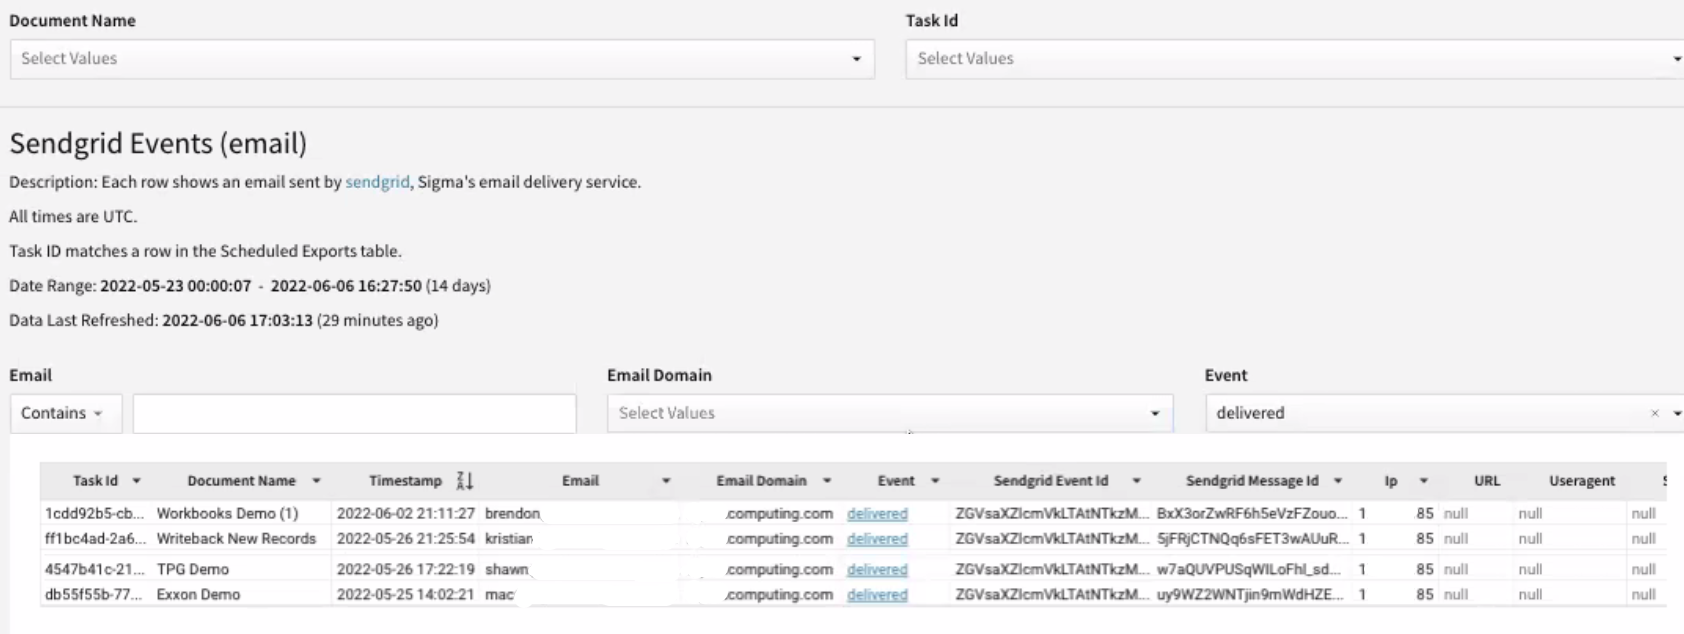
Sendgrid Events (Email) Table
Scheduled exports are sent using Sendgrid. This table provides information about the export event in Sendgrid. The [Event] column is important column as it informs you if Sendgrid successfully delivered the email. If the customer doesn't receive the email, check the Spam folder, or investigate if there is another issue with the email; see Sendgrid event types.
Use the Task ID filter to view additional information about export events:
- Document name
- Timestamp
- Target recipient
Download Visualizations
-
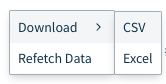
- Hover your cursor over the visualization you would like to download. A menu will appear in the top right corner of the visualization element area.
- Click the ••• icon to open the visualization dropdown menu.
- Hover over Download and select an export type from the submenu.
Updated 12 months ago