
Using CSVs in Datasets
You can upload CSV data to a dataset in Sigma. When you upload a CSV, Sigma stores a copy of the CSV directly in your data warehouse. As such, this functionality must be enabled on both your organization and individual warehouse connection by an organization admin.
System and user requirements
The ability to upload CSV data to a dataset requires the following:
- The CSV upload feature must be enabled for your organization.
- You must be assigned an account type with the Upload CSV permission enabled.
- You must be the dataset owner or be granted Can edit dataset permission.
CSV data storage
When a CSV file is uploaded to Sigma, its data is automatically written back to your data warehouse as a new table. If your organization has multiple warehouses with write access enabled, you will be given the option to select a single destination.
CSV data stored in your warehouse is only accessible through the dataset created during file upload. You will not see it listed as a Table in the connection. The CSV dataset can however, be joined to other data stored in the same warehouse.
CSV deletion
If the dataset referencing the uploaded CSV is deleted from Sigma, the associated table created in your warehouse will automatically be removed within 24 hours.
Create Dataset from a CSV
The following instructions will guide you through uploading a CSV file to create a new dataset.
-
Click + Create New in the left hand navigation panel.
-
Select Dataset in the dropdown menu.
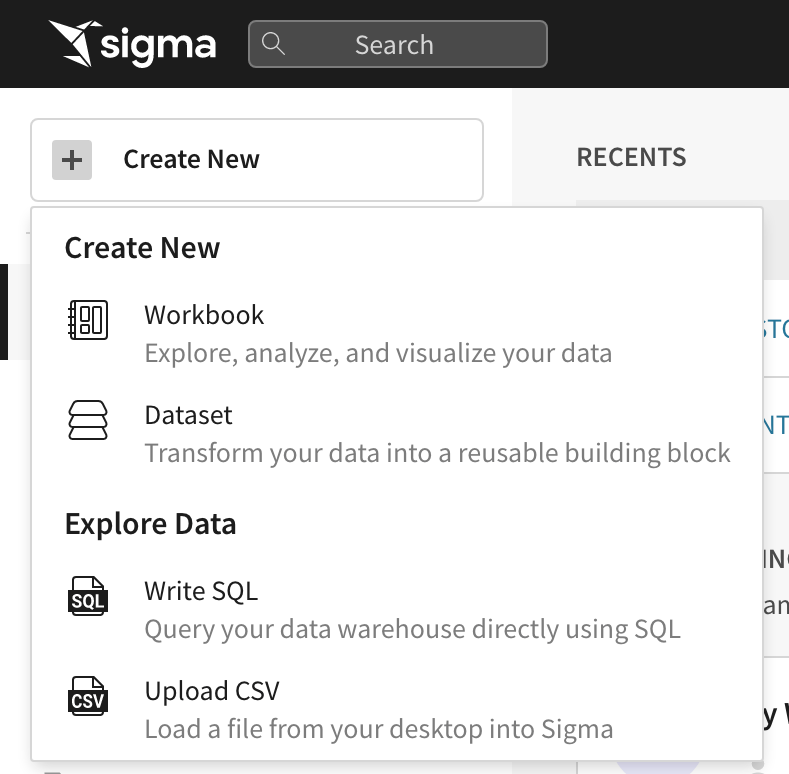
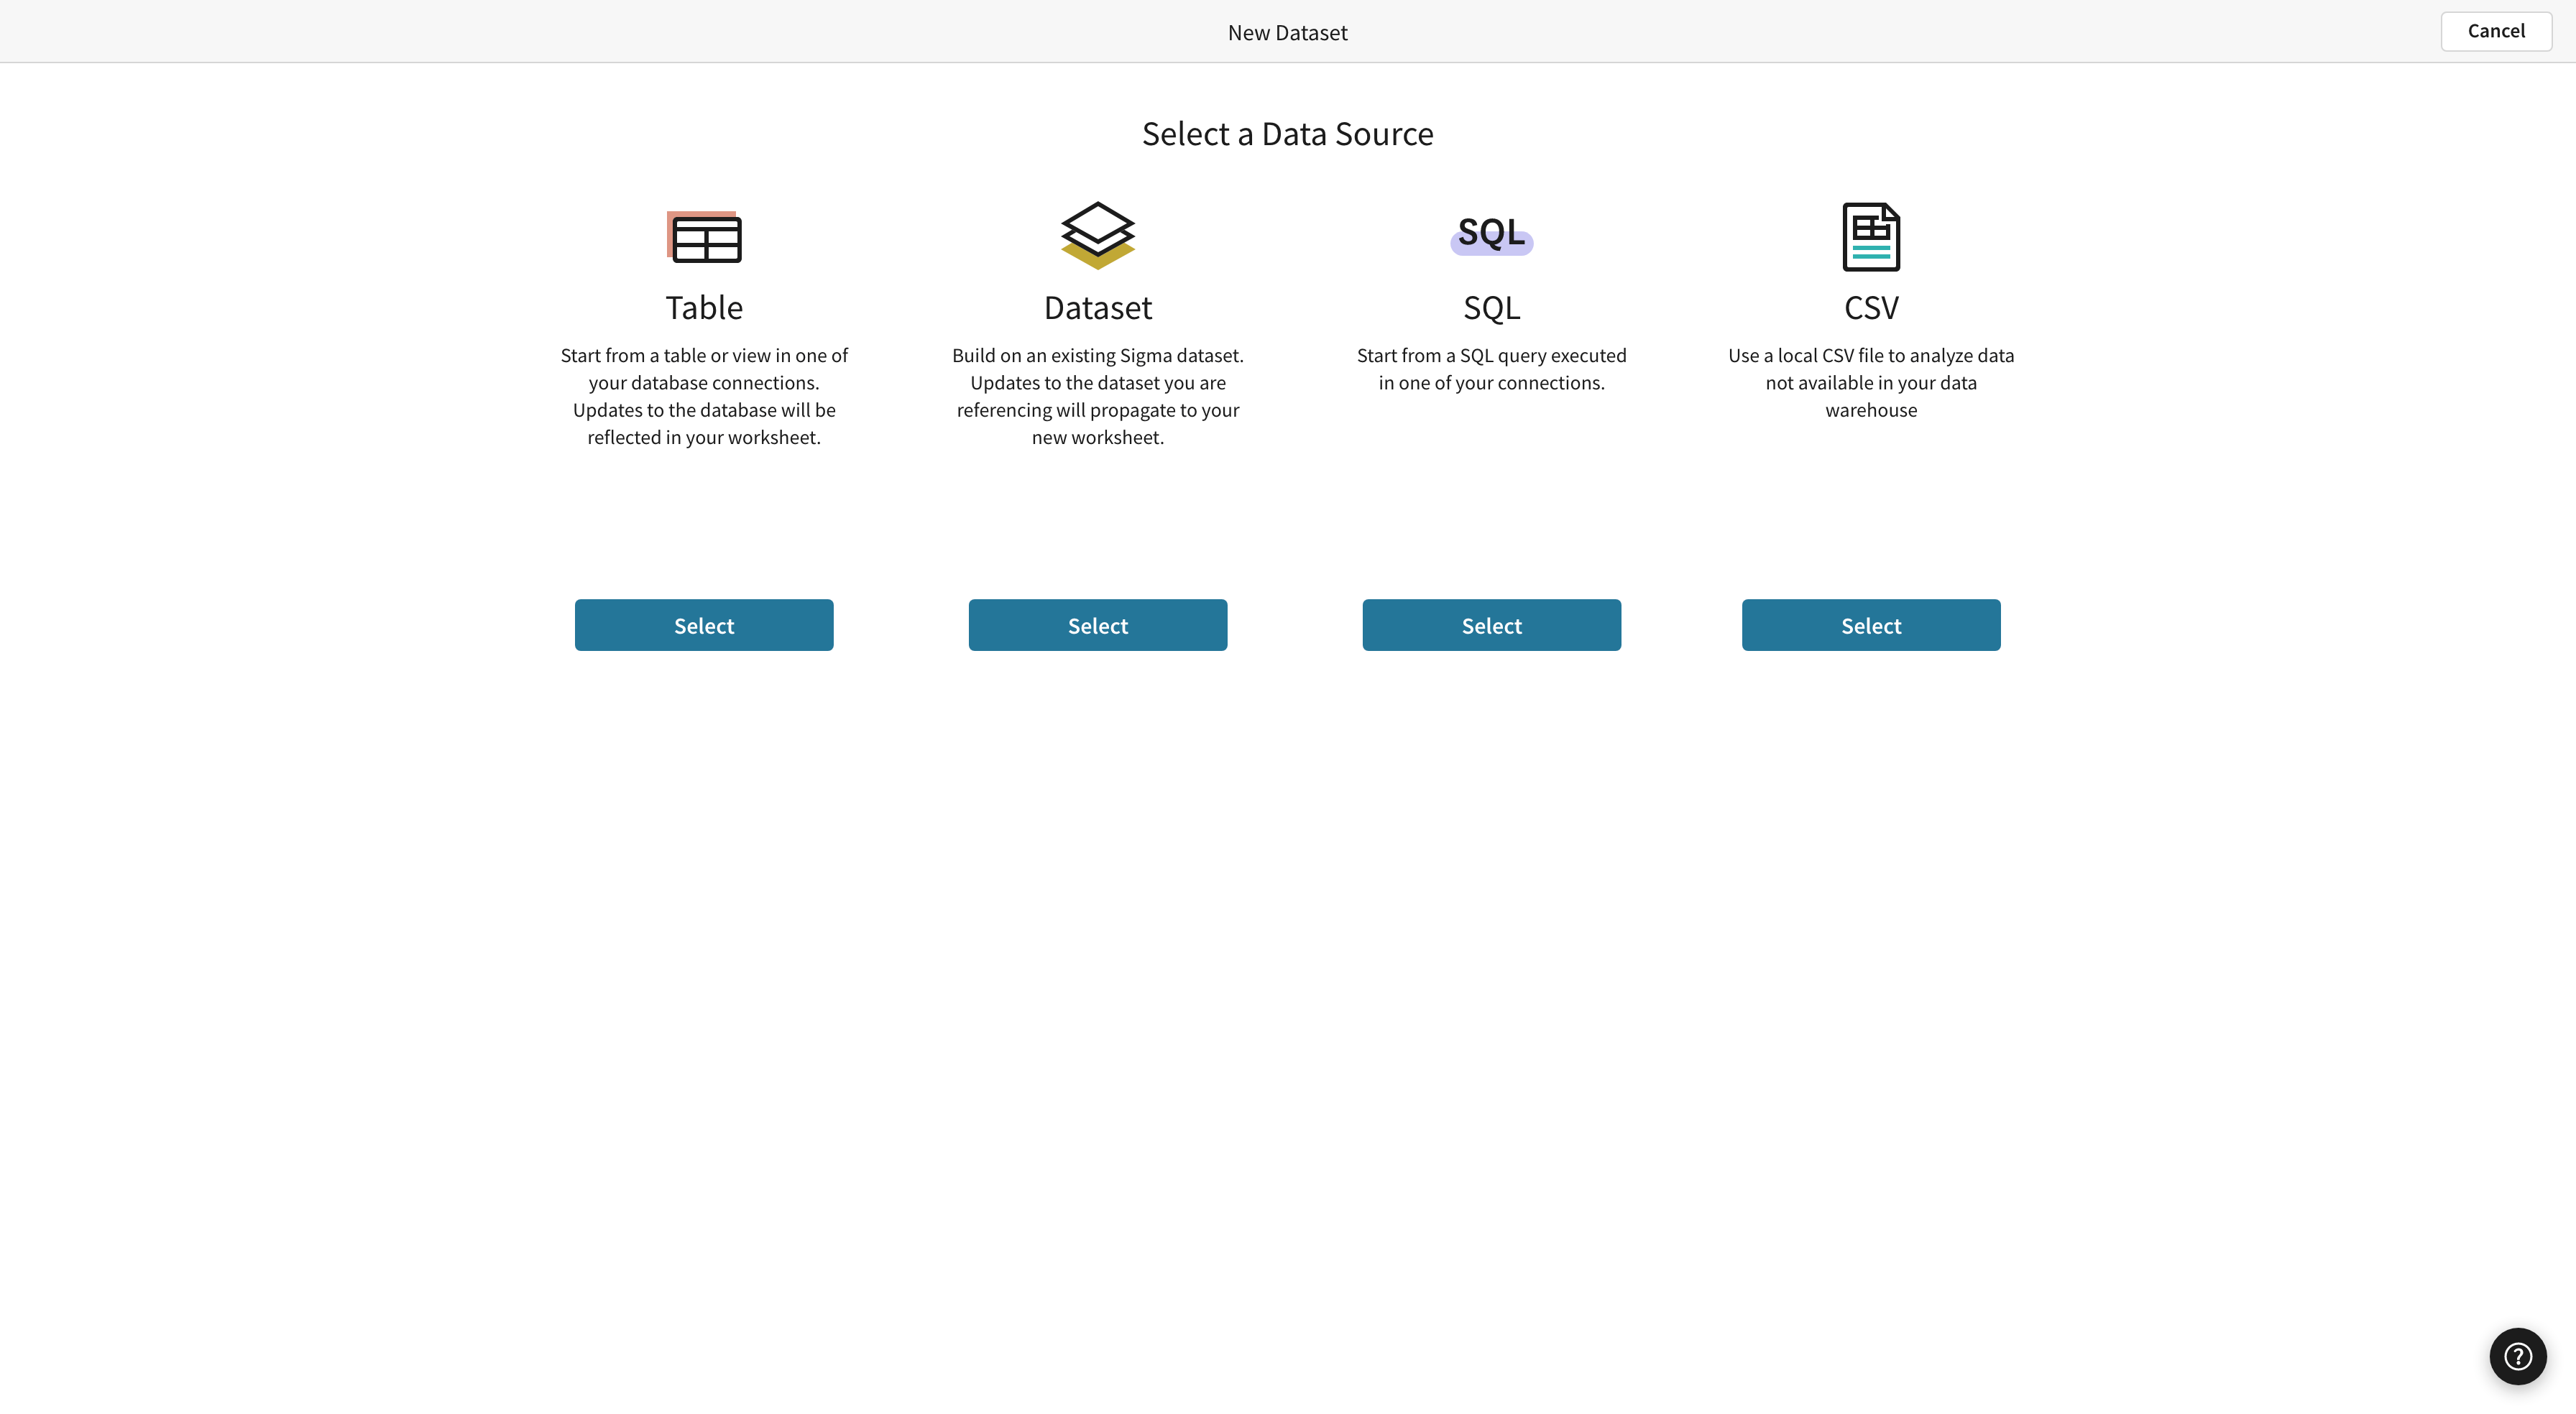
The data source selection page opens.
-
Select CSV as your data source to navigate to the upload page.
-
Select a Connection from the list provided. The connection you select is the warehouse that your file is uploaded to. If only one data warehouse has write access enabled, it is selected by default.
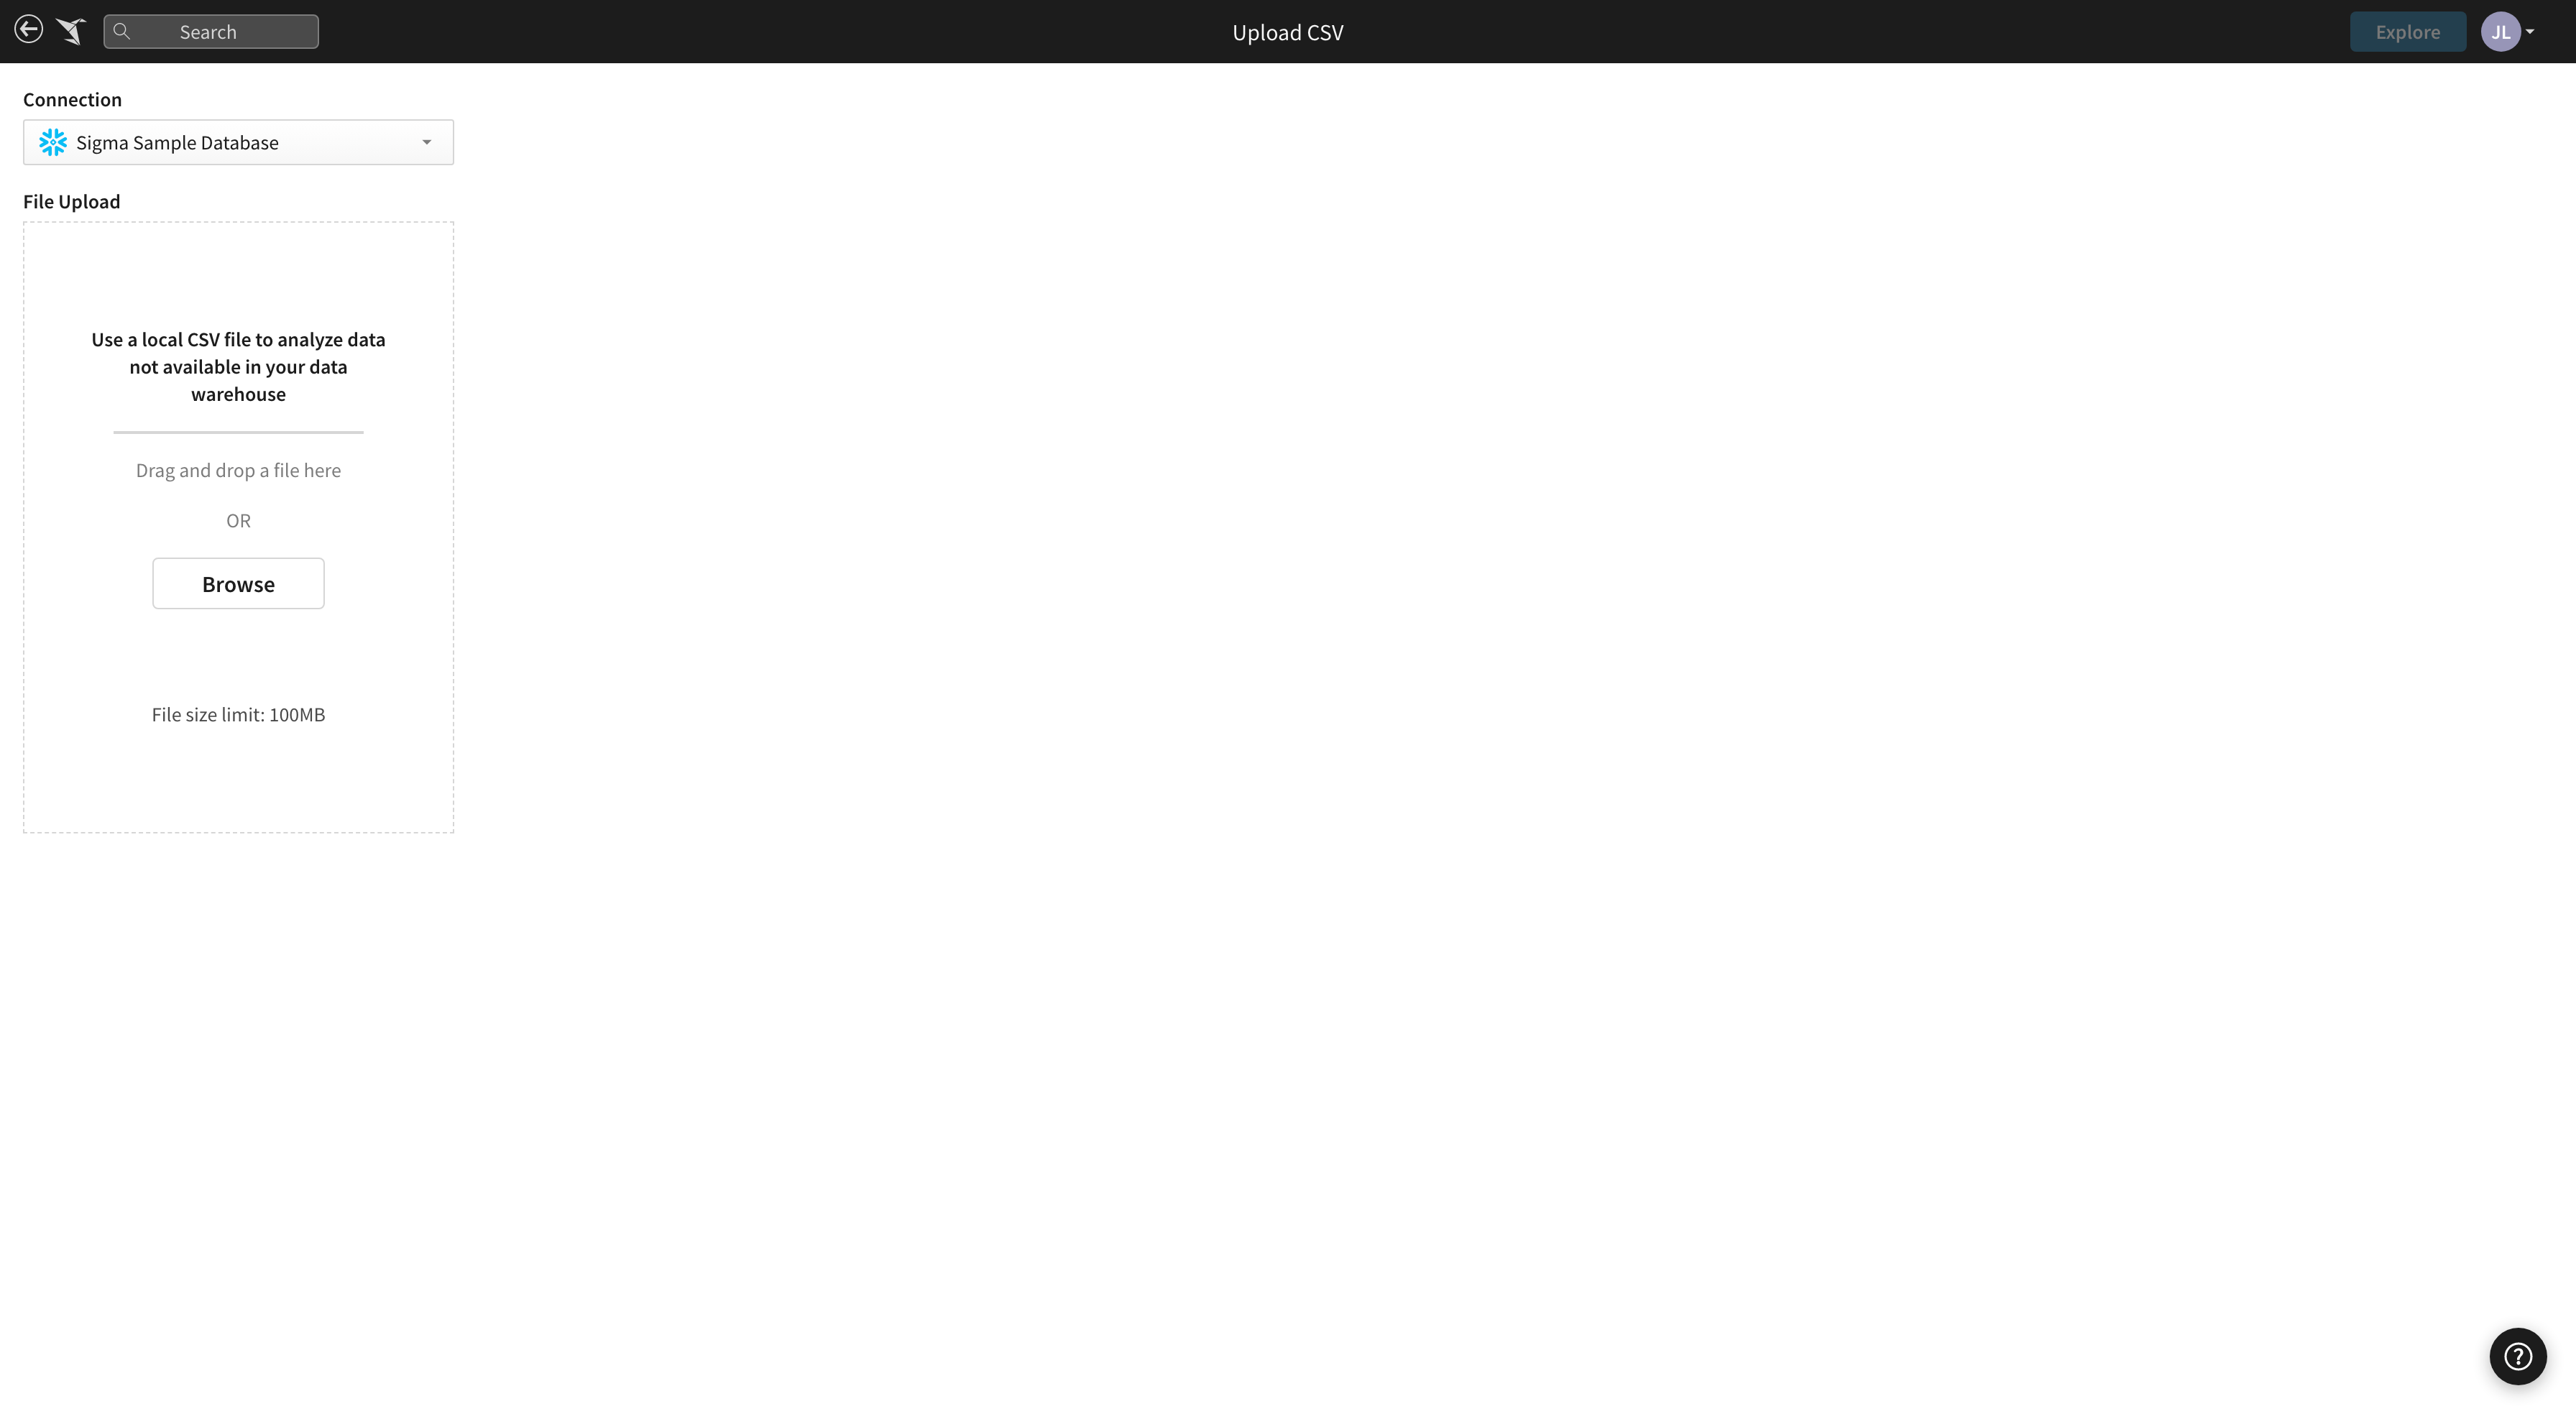
-
In the File Upload section, upload your CSV file by dragging and dropping it onto the page, or click Browse.
-
After adding a CSV, a preview of your data appears. From the preview, you can include or exclude columns, adjust the parsing options, and address any errors if necessary.
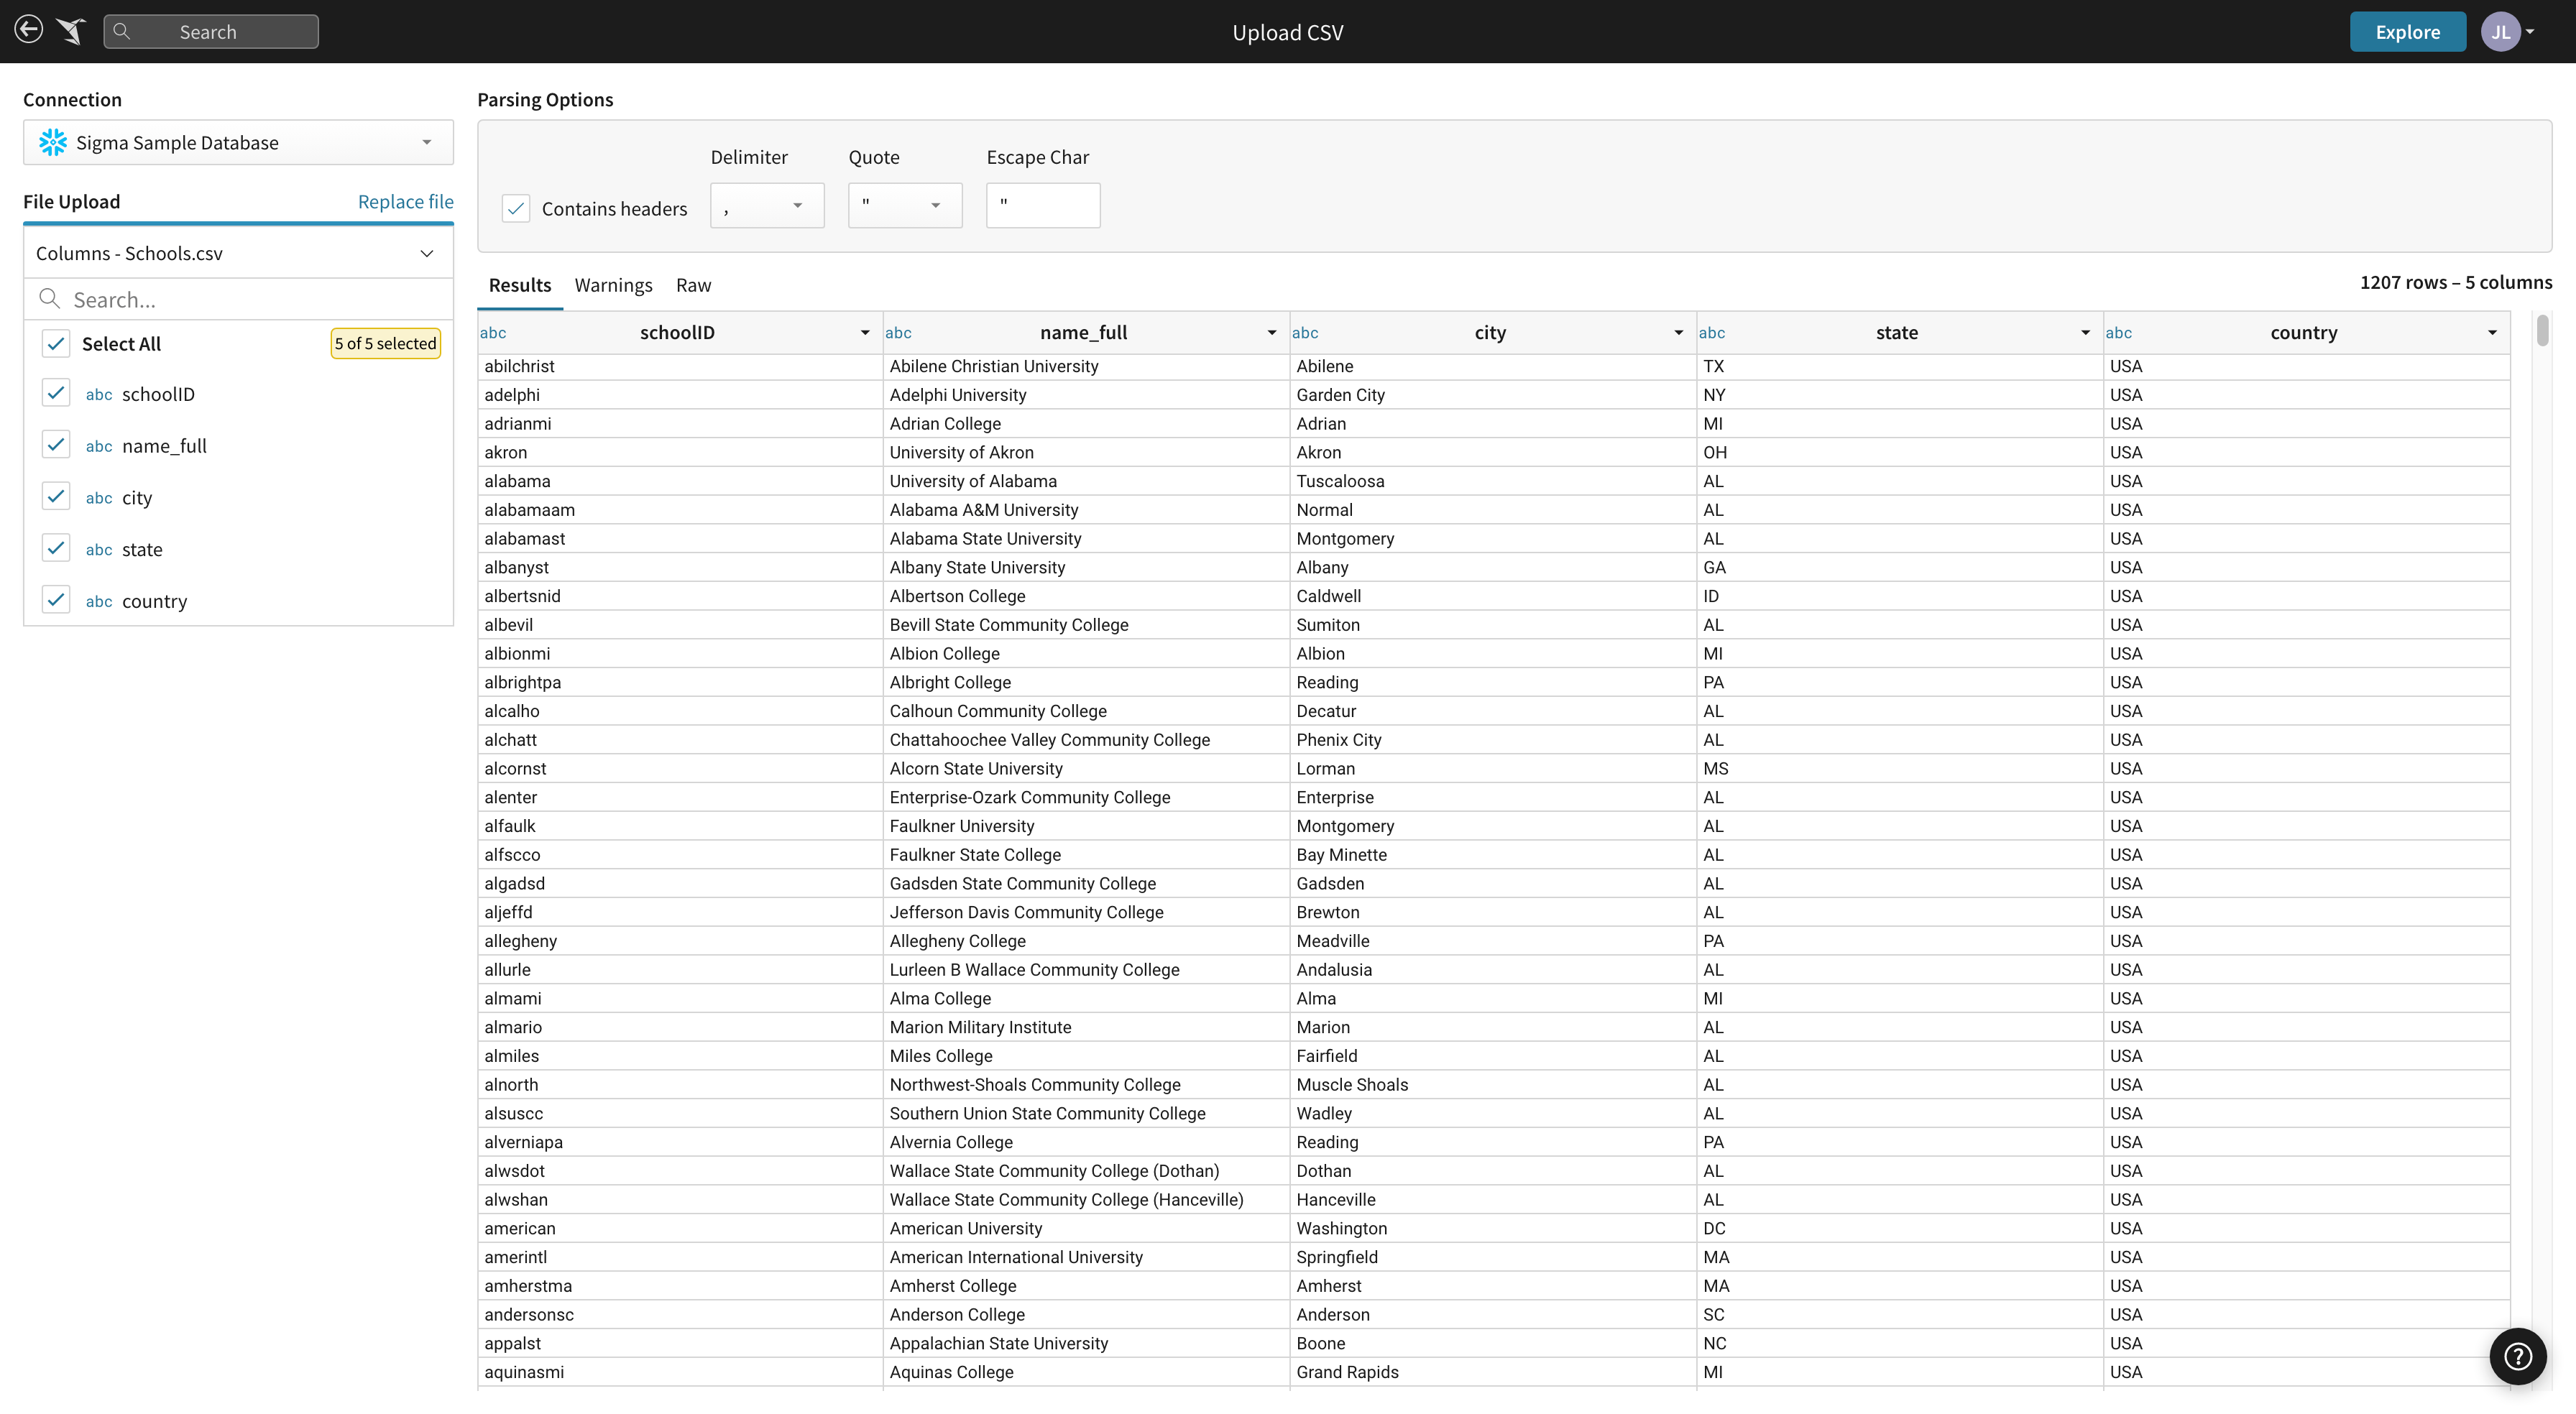
-
Click Explore to complete the upload.
Replace an existing CSV
To replace the underlying CSV in an existing Dataset, do the following:
- Open the dataset containing the CSV you want to replace.
- Select the Worksheet tab from the dataset header, then click Edit.
- Navigate to the Data Sources tab in the right hand panel.
- Open the ••• menu on the CSV source you would like to replace and click Replace CSV.
- You are prompted to select a file from your computer.
- After selecting a new CSV, the Edit Source page opens. Preview your data and specify parsing options for the file.
- When you are satisfied with your new CSV data source, click Done.
Updated about 1 year ago