
Share datasets
You can share a Sigma dataset with other people in your organization.
The document’s owner or the organization's administrator can share, modify, or revoke access permissions for Sigma documents.
Permission types
Datasets support two permission types: Can View and Can Edit, with the following granted privileges on shared documents. For more details, see Folder and document permissions.
- View, create a copy, and Send and schedule exports from workbooks
- You can use datasets as data sources for workbooks or other datasets.
- All Can View privileges
- Edit, publish, and share
- Can manage content, including the ability to delete, move, or rename.
Share a dataset
- Open the dataset.
- Select the Permissions tab.
- Click Add Permission in the top right corner of the page to open the Share modal.
- Type to add teams and/or individual members.
- Select a permission type for each team and/or member.
- [optional] Enter an email notification under Add a Message or uncheck Send an email notification.
- Click Save to grant permission(s).
Modify or revoke access
- Open the dataset.
- Select the Permissions tab.
- Click the vertical ••• menu next to the grantee.
- [optional] To revoke access completely, click Revoke Grant.
- To instead modify a grant, click Edit Grant.
- Click to open the Who has Access tab.
- To select a new access/grant type, use the Access Type dropdown menu to the right of the team or member.
- Click Save.
Respond to a request for access to content
If a user attempts to access your content and doesn't have permissions to do so, they can request access through the error page blocking their immediate access. This triggers a Request to Access email notification.
To respond to the Request for Access, do the following:
- In the email notification, click the Respond to the Request button.
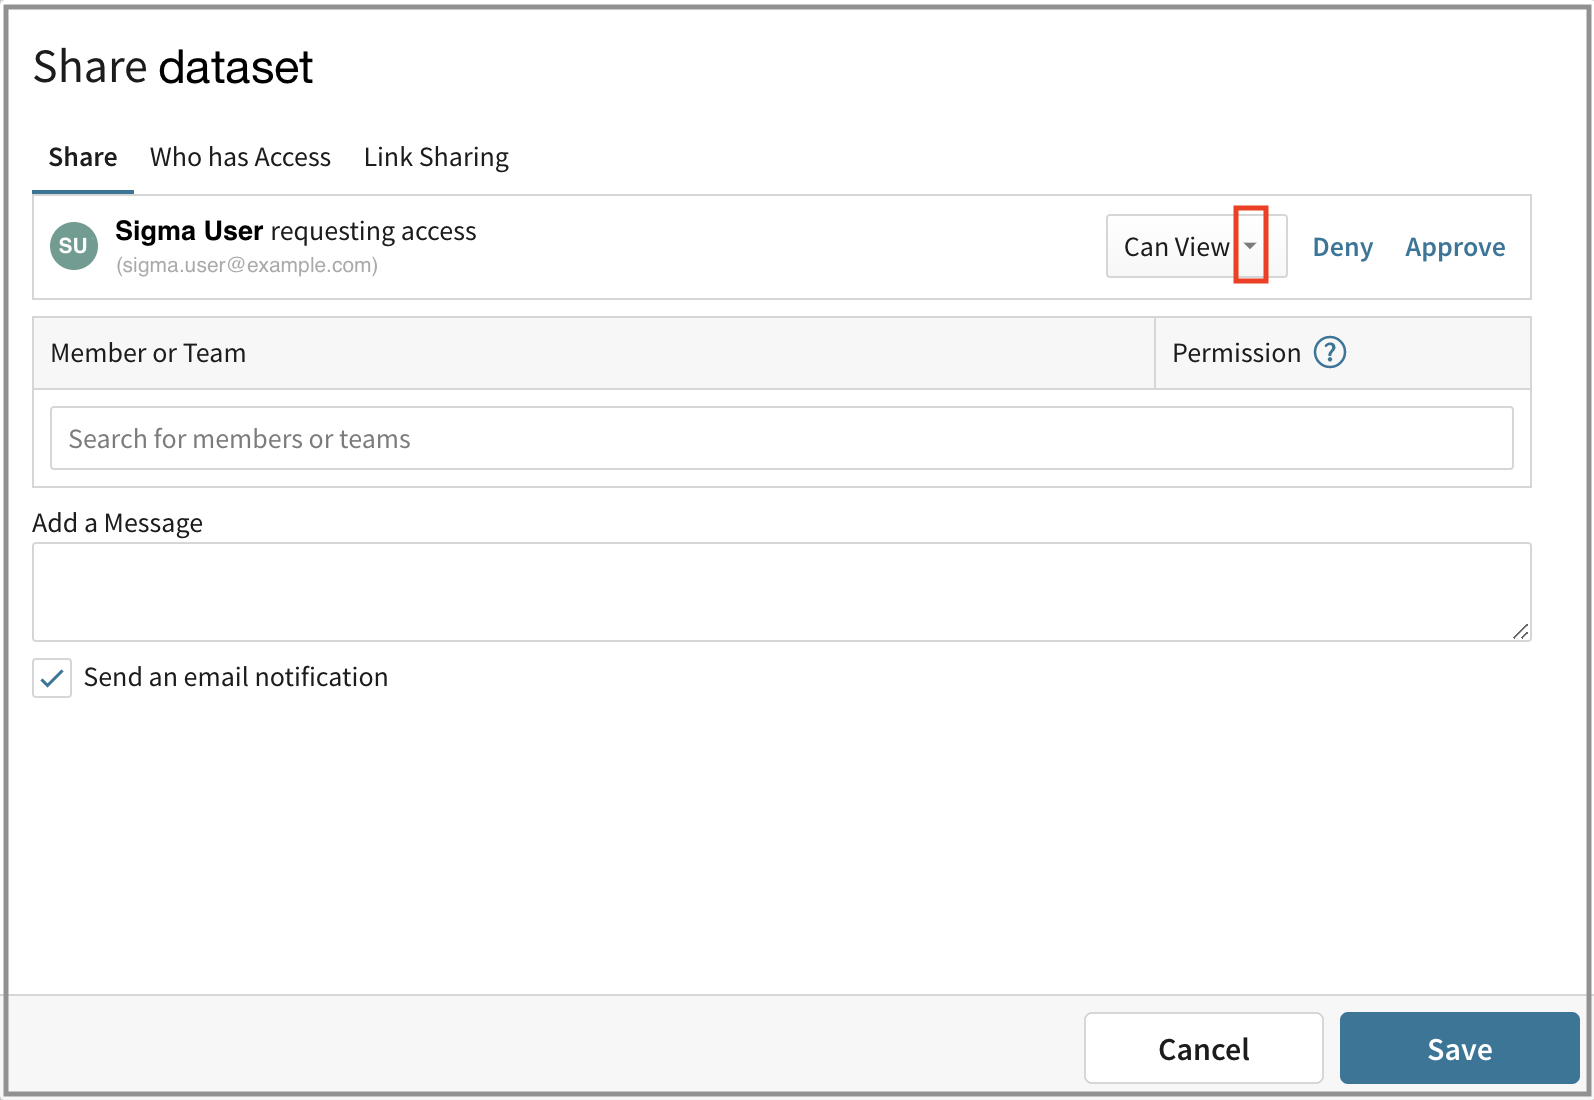
- Sigma opens with the Share Dataset modal, allowing you to view the current access requests. Optionally, click the permission drop-down menu to select the level of access the user should have.
Note: The user cannot be granted access higher than what their account type allows.
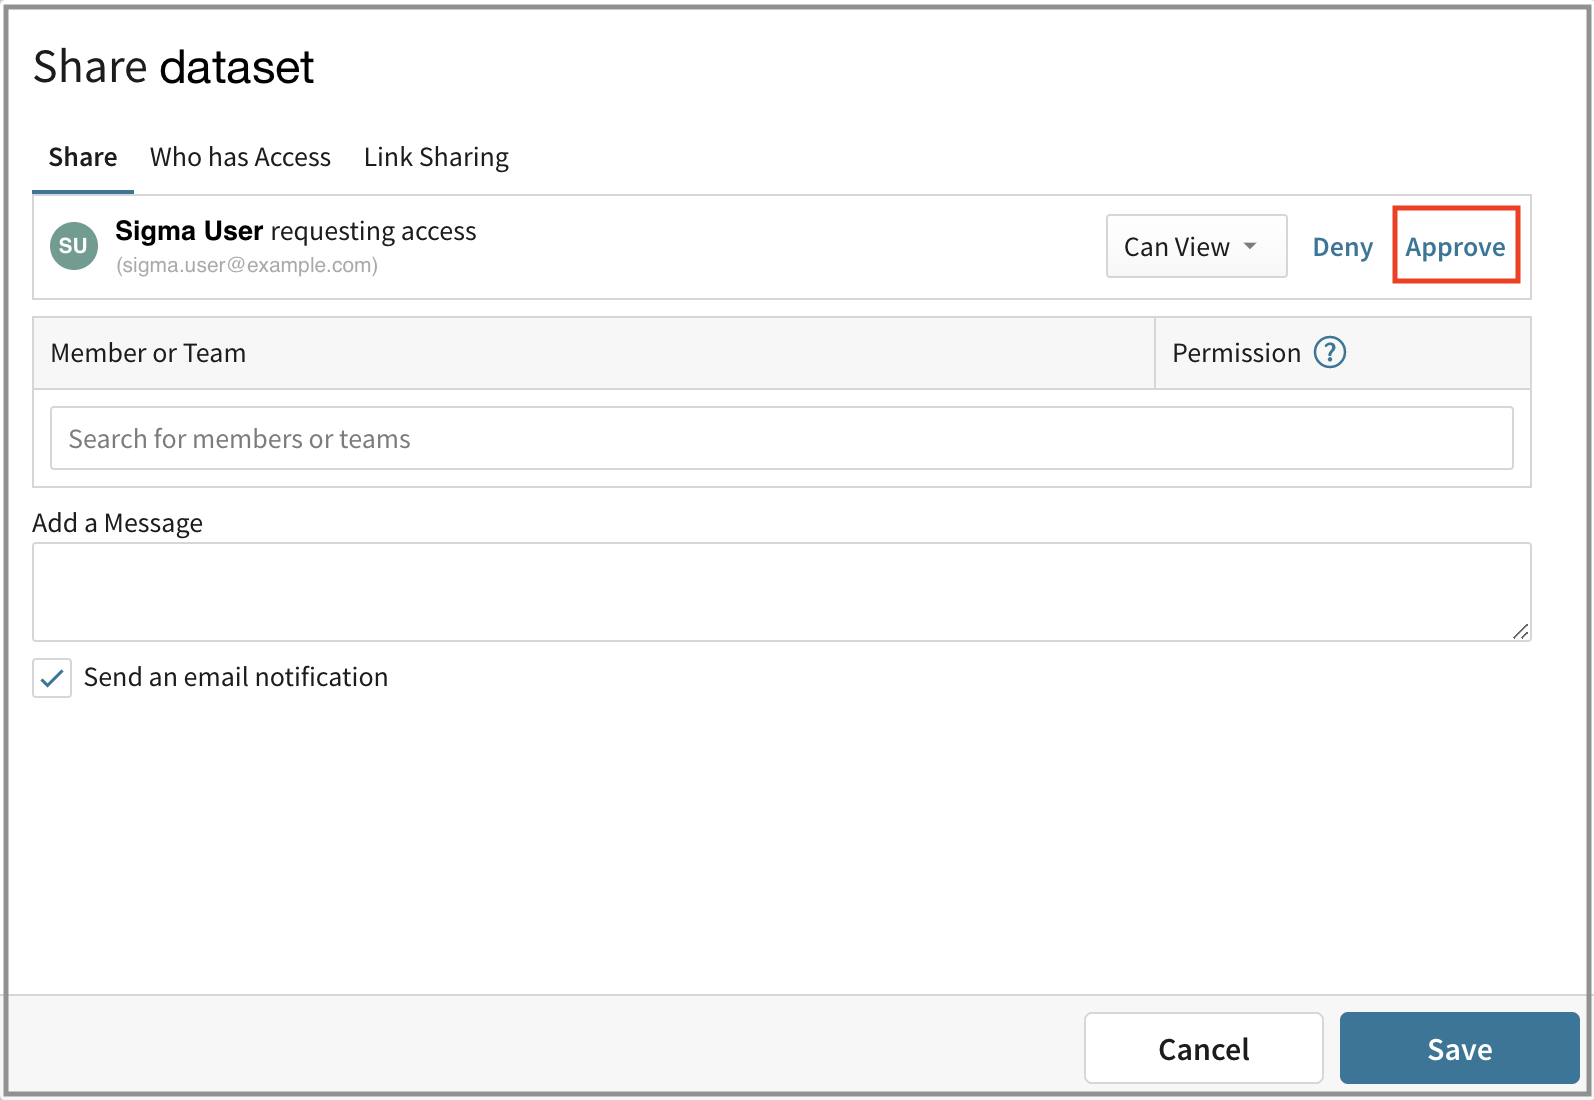
- If desired, click Approve. If Approve is selected, the request is removed from the Share Dataset modal, and the user is listed in the Who Has Access tab.
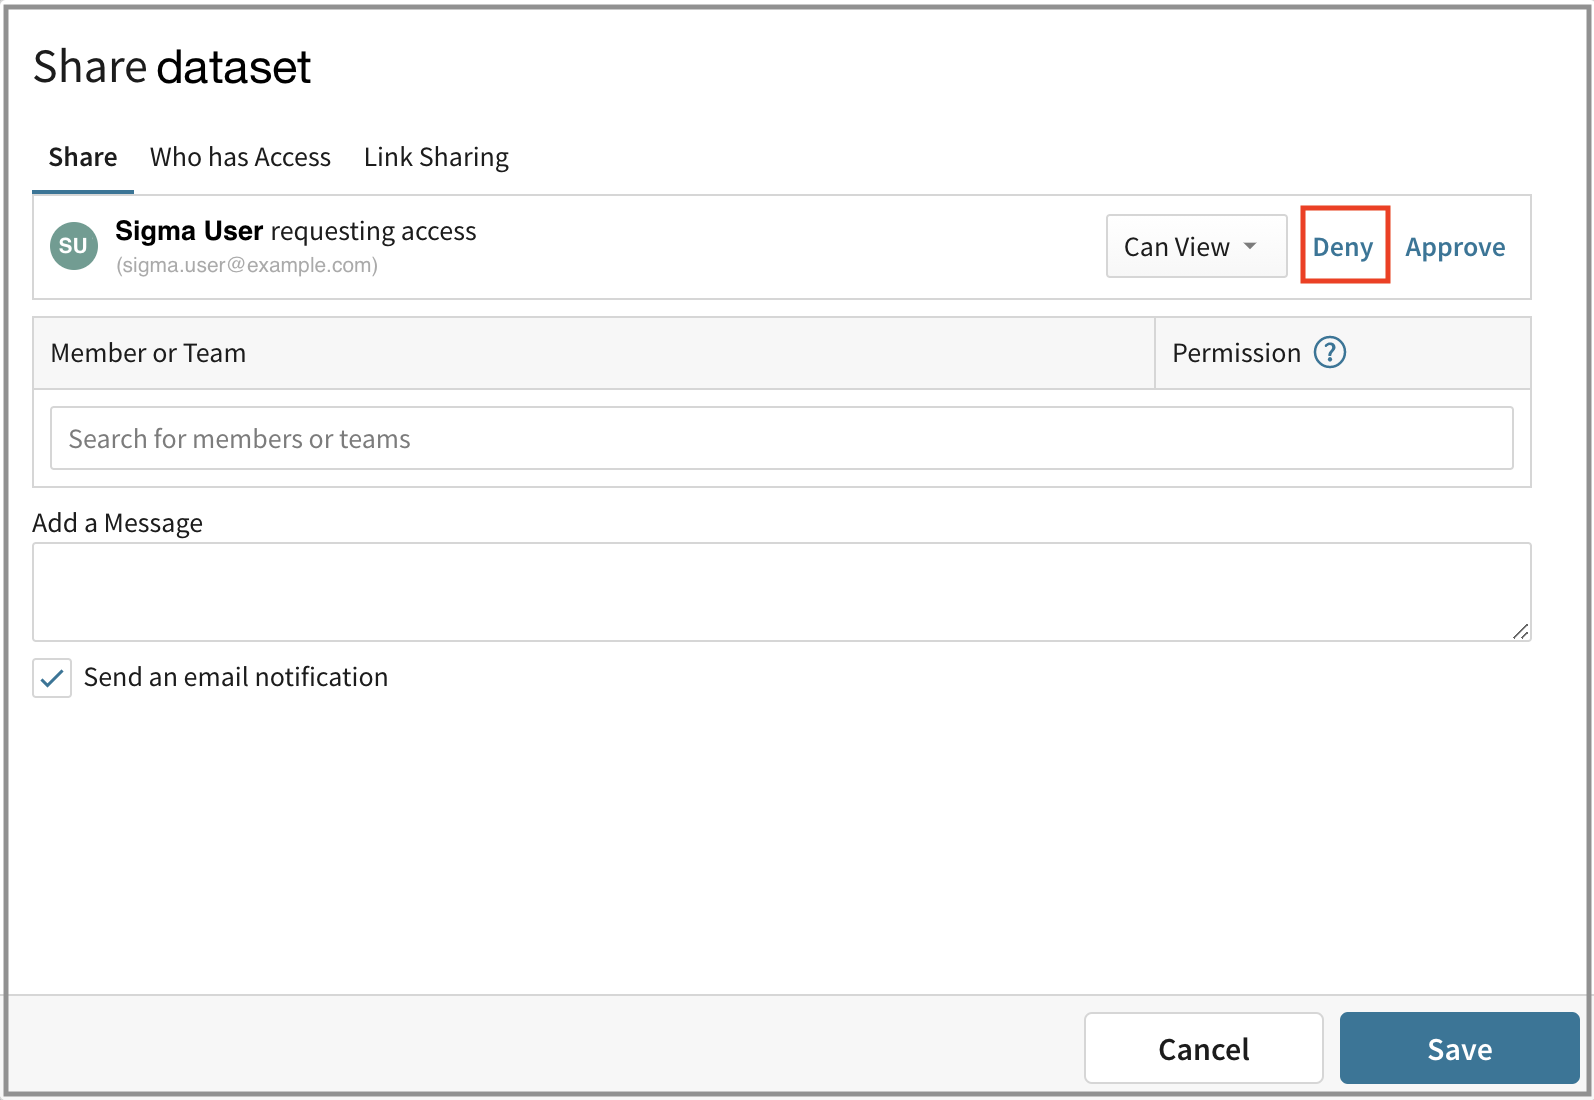
Or, click Deny. If Deny is selected, the request is removed from the Share dataset modal.
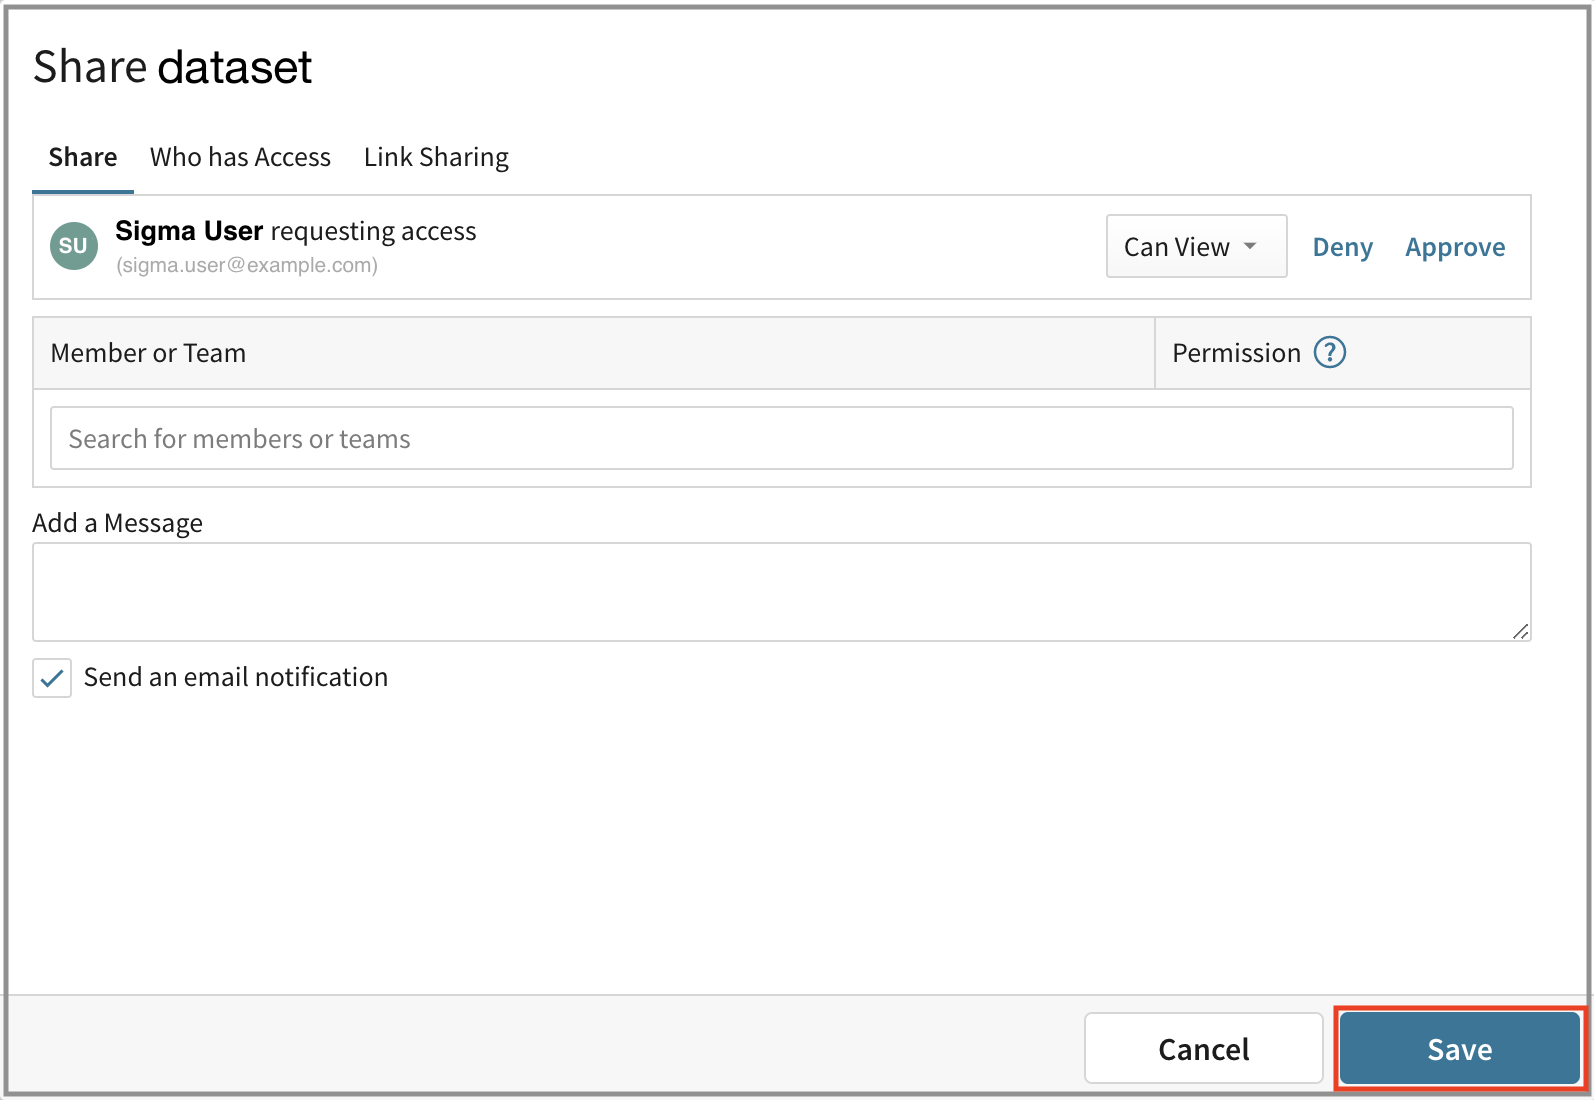
- Click Save or close the Share Dataset modal. Your decision on the Request for Access to Content will save either way.
Updated 3 days ago
Related resources