
Create and manage workbook themes
Create and manage reusable workbook themes in the Administration portal. Customize fonts, colors, layout style, and table style, then assign your organization's default theme.
User requirements
To create and manage workbook themes, you must be assigned an account type with the Manage all workbook themes and fonts or Manage branding settings permission enabled.
Theme settings overview
Customize any of the following theme settings to meet branding and aesthetic requirements.
Color
The Color settings control text, button, background, element, and chart colors in a workbook.
| Setting | Description |
|---|---|
| Appearance | Select between a |
| Theme colors > Swap preset | Set a predefined color theme for workbook text, buttons, background, and charts. |
| Theme colors > Text | Sets the color of workbook text for your theme. |
| Theme colors > Highlight | Sets the color of buttons, link text, and selection indicators in your theme. |
| Theme colors > Surface | Sets the color for element backgrounds, borders, and icons in your theme. |
| Override colors > Canvas | Sets a custom color for the workbook canvas, different from the canvas color for the theme. Select |
| Categorical colors/Sequential colors/diverging colors | These are color schemes for the charts in your workbook. You can select a predefined palette or set custom colors to use for your charts. |
| Invert visualization tooltips | Inverts the theme's text and background colors in tooltips. |
When you specify a color, you can choose a color from a predefined palette, specify a hex code, pick a color from a window or document open on your computer using an eyedropper, or choose a color from a gradient.
Font
The Font settings control fonts throughout the workbook.
| Setting | Description |
|---|---|
| Text font | Sets the font for non-data workbook text, like element titles, element descriptions, and table headers. |
| Data font | Sets the font for workbook data. The default is Roboto. |
| Title font | Sets the font size and color of element titles. |
Layout style
The Layout style settings control the layout of workbook pages and elements.
| Setting | Description |
|---|---|
| Page width | Sets the width of all pages in a workbook. The default is Full. Choose Custom to set a maximum width for workbook pages. |
| Spacing | Sets the size of spacing between elements. |
| Corner | Sets the shape of element corners. Choose from a square, rounded, or pill-shaped corner. The default is round. |
| Data element style > Padding | Sets padding for a data element. Select or deselect the checkbox to add or remove padding around a data or control element. |
| Data element style > Background | Sets a custom background color for a data or control element. Set to Auto to match the element background for the theme. |
Table style
The Table style settings control the format and display of tables, pivot tables, and input tables. For more details about table style options, see Customize table style.
| Setting | Description |
|---|---|
| Table style presets | Applies a preset to configure all table style options. |
| Cell spacing | Sets the padding around text within table cells. |
| Grid lines | Determines how cell borders are displayed. |
| Banding color | Choose a color to set as the background for alternating data rows. |
| Header | Formats table headers. |
| Subheader | Formats subheaders (applicable to pivot tables only). |
| Cell | Formats data cells. |
Create a theme
Create a workbook theme that can be applied by users across your entire organization:
-
Go to Administration > Account > Branding Settings:
-
In the Sigma header, click your user avatar to open the user menu.
-
Select Administration to open the Administration portal.
-
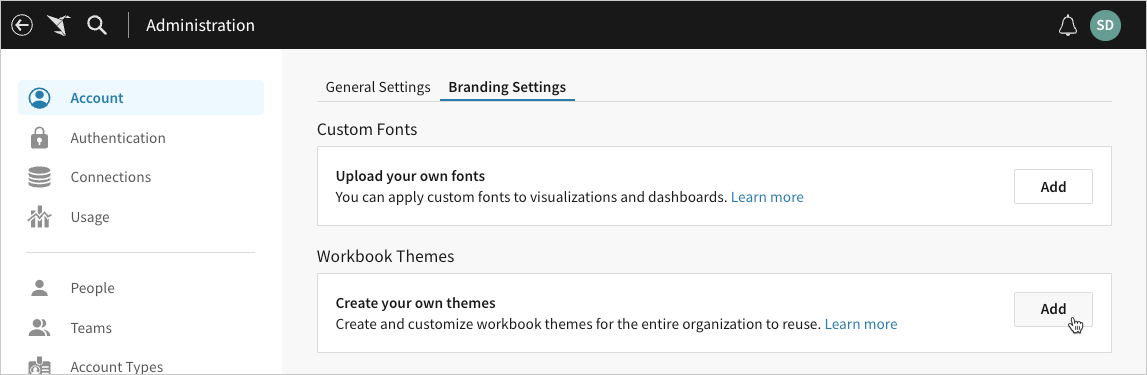
In the side panel, select Account, then select the Branding Settings tab.
-
-
In the Workbook Themes section, click Add.
-
In the Save as an organization theme modal, configure the new theme:
- In the Theme name field, enter a unique name to identify the theme.
- To apply the theme to all workbooks by default, select the Set as organization default checkbox.
- Customize the theme settings.
- Click Save to submit the theme.

Edit an existing custom theme
Edit an existing theme at any time to update all workbooks using it.
-
Go to Administration > Account > Brand Settings:
-
In the Sigma header, click your user avatar to open the user menu.
-
Select Administration to open the Administration portal.
-
In the side panel, select Account, then open the Brand Settings tab.
-
-
In the Workbook Themes section, locate the name of the theme you want to edit, then click
 More and select Edit.
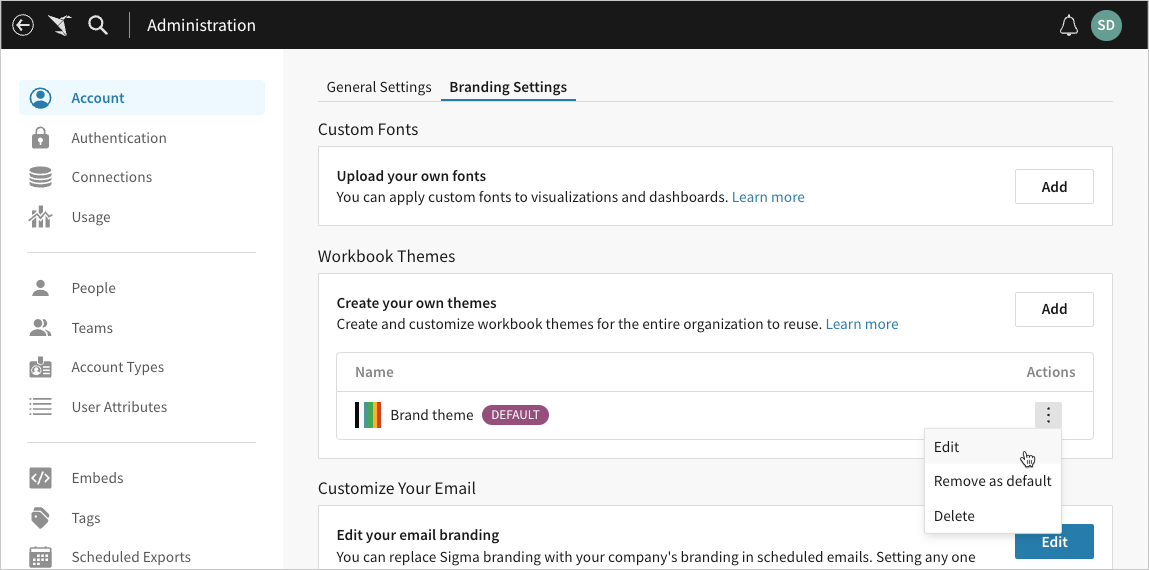
-
In the Edit organization theme modal, edit the theme settings as needed, then click Save.
Sigma immediately reflects the changes in all workbooks using the theme.
The Save as setting defaults to the Update existing option, which overwrites the existing configurations and updates all workbooks using the theme. To save the changes as a new custom theme, select New.
Change the default theme
The Default marker in the list of custom themes indicates your organization's default. If no default marker is displayed, your organization's default is Sigma's built-in Light theme.
-
Go to Administration > Account > Brand Settings:
-
In the Sigma header, click your user avatar to open the user menu.
-
Select Administration to open the Administration portal.
-
In the side panel, select Account, then open the Brand Settings tab.
-
-
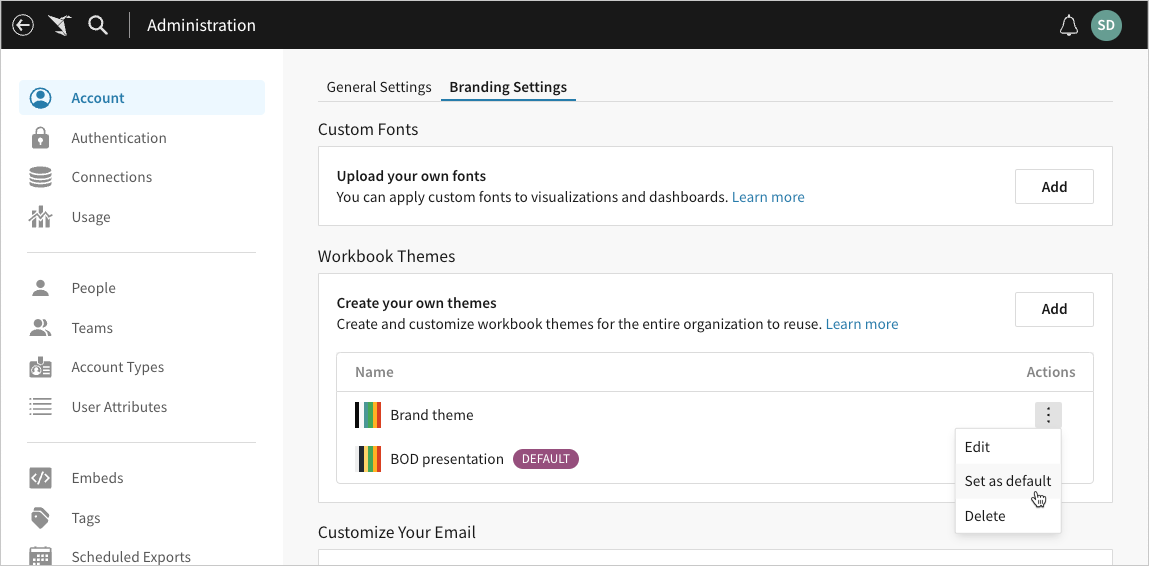
In the Workbook Themes section, locate the name of the theme you want to update, then click
More and select an option in the dropdown:-
To assign the theme as your organization's default, select Set as default.
-
To unassign the theme as your organization's default, select Remove as default.
Sigma applies the default theme to all new workbooks and any existing workbooks in which the theme has remained unchanged since creation.
-
Apply a theme to a workbook
You can apply a theme to a workbook from Workbook settings
- Navigate to Workbook settings one of two ways:
- Select the document menu, then select Edit > Show workbook settings.
- Click the background of your workbook. From the side panel, select Workbook settings.
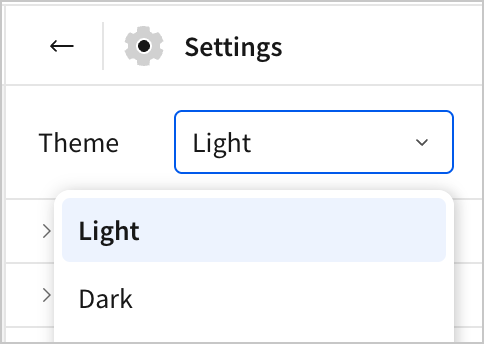
- Open the Theme dropdown menu and select the desired theme.
Delete a custom theme
-
Go to Administration > Account > Brand Settings:
-
In the Sigma header, click your user avatar to open the user menu.
-
Select Administration to open the Administration portal.
-
In the side panel, select Account, then open the Brand Settings tab.
-
-
In the Workbook Themes section, locate the name of the theme you want to delete, then click
More and select Delete in the dropdown.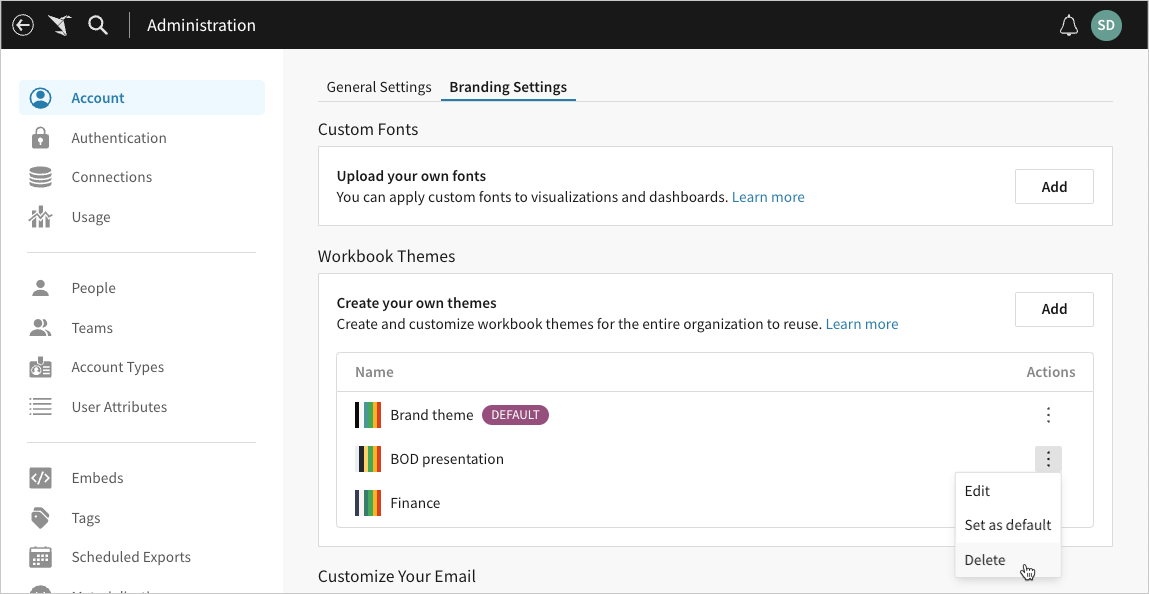
-
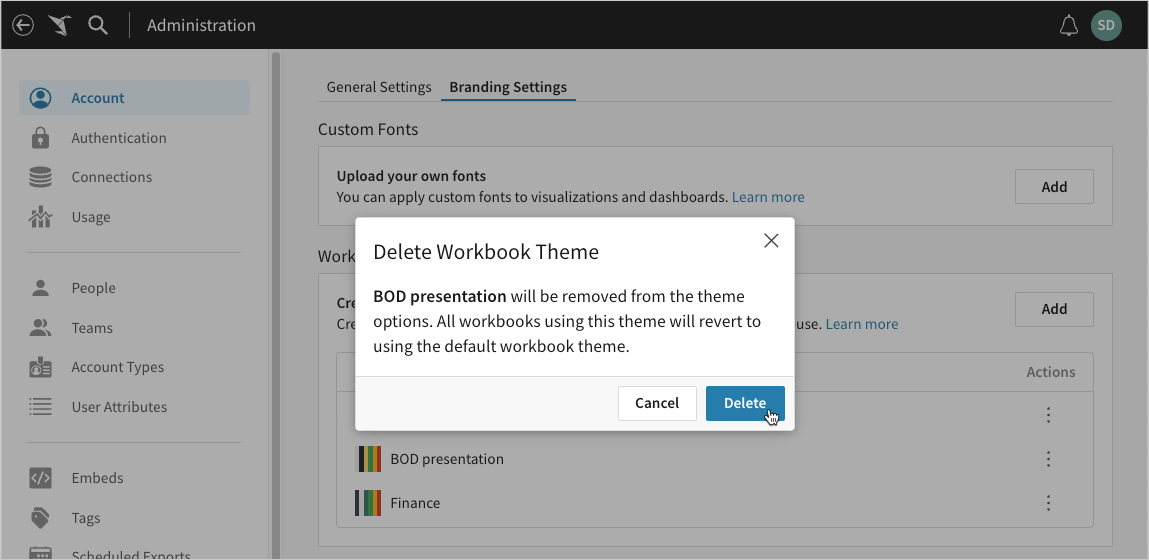
In the Delete Workbook Theme modal, click Delete to proceed.
Sigma permanently deletes the theme from your organization and reverts all workbooks using it to the default theme.
Updated 7 months ago