Connect to Redshift
Sigma supports secure connections to Amazon Redshift.
This document explains how to connect your organization to an Amazon Redshift warehouse.
For information about Sigma feature compatibility with Amazon Redshift connections, see Region, warehouse, and feature support.
Requirements
In your Sigma organization:
- You must be assigned the Admin account type or an account type with the Manage connections feature permission enabled.
In AWS:
- You must have access to an Amazon Redshift data warehouse with a configured cluster. A node size of
ra3.4xlargeor larger is recommended if you are using input tables on this connection.
Limitations
- Connecting to Redshift Serverless compute resources is not supported at this time.
- Objects from Redshift datashares do not appear in the connection browser directly, but can be queried using the custom SQL element. To make them available in the connection browser, query the object in a data model using the format
select * from <table>. The data model with the datashare contents is then available in the connection browser.
Configure Amazon Redshift
Complete the following steps in the AWS Management Console before you add an Amazon Redshift connection in your Sigma organization.
-
Modify your Amazon Redshift cluster to be publicly accessible and assign an Elastic IP address to connect to it.
-
Create a security group, then add Sigma’s IP addresses to the inbound and outbound rules of the security group. Obtain the IP addresses from the connection configuration page in the Sigma UI. See Add Sigma IPs to the allowlist.
-
Attach the security group to your Amazon Redshift cluster.
-
Create an Amazon Redshift user to act as the service account for connection to your Sigma organization.
Grant this user
USAGEprivileges on all relevant schemas in the Redshift cluster andSELECTgrants on all relevant tables within those schemas. Configure this user to have the same privileges on any additional tables that might be added to the schema.For documentation on granting privileges, see GRANT in the Amazon Redshift Database Developer Guide.
Example SQL statement:
CREATE USER your_sigma_service_account_name password 'a_secure_password'; GRANT USAGE ON SCHEMA your_schema_name TO your_sigma_service_account_name; GRANT SELECT ON ALL TABLES IN SCHEMA your_schema_name TO your_sigma_service_account_name; ALTER DEFAULT PRIVILEGES IN SCHEMA your_schema_name GRANT SELECT ON TABLES TO your_sigma_service_account_name; -
[optional] If you want to run stored procedure actions, grant the service account user
USAGEon any schema that contains stored procedures that you want to run from Sigma, and grantEXECUTEprivileges on all or specific stored procedures.Example SQL statement:
GRANT USAGE ON SCHEMA your_sproc_schema_name TO your_sigma_service_account_name; GRANT EXECUTE ON ALL PROCEDURES IN SCHEMA your_sproc_schema_name TO your_sigma_service_account_name; -
[optional] If you want to leverage write access features such as CSV upload, materialization, input tables, and warehouse views, create a dedicated schema that Sigma write-back features can use to write data to.
Grant
CREATEprivileges on that schema to your user, and grantSELECT, INSERT, UPDATE, DELETEon all tables in that schema. Configure your user to have the same privileges on any additional tables that may be added to the schema.GRANT USAGE, CREATE ON SCHEMA your_write_schema_name TO your_sigma_service_account_name; GRANT SELECT, INSERT, UPDATE, DELETE ON ALL TABLES IN SCHEMA your_write_schema_name TO your_sigma_service_account_name; ALTER DEFAULT PRIVILEGES IN SCHEMA your_write_schema_name GRANT SELECT, INSERT, UPDATE, DELETE ON TABLES TO your_sigma_service_account_name;
Create an Amazon Redshift connection in Sigma
To create an Amazon Redshift connection, perform the following steps in the Sigma UI:
- Add a connection and specify connection details
- Specify your connection credentials
- Configure write access
- Configure connection features
Add a connection and specify connection details
-
Click the user icon at the top right of your screen. The user icon is usually composed of your initials.
-
In the drop-down menu, select Add connection. The Add new connection page appears.
-
In the Connection Details section, specify the following:
Name Enter a Name for the new connection. Type Select Redshift.
Specify your connection credentials
In the Connection Credentials section, fill out the required fields:
-
In the Host field, enter the value of the Endpoint field in the General Information screen of your Redshift cluster. Example:
cluster.abcd.us-west-1.redshift.amazonaws.com -
In the Port field, enter your cluster's port number. You can find your port number in the properties of your Amazon Redshift cluster under Database configurations. Example:
5439 -
In the User and Password fields, enter the username and password of the Amazon Redshift user you created to connect to your Sigma organization. See Step 4 in Configure Amazon Redshift.
-
In the Database field, enter your cluster's database name.
-
[optional] Turn on the Enable TLS toggle to enable TLS encryption on your connection.
-
[optional] Turn on the SSH Tunnel toggle to connect through SSH, then enter the Tunnel host and Tunnel port. See Connect through SSH.
Next, see Configure write access and Configure connection features for additional options. Or, if you are finished configuring your connection, click Create at the top right to create your connection.
Configure write access
Write access is necessary for the following features:
Configuring write access requires you to set up a dedicated schema in Amazon Redshift that Sigma can use to write data and grant the necessary privileges on that schema to the service account. See Step 5 in Configure Amazon Redshift.
When you designate a schema as the write access destination, Sigma reserves it for internal write-back objects and doesn’t expose it as a data source in the connection explorer (data catalog). To avoid restricting user access to analytical data, use a dedicated write-back database or schema that doesn’t store data used for analysis and reports.
- To allow write access on this connection, turn on the toggle next to Enable write access.
- In the Write schema field, enter the name of the dedicated schema you created for Sigma to store write-back data.
Next, see Configure connection features for additional options. Or, if you are finished configuring your connection, click Create at the top right to create your connection.
Configure connection features
In the Connection Features section, specify the following:
-
In the Connection timeout field, specify the amount of time, in seconds, that Sigma should wait for the query to return results before timing out. The default in 120 seconds. The maximum is 600 seconds (10 minutes).
-
[optional] If you do not want Sigma to automatically make column names from the data source more readable, turn off the Use friendly names toggle. For example, with Use friendly names turned on, a database column ORDER_NUMBER or OrderNumber appears as Order Number.
Finish creating your connection
After you specify all the parameters of the connection, click Create.
-
Click Create at the top right of the screen to create your connection. Sigma displays a connection summary on the screen.
-
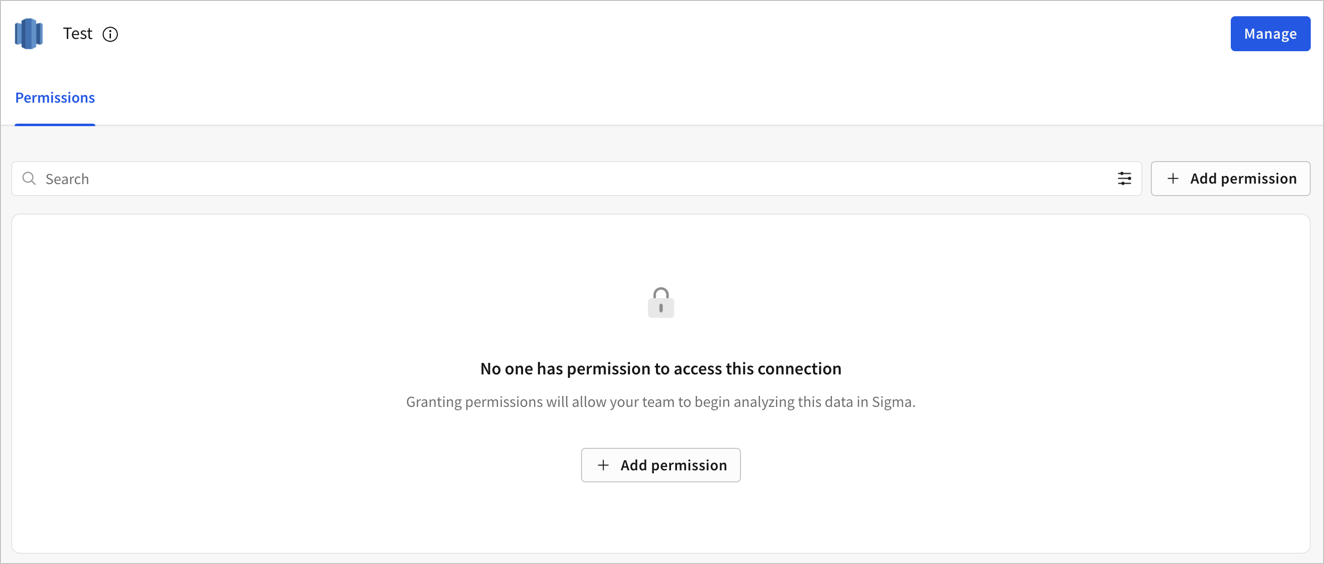
Click Browse Connection, then click Add permission to grant connection access for users in your organization. See Data permissions.
-
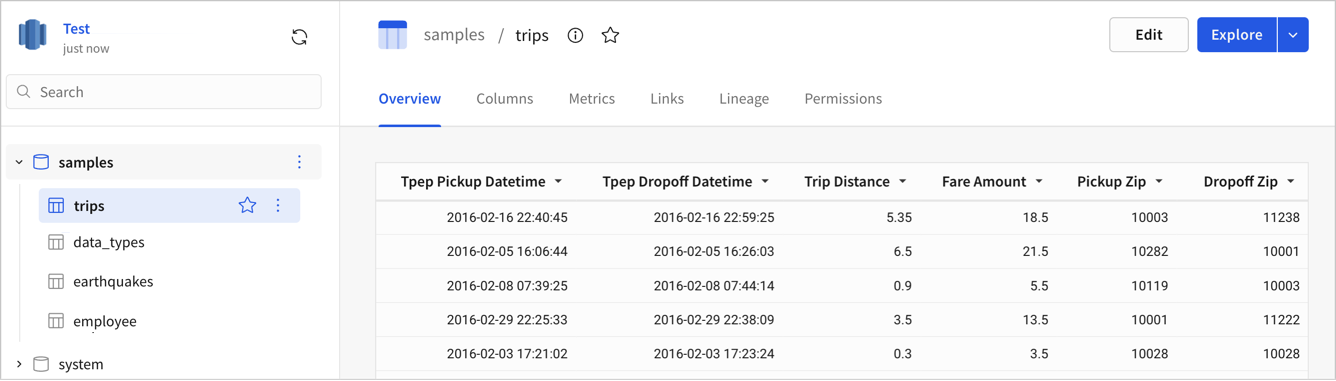
Use the navigation in the left panel to explore the schemas and tables in your connection.